
WHAT IS A PASTRY BLENDER OR PASTRY CUTTER? TIPS & USES
The characteristic buttery and tender layers of pastry dough are like no other baked recipe. Learn about the tools and techniques you need for your best pastry dishes, including the difference between a pastry blender, cutter and beater. Read on for the best ways to cut butter into flour and how to get started with your own pastry creations.
WHAT IS A PASTRY BLENDER?
A pastry blender and pastry cutter are different names for the same handheld tool used to cut butter into flour for pastry dough. This tool features a series of metal strips or wires looped around and connected to a handle. This tool requires you to press it into your butter and flour mixture over and over until you get the right texture.
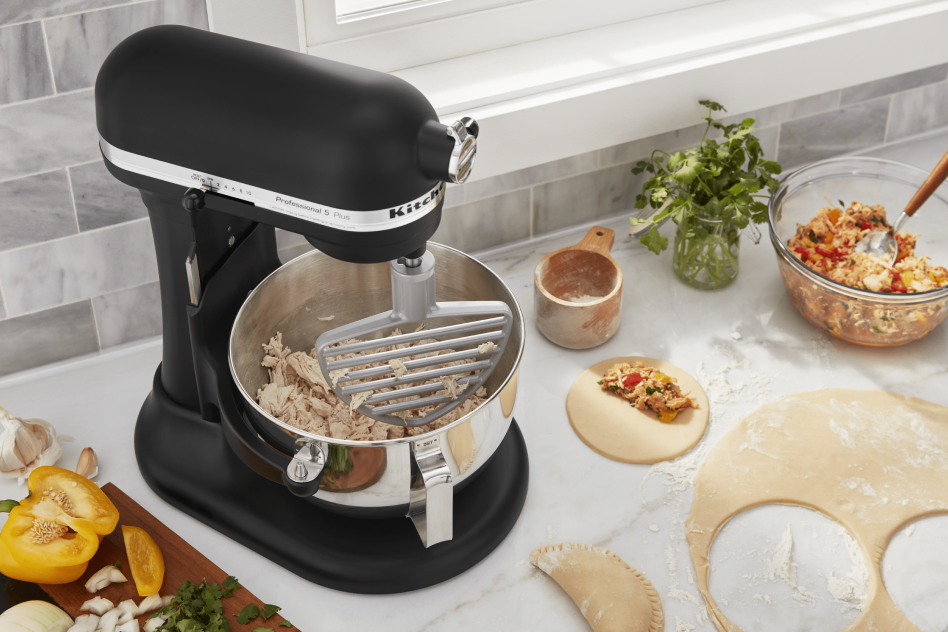
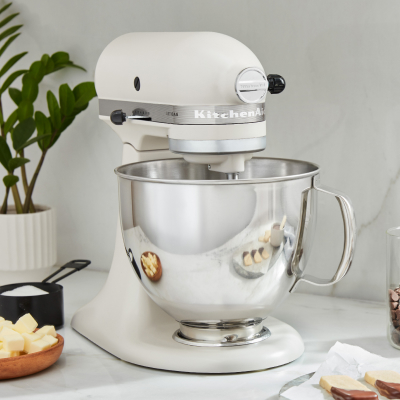
A tool that allows you to cut in butter with less effort is the KitchenAid® pastry beater accessory for select KitchenAid® stand mixers1. This accessory uses the power of your stand mixer to make dough for a variety of dishes like empanadas, galettes, scones and choux pastries—not to mention beautifully flaky and rich crusts for everything from savory hand pies to fruit-filled confections to seasonal favorites like pumpkin pie.
1. Sold separately

PASTRY BLENDER USES
A pastry blender or beater is used to cut butter or other fats into dry ingredients like flour. Both a traditional pastry blender and the KitchenAid® stand mixer accessory work by breaking cold butter into small pieces while coating them in flour. Having bits of intact butter in your pastry dough is essential for creating its signature flaky texture. Learn more about cutting in butter with a pastry blender or beater with this guide.
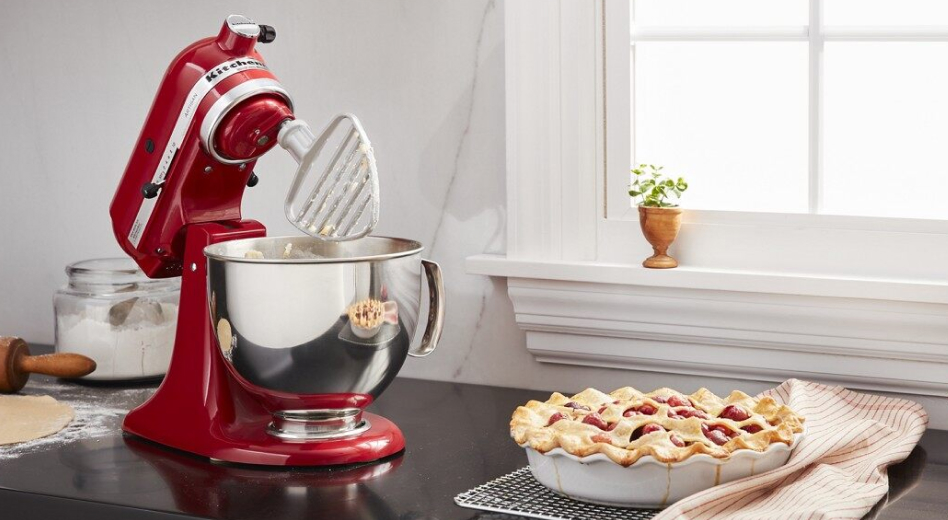
The pastry beater accessory from KitchenAid can be used for more than cutting in butter. It can also help you shred meats, mash potatoes, avocados or other ingredients and even make chunky jams, chutneys and homemade spiced applesauce. Making a blueberry lattice pie or other fruit-filled pastry dessert? Use the KitchenAid® pastry beater accessory to quickly make the crust, then mix and mash up your fruit filling without changing the accessory. For a savory entrée, use the pastry beater to create rich, tender empanada crust, then use the beater to pull pork, chicken or braised beef for the filling.

HOW TO USE A PASTRY BLENDER
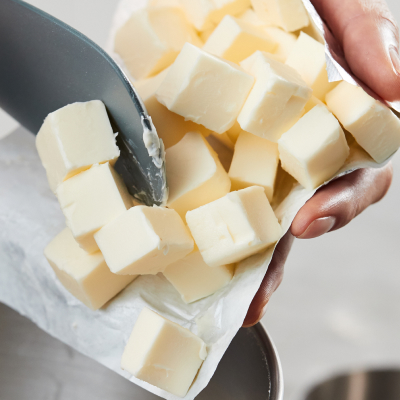
Always start with very cold butter cut into about 1 inch cubes. Add the butter to your dry ingredients and start cutting in right away. Don’t let the butter sit out while you take care of other tasks as it might become too soft, increasing the likelihood you’ll overmix it. Once you start cutting in the butter, keep going until you reach the consistency described in your recipe. Here are some more details on these tips for using a pastry blender or beater:
STEP 1: START WITH COLD BUTTER
The butter pieces should still be solid when you put your pastry into the oven. To prevent the butter from softening too much, start out with very cold butter straight from the fridge.
STEP 2: ADD CUBED BUTTER TO DRY INGREDIENTS
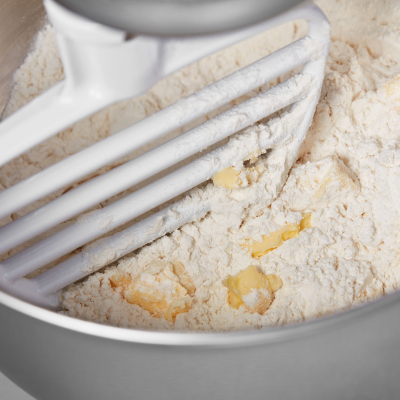
Cube your cold butter first, then set it back in the refrigerator while you prepare the dry ingredients. Add dry ingredients like flour, sugar and salt to your bowl and quickly mix them together. Then add your cold, cubed butter on top and begin cutting in immediately.
STEP 3: CONTINUOUSLY MIX
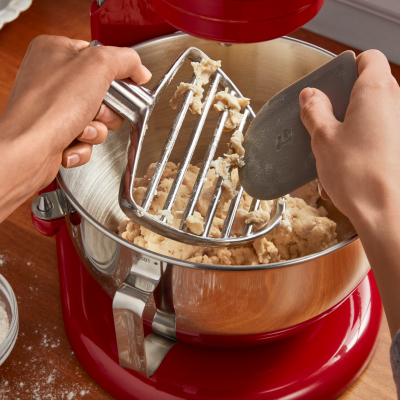
You may feel the need to stop and scrape butter from your tool. However, since time is of the essence, just keep going and the butter will come out on its own as you continue to mix.
STEP 4: DON’T OVERMIX
Unlike other kinds of dough, you don’t want to fully incorporate the butter into the dry ingredients. Remember, you’re going for small, intact pieces of butter coated in flour. Make sure not to overdo it by keeping an eye on your progress as you work.

PASTRY BLENDER SUBSTITUTES
There are many pastry blender substitutes, some of which actually make the task faster and easier than doing it by hand, like using a food processor or stand mixer accessory. Other methods don’t require any special equipment, but may be a bit slower and require more effort, such as using two butter knives or a cheese grater.
USE KNIVES OR FORKS
For this manual method, place butter cubes on top of dry ingredients. If using knives, hold one in each hand, cross them and then draw the knives across the bowl in opposite directions, literally cutting the butter each time. If using a fork, simply mash the butter into the flour. Do this over and over until your desired consistency is reached. These manual methods are not ideal because they can take more time. You’ll need to move quickly to prevent the butter from softening too much.
USE A CHEESE GRATER
Because you’ll be holding the butter in your warm hands for this method, it’s recommended to start with very cold or even frozen butter. Grate sticks of butter using the medium side of a cheese grater. Then toss the butter pieces in dry ingredients and form a ball of dough with your hands. This method will do in a pinch but is not recommended because of how much you will handle the butter. A grater may also break the butter into pieces that are too small and could result in dense pastry dough.

USE A FOOD PROCESSOR
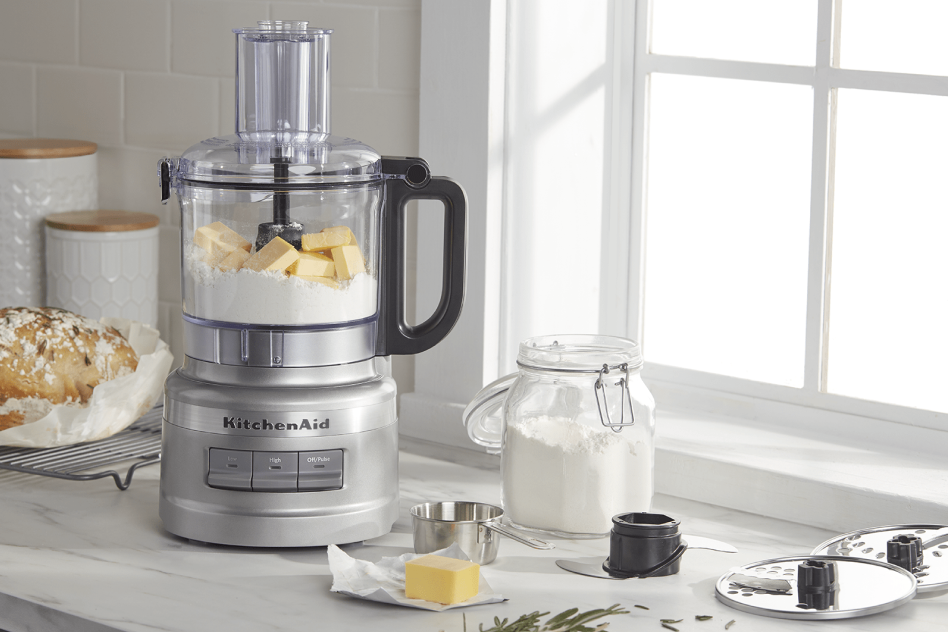
For a faster, more hands-off approach, you can use a food processor to make pie crust and other pastry doughs. Pulse ingredients in the work bowl using short bursts to avoid over processing. Food processors are also great for cutting butter into sugar, oats and more for crumb toppings in recipes like 3 Berry Crumble bars or Dutch Apple Pie.
You can choose a food processor size to fit your recipes ranging from 3.5 Cup Food Choppers for small tasks all the way up to 13 Cup Food Processors from KitchenAid brand to take on multiple servings at once. Shop all KitchenAid® food processors to find the right size for your pastry recipes.
Shop KitchenAid® FOOD PROCESSORS AND CHOPPERS
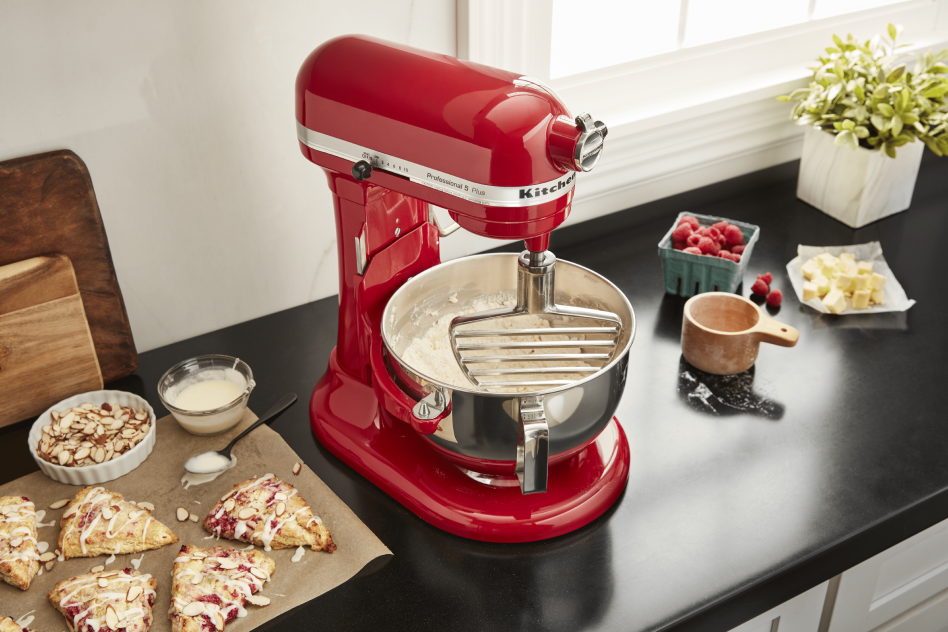

USE THE KITCHENAID® PASTRY BEATER ACCESSORY
To cut butter into flour with less effort and easy cleanup, you can use the KitchenAid® pastry beater accessory that attaches to select KitchenAid® stand mixers*. It is specifically designed for the challenging task of cutting cold butter into doughs for light and flaky pastries. The accessory works seamlessly with the bowl to break cold butter into small pieces, creating a consistent texture and even distribution, minimizing the risk of overmixing. Whether you’re just starting to explore pastry recipes or perfect your signature bakes, the pastry beater helps you get handmade-quality pastry dough, with less effort. The KitchenAid® pastry beater accessory can be purchased separately for your existing mixer, or as part of a bundle with a new stand mixer.
*Sold separately
Shop KitchenAid® PASTRY BEATERS (AND BUNDLES)


WHAT TO MAKE WITH A PASTRY BLENDER
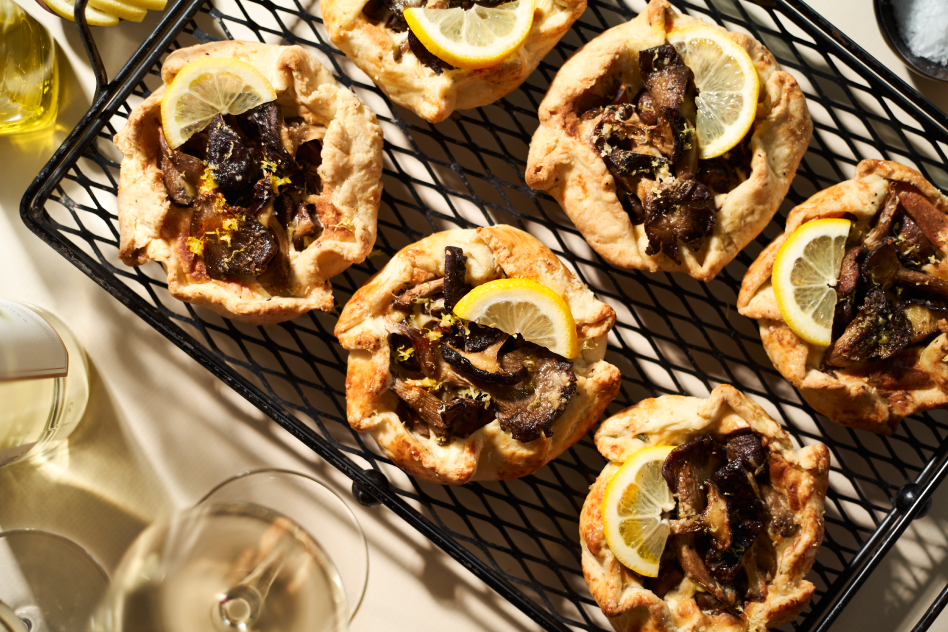
Cuisines from around the world have found ways to envelope their signature flavors in the irresistible, buttery layers of pastry. Try beef and cheese empanadas spiced with smoked paprika and poblano peppers, or serve up the warm comfort of southern cooking with everyday flaky biscuits. From dense and buttery bite-sized tart crusts to light and flaky savory galettes, the types of pastry recipes you can create at home are nearly endless. Start exploring with ease when you add the KitchenAid® pastry beater accessory to your stand mixer.
.png?fit=constrain&fmt=jpg&wid=2875)
Get more with a KitchenAid account
Sign in and explore