
HOW TO MAKE SCONES IN A STAND MIXER
Scones—traditionally round, flaky, biscuit-like baked goods, served with jam and clotted cream—have been a tea time staple in the UK for centuries. They’ve grown in global popularity over the years and taken on new shapes and flavors. American scones are often heavier, sweeter, cut into triangles or squares and sometimes drizzled with icing or sprinkled with sugar. Savory ingredients like cheeses and herbs are popular as well.
With a few simple tips, a handful of ingredients and a KitchenAid® stand mixer, it’s easy to create a basic scone recipe that you can personalize and enhance with your favorite twists and additions.
SCONE RECIPE
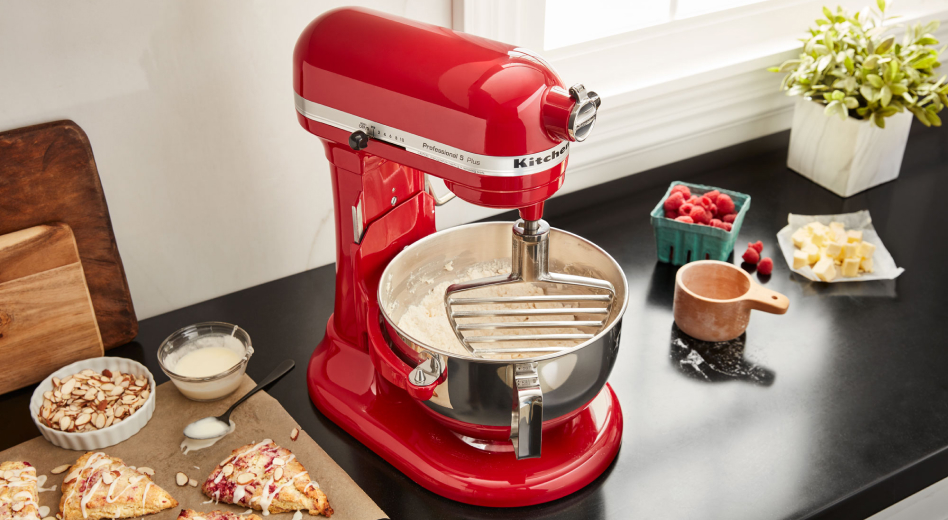
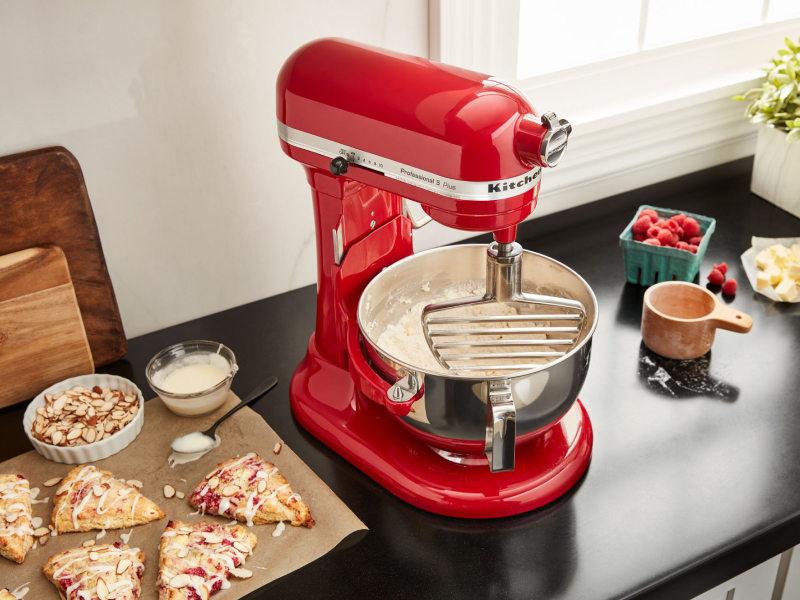
A basic scone recipe typically includes about 6 or 7 ingredients: flour, a sweet or savory component, a leavener, a fat, a liquid, salt and sometimes an egg for a glossy finish. These ingredients come together quickly in a KitchenAid® stand mixer fitted with a KitchenAid® pastry beater.*
Using a pastry beater can help cut cold butter into flour while leaving small pieces intact, a process that creates a flaky, crumbly texture in your scones. If you don’t have a pastry beater, the standard flat beater is a good alternative–just make sure to keep an extra close eye on your mixture to avoid overworking the dough.
Working quickly and using chilled scone ingredients will help create a delicious flaky foundation. Dried fruits, berries, citrus, cheeses, herbs, bits of bacon or ham can all be added to create a more interesting and more personalized scone recipe for a stand mixer.
*Sold separately.
INGREDIENTS1
All-Purpose Flour
Sugar
Baking powder
Salt
Cold, unsalted butter, cut into small cubes
Cold buttermilk
Extra flour for dusting
Milk or egg for brushing tops
OPTIONAL: toasted nuts, vanilla, maple or almond flavorings, fresh berries, dried currants, chocolate chips, cheese, herbs, citrus, cinnamon or nearly any other favorite add-in that won’t result in too much moisture.
YIELD2
8-10 scones
1. Exact ingredients will vary based on recipe
2. Exact yields will vary based on recipe
TOOLS
Measuring cups or scale
Baking sheet
Parchment paper
Bench scraper
- Biscuit cutter or knife for cutting dough
PREP TIME
15 minutes plus 2 hours for chilling scones before baking
BAKE TIME
18-20 minutes
TOTAL TIME
2 hours and 35 minutes
STEP 1: MIX DRY INGREDIENTS
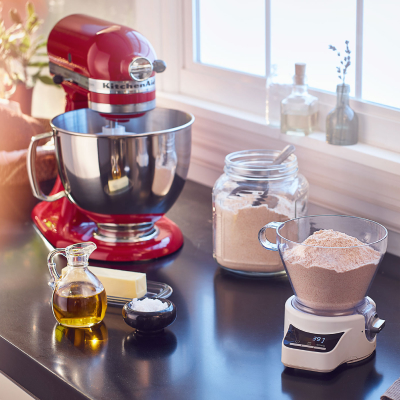
Attach your pastry beater to KitchenAid® stand mixer and mix salt, flour, sugar and baking powder on speed 2 until combined.
TIP: MEASURING
For greater accuracy and to help create consistent baking results, use a scale to weigh dry ingredients. The KitchenAid® Sifter + Scale Attachment accurately measures, thoroughly sifts and automatically adds ingredients directly to your mixer bowl in just one step.
TIP: FLOUR
Using flours with lower levels of protein will help create lighter scones. All-purpose flour has a protein content of about 10-12%, mixing it with a cake flour will help create less dense scones. Replacing a portion of the all-purpose flour with pastry flour can also help produce tender, flaky scones.
STEP 2: ADD BUTTER
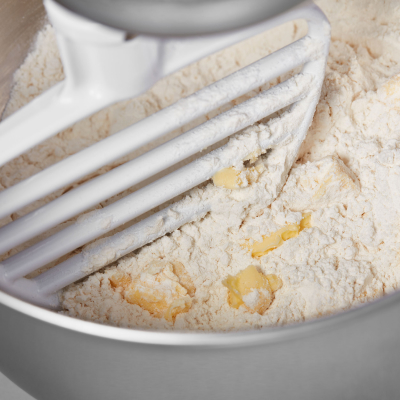
Add cold cubes of butter to dry ingredients, increase mixer speed to 4 and combine until mixture resembles coarse crumbs.
TIP: BUTTER
Very cold butter and a dough that’s not overmixed are key to creating flaky scones.
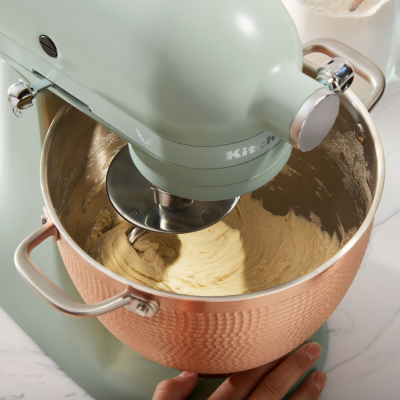
STEP 3: ADD WET INGREDIENTS
Scrape sides of bowl and add buttermilk—and vanilla, or other extracts and wet ingredients, if you’re using—combine on speed 6 until dough forms, about 8 seconds.
TIP: MILK
Using a heavier milk like buttermilk or cream will yield a richer tasting, less flat scone. For a non-dairy option, nut milks are delicious choices.

STEP 4: KNEAD DOUGH
Transfer dough to a floured surface and using a light hand, knead 6-8 times until dough just comes together.

STEP 5: REFRIGERATE DOUGH
Quickly form dough into a round, flat 1-inch disk. Wrap in plastic wrap and refrigerate for at least 2 hours, or overnight.

STEP 6: BAKE SCONES
Preheat oven to 350ºF. Unwrap the disk and cut into wedges, or use a biscuit cutter dipped in flour to cut dough. Place scones on a parchment lined baking sheet and brush with egg wash, buttermilk or cream. Baking times may vary with ovens—large scones bake for 12-20 minutes and smaller scones bake for about 8 minutes.
TIP: BAKING
Placing the scones on the baking sheet so they are touching helps them to rise vertically during baking, giving you a taller, finished scone.
SHOP KITCHENAID® STAND MIXERS FOR MAKING SCONES
The KitchenAid® stand mixer is the ideal tool for mixing scone ingredients into light, airy special treats with less effort. Take your scone game up a notch by attaching a Pastry Beater for KitchenAid® Tilt-Head or Bowl-Lift Stand Mixers—which are specifically designed for the challenging task of cutting cold butter into doughs for light and flaky pastries.


WHAT ARE THE MOST POPULAR TYPES OF SCONES?
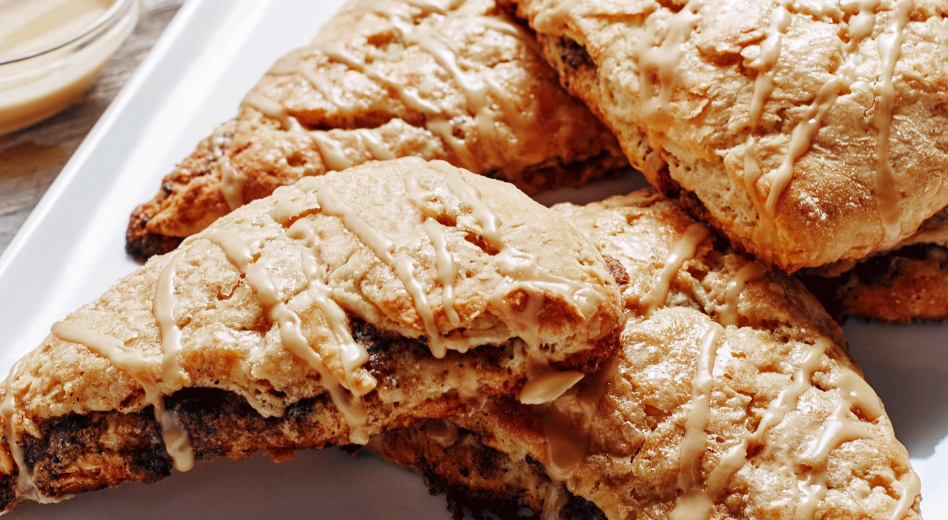
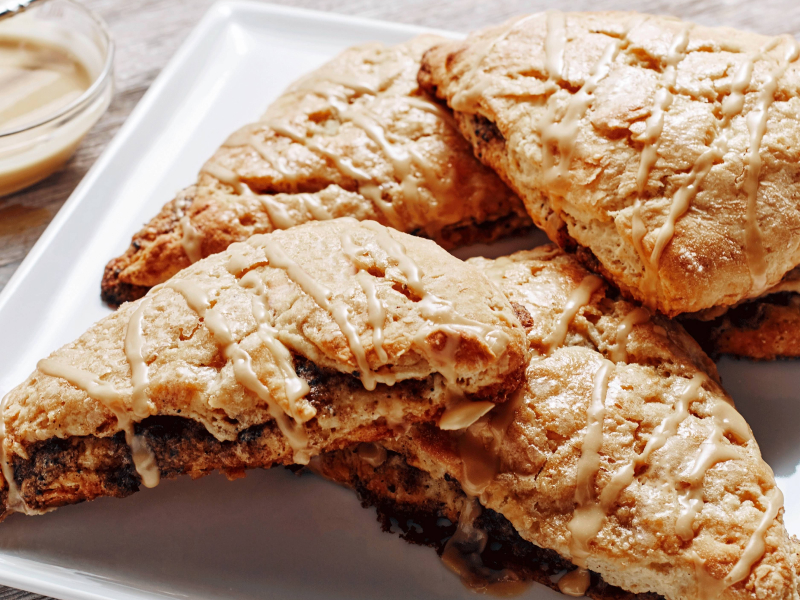
Scones filled with fresh blueberries, strawberries, raspberries, or blackberries and drizzled with a vanilla or citrus glaze are perennial favorites. Dried fruits, toasted nuts, chocolate, warm spices, apples and pumpkin make mouthwatering scones for cooler seasons.
Savory scones are less common, but flavorful cheeses, prosciutto, bacon or ham, scallions, jalapenos and herbs make delicious scones to accompany an egg dish at brunch, or afternoon tea.
Blueberries and citrus are a popular scone flavor combo. See how these ingredients come together in this craveworthy Blueberry Scone recipe. Don’t miss these tender Scoop and Drop Lemon Citrus Scones; they’re topped with a thumbprint of your favorite jam before baking. Or stick to basics with this simple breakfast scone recipe that can be prepared in a stand mixer.
TIP: SUGAR
If you’re adding sweet ingredients like fruit or chocolate to your scones you’ll want to reduce the amount of added sugar so your scone recipe isn’t overly sweet.
SHOULD SCONE MIX BE WET OR DRY?
Your scone dough should be wet enough to stick together; a dough that’s too dry will produce scones that are crumbly and a dough that’s too wet can produce scones that are tough. To help create a nice light stand mixer scone texture it’s better to err–slightly–on the sticky side rather than the dry side.
HOW LONG DO YOU KNEAD SCONE DOUGH?
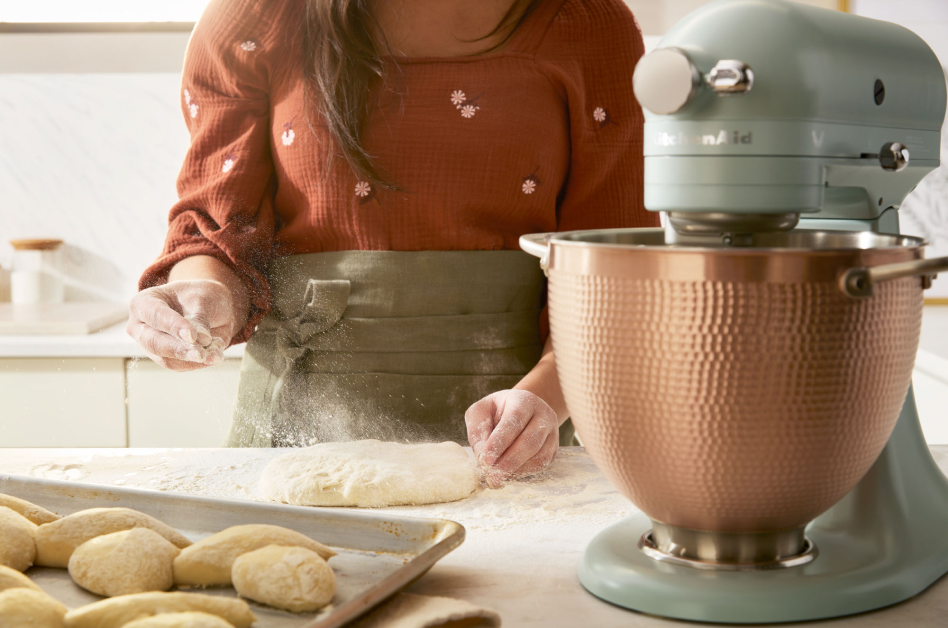
You don’t want to overwork your dough because it leads to tough chewy scones. Using a light hand to bring the dough together and shape it into a disk is all the kneading required and should take less than thirty seconds.
WHAT MAKES SCONE DOUGH RISE HIGHER?
In addition to leavening agents, baking powder or soda, which react in the oven and form carbon dioxide gas to puff up your scone recipe, ensuring that butter is cold will also help scones rise.
As the scones bake, the cold butter melts and creates steam, trapping it in the dough and creating air pockets. As the dough cools, these pockets become layers of flaky scone.
If you’re baking scones on a hot day, or in a warm climate, consider freezing the butter before incorporating into dry ingredients to help ensure that the butter doesn’t melt before scones are placed in the oven.
WHAT MAKES SCONES FLUFFY
Learning how to make scones fluffy and tender includes an understanding of the importance of handling the dough gently. The dough should be just combined and include lumps and bumps; it shouldn’t be smooth and thoroughly mixed. The point of kneading the dough is to just bring it together to shape it, not to develop a gluten network, as you do when you knead dough for more structured breads.
EXPLORE KITCHENAID® STAND MIXERS, ACCESSORIES AND ATTACHMENTS
Making scones from scratch can be a delicious and gratifying culinary experience when you start with the right tools. An iconic KitchenAid® stand mixer and game changing accessories—like pastry beaters designed to work with the bowl to break butter into small pieces for flaky pastries, or, 10+ attachments to make more with your mixer—are all that’s needed to help create truly mouthwatering baked goods.