
HOW TO USE A KITCHENAID® STAND MIXER IN 9 EASY STEPS
There’s a reason KitchenAid® stand mixers are commonly gifted to newlyweds or new homeowners. These versatile appliances can be used for a wide variety of baking and cooking needs that go way beyond mixing cookie dough. A stand mixer can quickly become the center of any kitchen, helping passionate cooks, bakers, dabblers, and experienced chefs alike recreate classic dishes or discover something new.
While it’s tempting just to toss in some ingredients and get mixing, it’s important to understand how to use an electric stand mixer to get the best results.
This step-by-step guide will teach you about using a stand mixer so you can get the most out of your new appliance and unleash the full potential of your creativity across the kitchen.
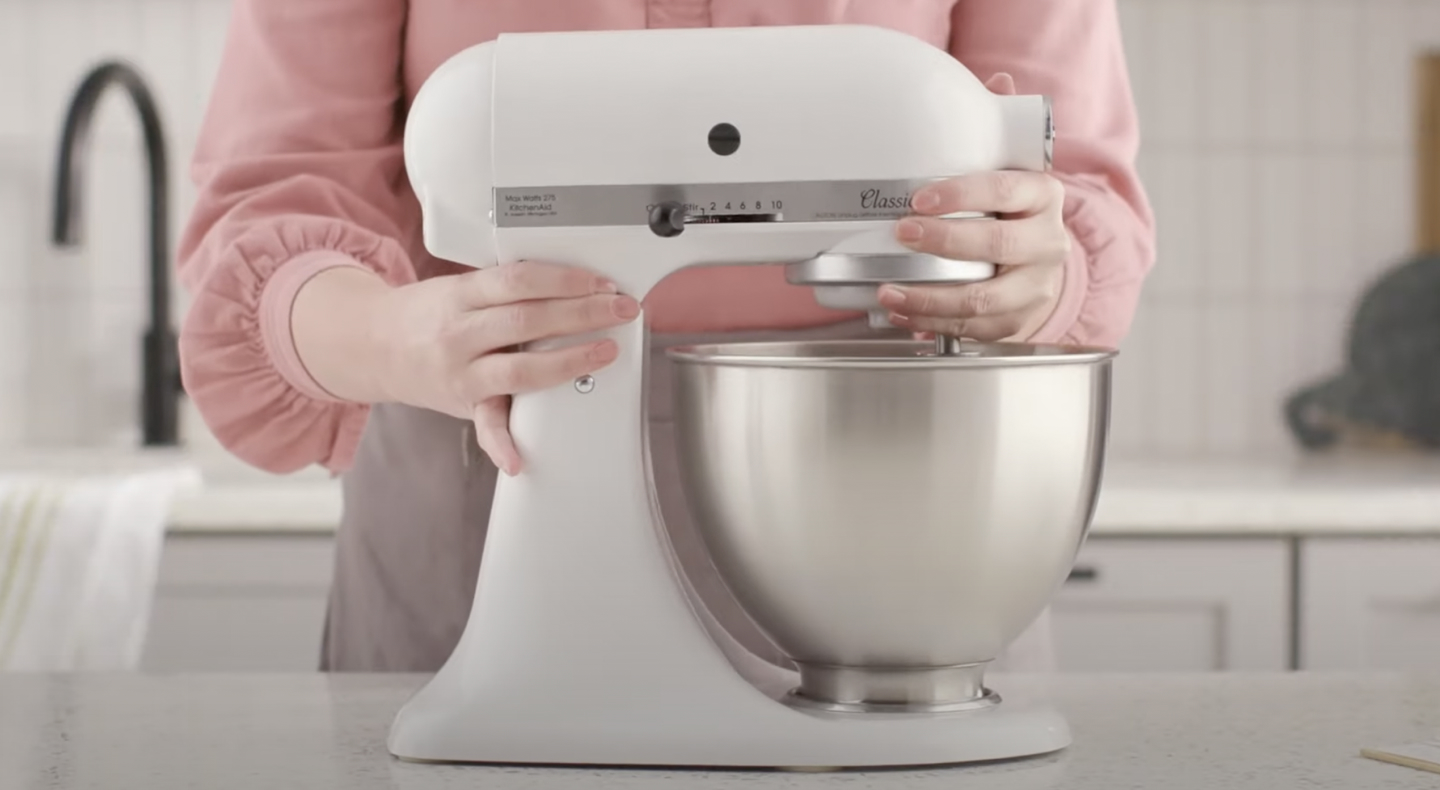

STEP 1: PLACE YOUR STAND MIXER ON A FLAT SURFACE
Place your stand mixer on a flat, hard surface such as a countertop. This will ensure stability and help your ingredients blend more consistently.
Stand mixers can be stored in a cupboard or on a shelf when not in use. If you’re short on counter space, consider a KitchenAid® mini stand mixer that is lighter and more compact than other stand mixer models. It will take up less counter space and is easier to move around if you want to store it away. Otherwise, many owners choose to keep their stand mixer on the countertop at all times so it’s ready to use whenever inspiration strikes. With so many colors, styles, and bowls to choose from, you can create a personalized style for a KitchenAid® stand mixer that is not only useful but adds a touch of style to your countertops.
Shop KITCHENAID®STAND MIXER BOWLS
Stand mixer bowls from KitchenAid brand are available in a variety of textures, sizes, patterns, colors and materials to fit your kitchen’s aesthetic and culinary aspirations. Choose from ceramic, stainless steel or glass bowls with three, five or seven quarts ready to whip up your next masterpiece.
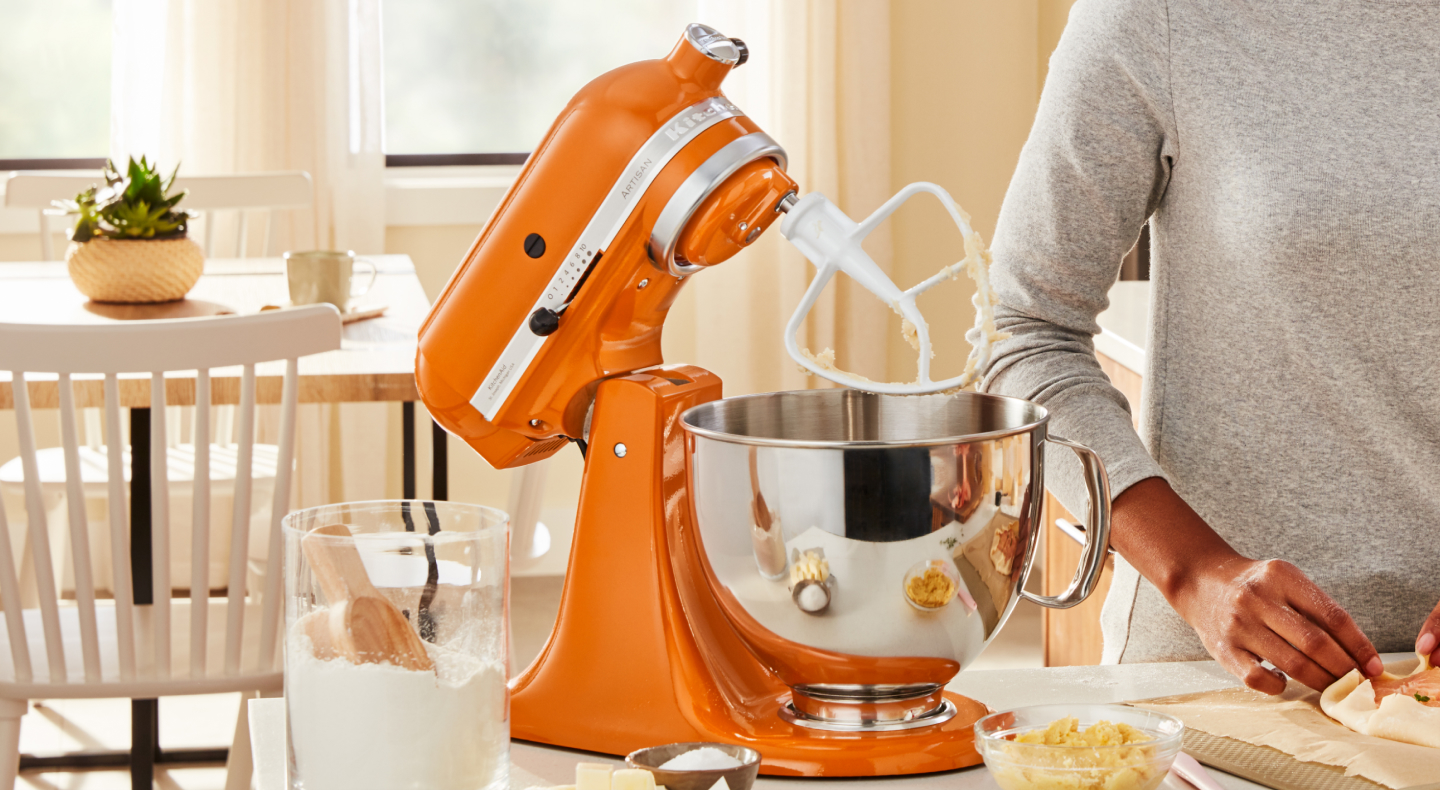

STEP 2: SELECT AND ATTACH THE RIGHT ACCESSORY
Select the appropriate accessory for the recipe you’re crafting. Mixing accessories easily attach to the shaft of your KitchenAid® stand mixer to accomplish the task you need: stirring, mixing, beating, whipping or kneading—to name a few.
You’ll choose one of three accessories:
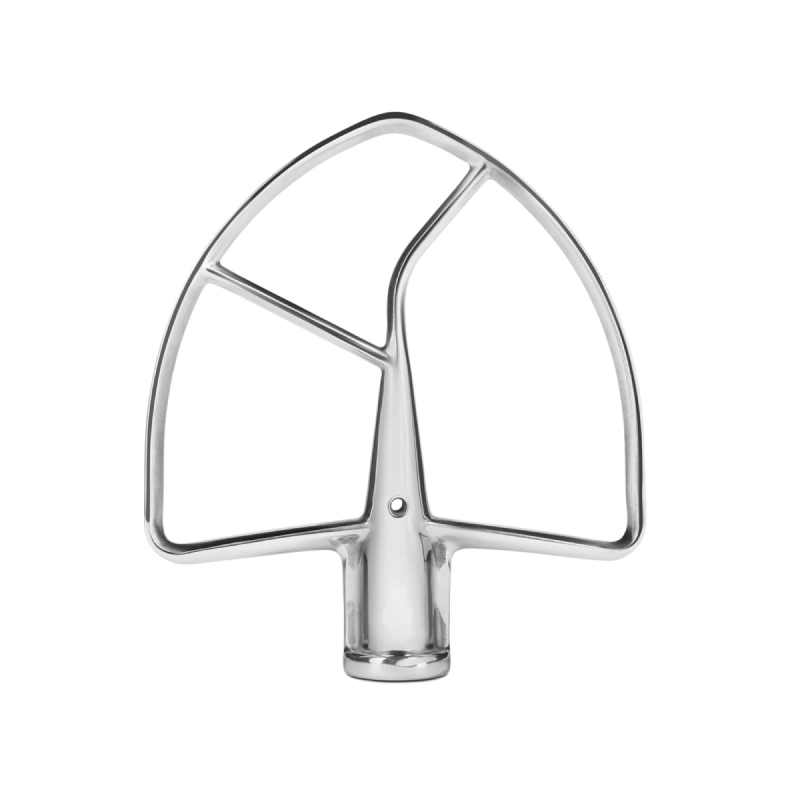
Flat Beater: This is your main accessory for most mixing, stirring and blending jobs. Use the beater when you’re making any kind of batter such as a cake, brownies, donuts or waffles, or if you’re making cookies or mashing potatoes. This is also your go-to if you’re using your stand mixer to make biscuits, scones, pastry or pie crusts. This beater also works great to shred chicken, mash and mix ingredients for guacamole, and prepare many other savory dishes. For added scraping ability, the Flex Edge Beater features a flexible side that reduces the need to scrape down the sides of the bowl.
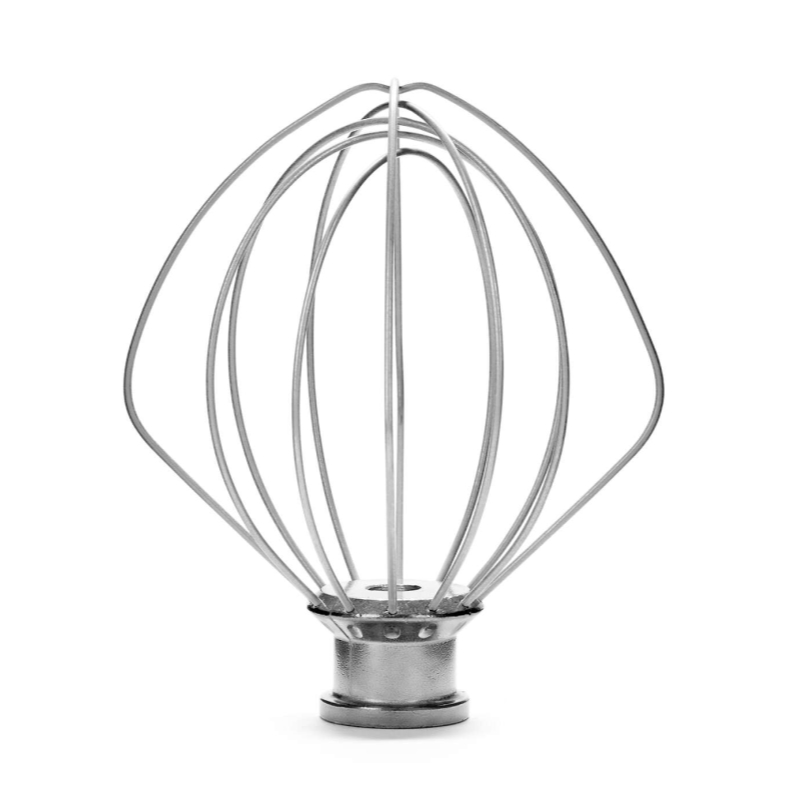
Whip: The whip accessory is more powerful (and quicker) than whisking by hand. It incorporates air into your ingredients for recipes requiring aeration. Use the whip for making whipped cream or whisking eggs for omelets, souffles or meringue. This is ideal for recipes for meringues, mousses, or pavlova.
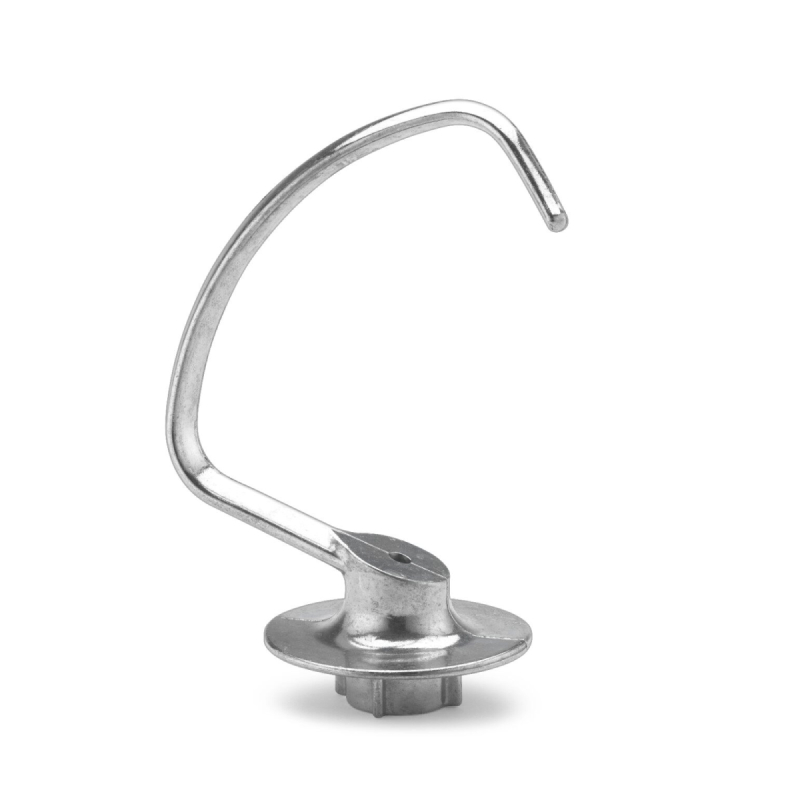
Dough Hook: Use your C-shaped or spiral dough hook to knead doughs. If you’re making bread, pizza dough, pasta or pretzels, this is the accessory to choose.
Every KitchenAid® stand mixer comes equipped with a flat beater, whip, dough hook and a bowl. You can purchase additional accessories and bowls to help you create even more like ice cream and shaved ice treats like kakigori. Or, shop the above accessories in different materials to suit your preference. Shop all KitchenAid® stand mixer attachments and accessories to see what’s compatible with your stand mixer.
Once you’ve selected the proper accessory, it’s easy to attach it to your stand mixer. Each accessory installs under the head of your stand mixer, whether you have a tilt-head or bowl-lift model. To attach an accessory on a tilt-head stand mixer, slide the lever to unlock the head and tilt it backward. For bowl-lift models, you’ll reach up underneath.
To attach a beater, whip or dough hook, turn the stand mixer’s speed control to OFF and unplug the mixer. Locate the beater shaft under your stand mixer’s head. Line up the pin on the shaft with the notch on the accessory and slide it over the shaft and up as far as possible. Then, turn the accessory counterclockwise until it is secure.

STEP 3: SECURE YOUR MIXING BOWL
How you secure your mixing bowl depends on whether you have a bowl-lift or a tilt-head stand mixer. The technique is the same whether you have a glass, stainless steel, or ceramic bowl.
TILT-HEAD STAND MIXERS
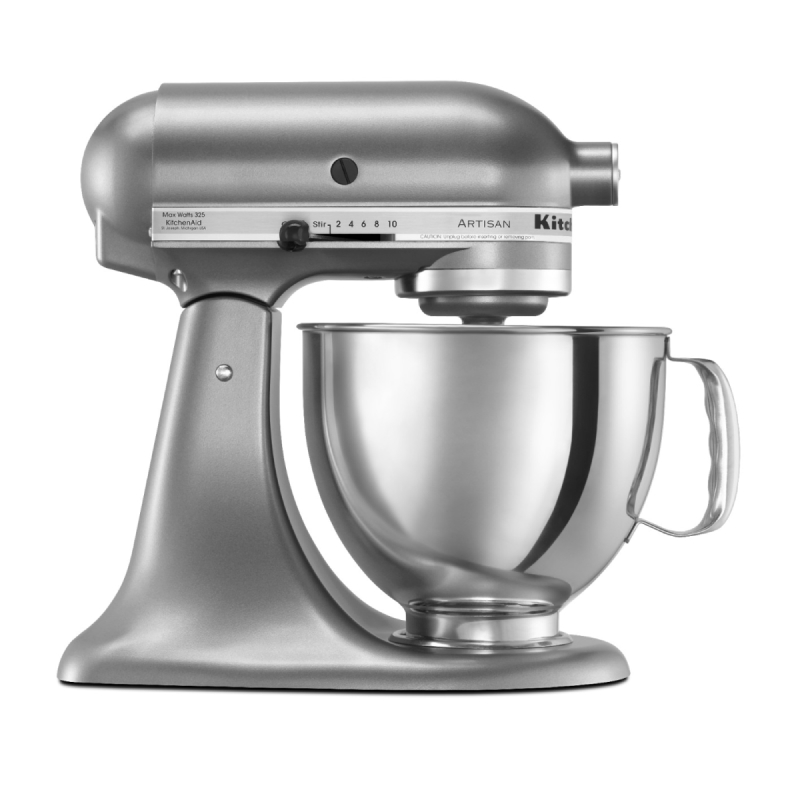
The head of a KitchenAid® Tilt-Head Stand Mixer raises and lowers to allow you to place or remove the bowl with ease. With these models, the mixing bowl secures into the bowl-clamping plate on the base of the stand mixer.
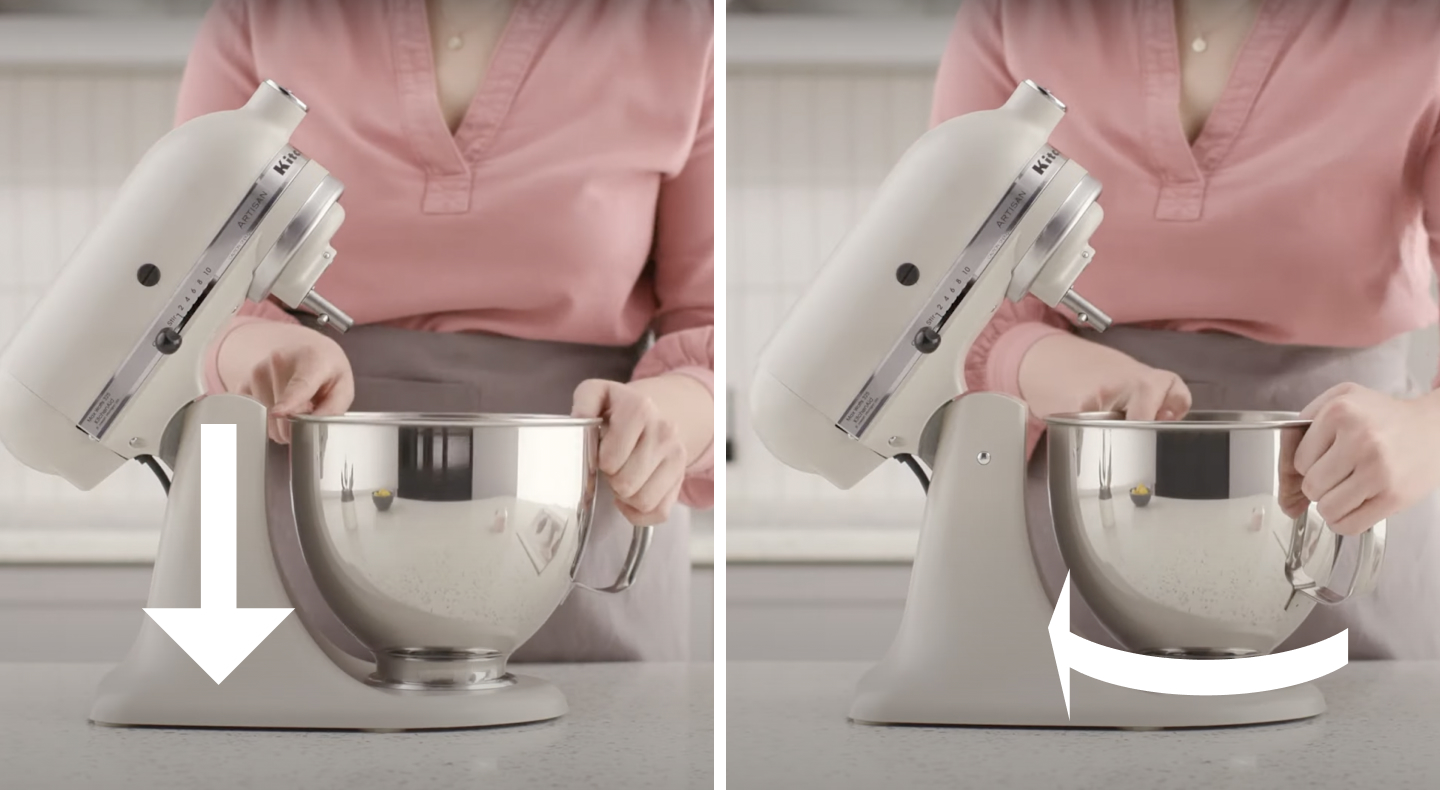
To attach your KitchenAid® mixing bowl to a tilt-head stand mixer, align the bowl with the bowl-clamping plate. Push downward slightly and twist clockwise from above until it is secure. Test by pulling upward slightly or attempting to wiggle it. The bowl should not move once it is positioned correctly. If you get any play, repeat steps to ensure it is firmly in place.
EXPLORE KITCHENAID®tilt-head stand mixers
Quickly add ingredients and swap out attachments with tilt-head stand mixers from KitchenAid brand. Discover an assortment of unique colors and textures to find the right look to complete your kitchen.
Bowl-Lift Stand Mixers
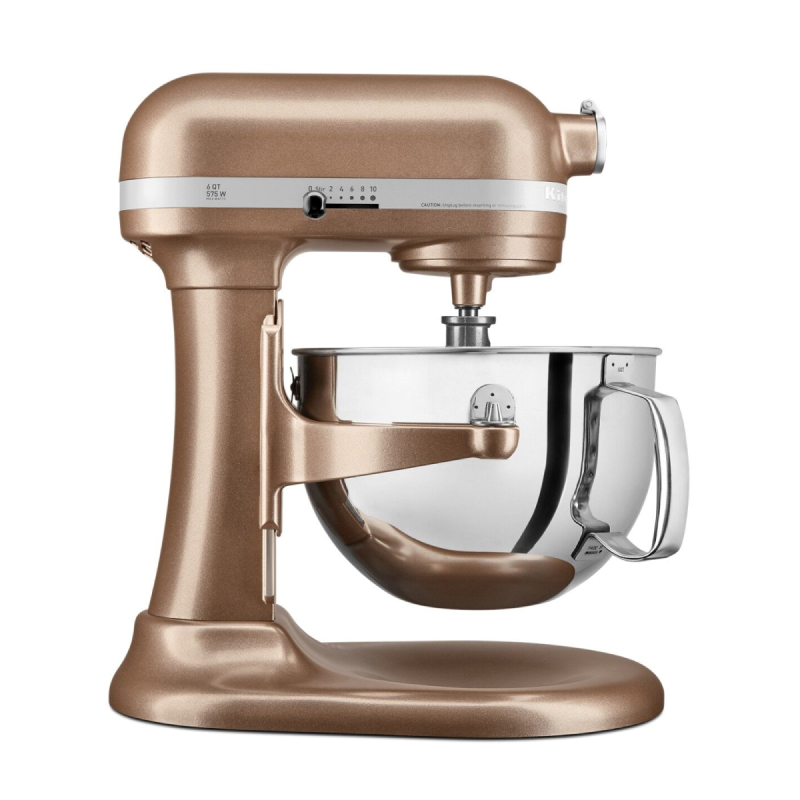
A KitchenAid® Bowl-Lift Stand Mixer uses specially designed mixing bowls that snap into place on the mixer’s support arms to provide stability and support for heavy batches. You raise or lower the bowl to bring the ingredients to the beater.
To attach the bowl, turn the speed control to OFF and unplug your stand mixer. Put the bowl-lift handle in the DOWN position and position the bowl supports over the locating pins. Press down on the back of the bowl until you hear the pin snap into the spring latch. You should get an audible “snap” if done correctly.
To raise the bowl, rotate the bowl-lift handle upwards slowly to the desired position. Make sure the bowl is securely in the locked position before mixing. When you’re ready to lower the bowl, rotate the handle back and down.
NOTE: Do not raise the bowl or lower the head just yet. It’s time to add your ingredients to the bowl.
EXPLORE KITCHENAID® BOWL-LIFT STAND MIXERS
Mix large batches and heavy ingredients with bowl-lift stand mixers from KitchenAid brand. Shop mixers with large capacity and all the power you need to create plenty of your favorite dishes.
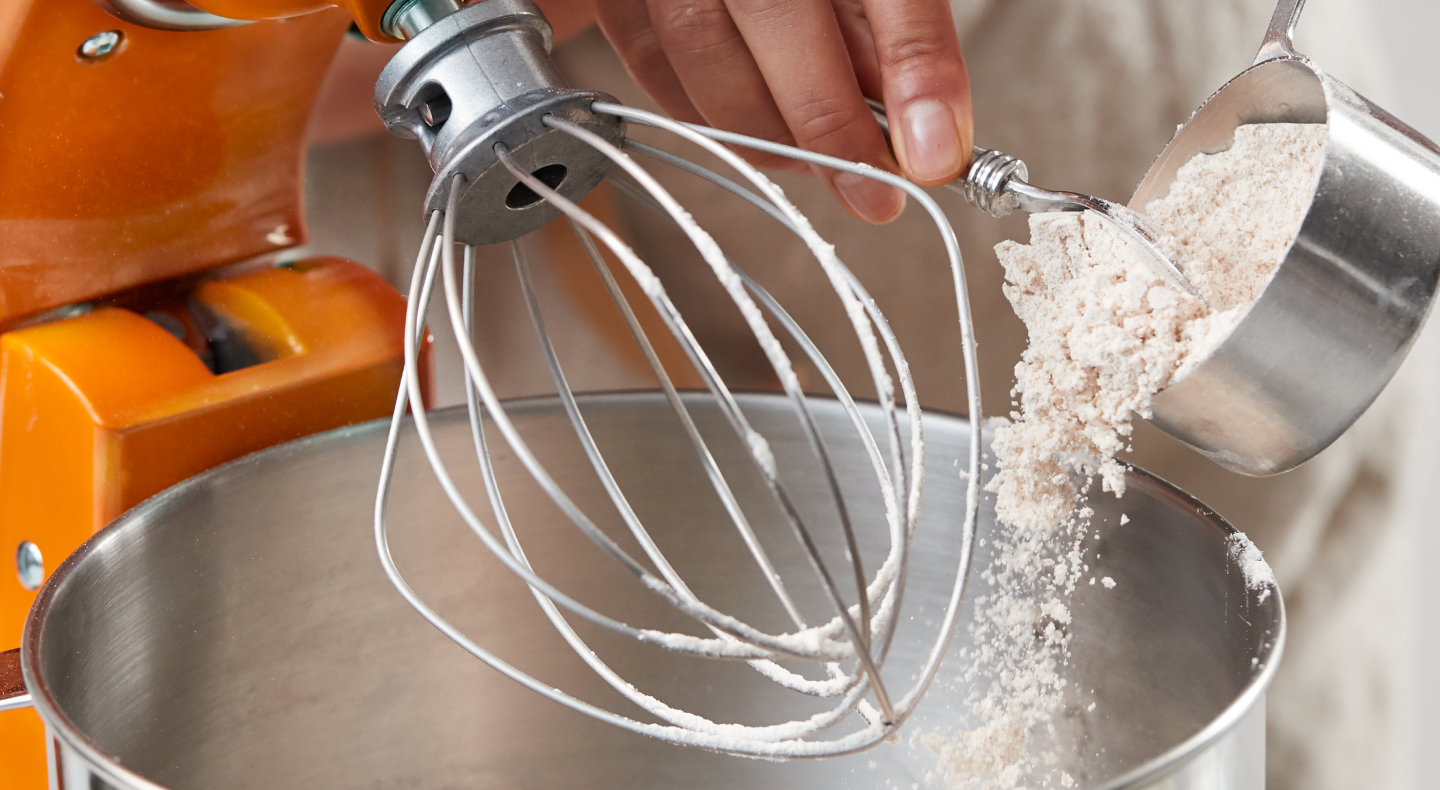

STEP 4: ADD YOUR INITIAL INGREDIENTS
When your stand mixer head is tilted back or your bowl is lowered, it’s easier to add ingredients. This position provides the largest amount of room for you to work and allows you to properly measure ingredients.
When adding dry ingredients, the KitchenAid® Sifter+Scale Attachment accurately measures, thoroughly sifts and automatically adds ingredients directly to your mixer bowl in just one step—no need to lower the bowl or tilt the head back. This is a great attachment for bakers looking to achieve precision for consistent and fluffy results.
TIP:
Pay attention to the order in which you add your ingredients—with many recipes, this step is critical to achieving the best outcome. Depending on your recipe, some ingredients may need to be added after the mixing process has started. If that’s the case, do it slowly, a little at a time, to avoid messes and ensure even blending.
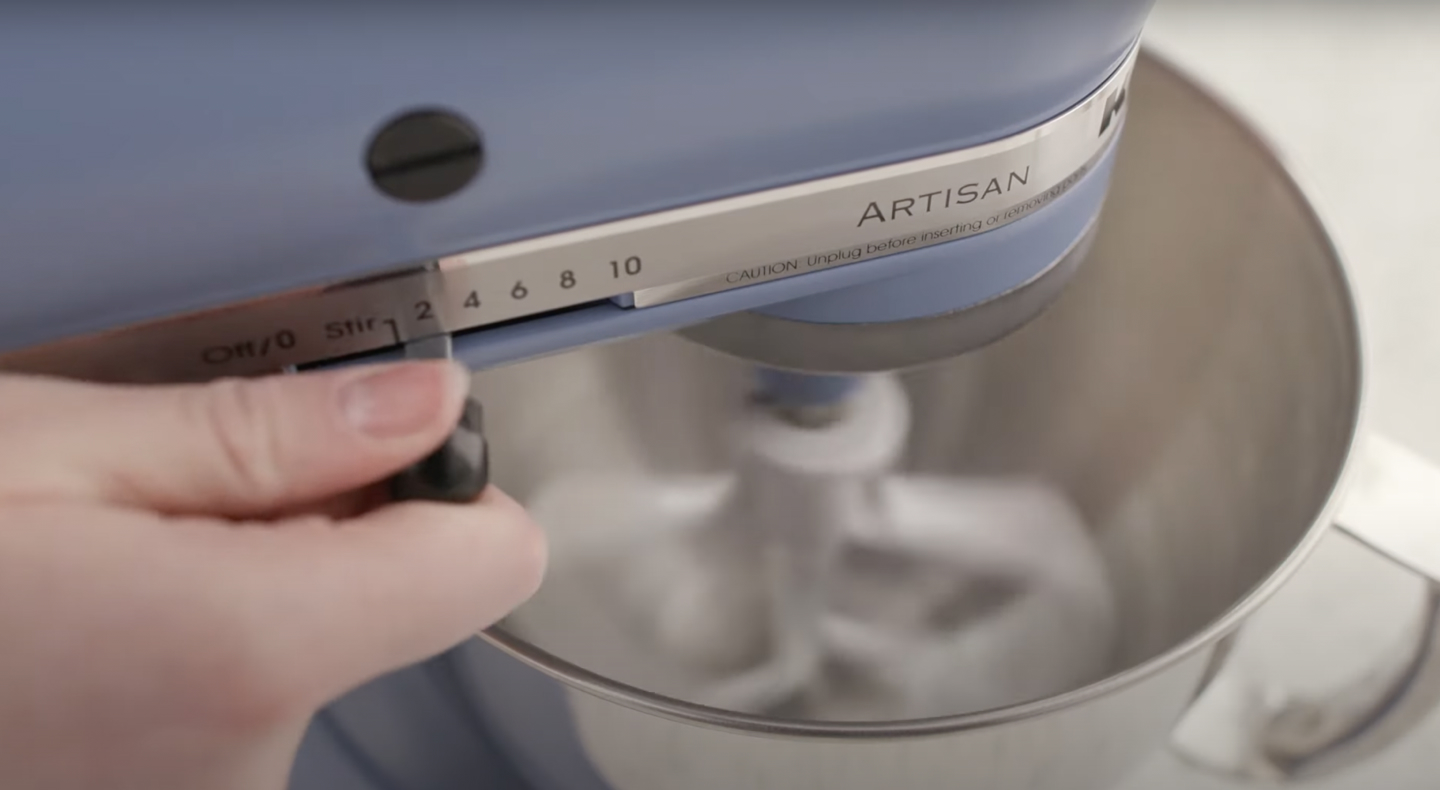

STEP 5: TURN YOUR MIXER ON AND SELECT THE CORRECT SPEED
KitchenAid® stand mixers offer 10 different speeds to help you achieve the best results for your recipe. The combination of the right accessory with the right speed enables you to create everything from homemade whipped cream to expertly kneaded breads.
To select the right speed, lower the head of your tilt-head stand mixer and slide the locking lever to the locked position or raise the bowl of your bowl-lift mixer to the up position, using its lever. Slide your stand mixer’s speed lever to the first position which “turns it on.” Slowly adjust the speed lever until you reach the correct speed for your task, depending on your recipe.
NOTE: The motor head should always be kept in the LOCK position when using the stand mixer.
TIP:
Choosing the right speed for each task is important. A faster speed does not mean your dish will be ready sooner. In fact, each speed on your KitchenAid® stand mixer helps achieve a particular result depending on the recipe and contents.
WHAT’S THE BEST STAND MIXER SPEED?
Slower speeds (1-2) are designed for gentle stirring and mixing. Use the slowest speed when the recipe calls for adding ingredients like flour or milk and speed 2 for thin, splashy batters or starting mashed potatoes. This is also the speed for kneading dough with your hook.
Medium speeds (4-5) are useful when mixing batter until it’s smooth or ensuring all dry ingredients are thoroughly mixed in. Use these when the recipe calls for mixing or beating.
Medium-high speeds (6-7) are used when the recipe calls for beating or creaming. This is the speed you typically finish on for cake and other batters, after working up from slower speeds.
High speeds (8-10) allow for an abundance of air to be incorporated. This is best for whipping eggs or cream, or for creating a fluffier mixture such as a boiled frosting. These speeds are where your whip accessory shines.
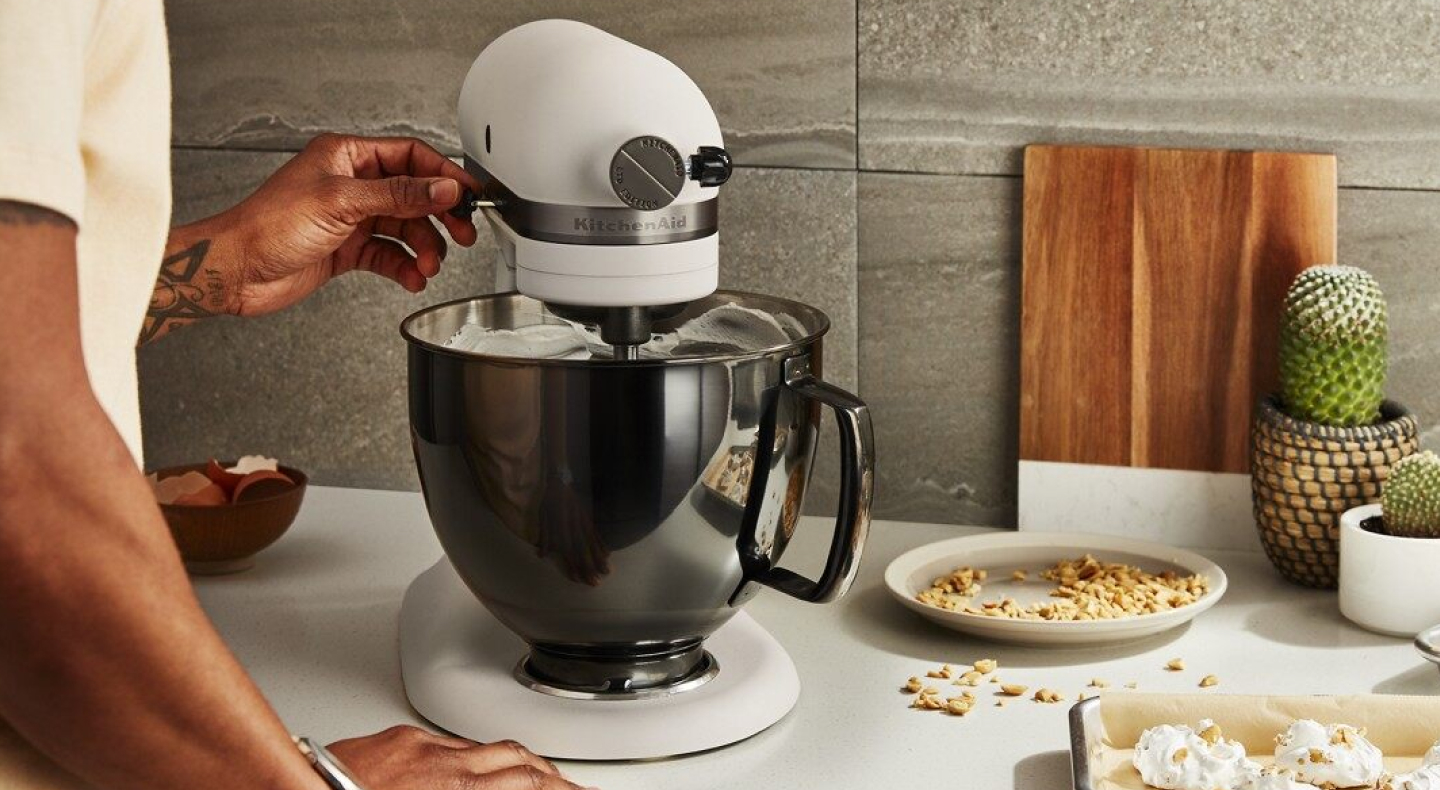

STEP 6: MONITOR YOUR MIXER AS IT RUNS
A KitchenAid® stand mixer should always be watched by an adult while it’s running. Even though stand mixers are hands-free, you should keep an eye on it at all times to ensure the proper consistency of your mixture.
TIP:
Be sure not to over-mix or over-whip! With the powerful motor of a stand mixer, your whipped cream can turn to butter in seconds and overmixing your cake batter will make it dense and flat from too many gluten strands.
NOTE: Do not scrape the bowl while the stand mixer is operating. Turn your stand mixer off before scraping. To reduce the need to scrape, use a KitchenAid® Flex Edge Beater which features a flexible edge that thoroughly scrapes ingredients into the bowl while mixing.
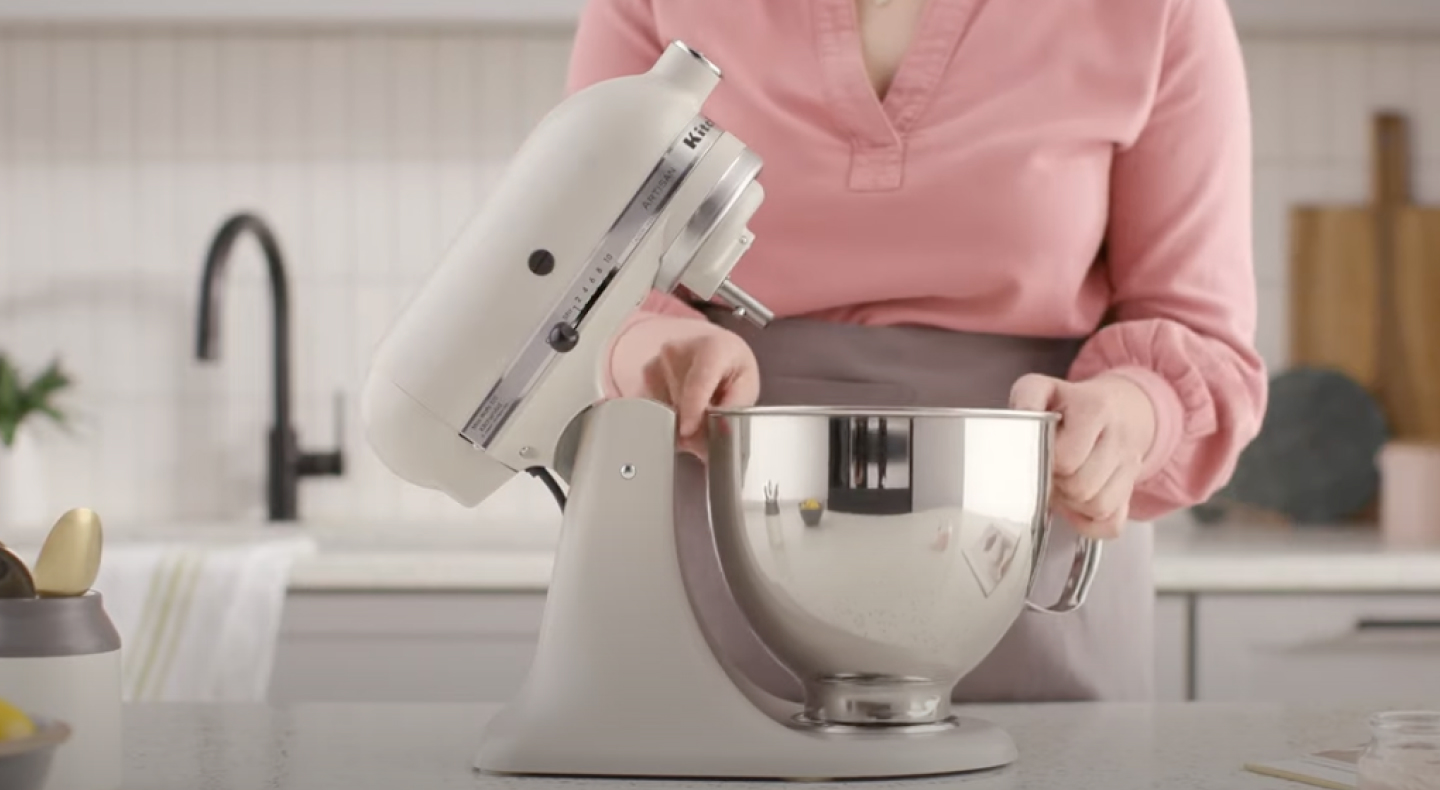

STEP 7: REMOVE THE MIXTURE, BOWL AND ACCESSORY
Once you’ve finished your task, it’s time to transfer your mixture and continue to the next step of the recipe or enjoy the dish you’ve just prepared.
To remove the bowl on a tilt-head stand mixer, turn the speed control to OFF and unplug the stand mixer. Slide the lever to the unlock position and tilt the head of the mixer back. Remove the flat beater, wire whip or dough hook by pushing up, turning clockwise and pulling downward. Turn the bowl counterclockwise until you feel it detach from the bowl-clamp plate.
To remove the bowl on a bowl-lift stand mixer, turn the speed control to OFF and unplug the stand mixer. Rotate the bowl-lift handle to the down position. Remove the flat beater, wire whip or dough hook by pushing up, turning clockwise and pulling downward. Grasp the bowl handle and lift straight up and off the locating pins.

STEP 8: CLEAN YOUR STAND MIXER
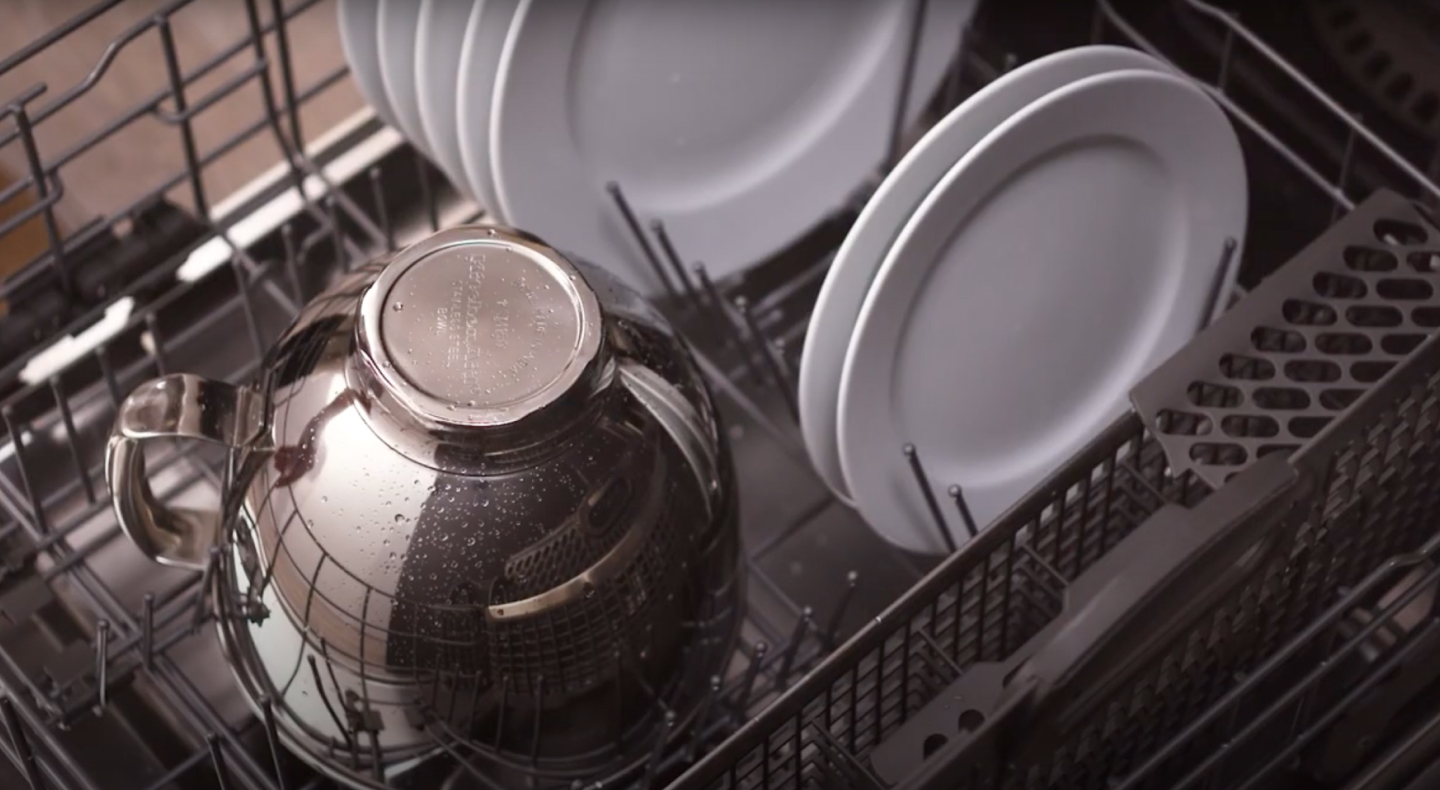
When you’re finished using the stand mixer, you’re ready to begin cleaning up. With dishwasher-safe bowls and accessories available, it’s an easy step to complete! Follow these tips to properly clean your stand mixer and accessories:
Make sure your stand mixer is unplugged before you begin cleaning.
The coated flat beater, dough hook, and mixing bowl may be washed in an automatic dishwasher or you can hand wash in hot, sudsy water. All wire whips should be hand washed and dried immediately. Do not place them in the dishwasher.
Wipe down your stand mixer with a warm, damp cloth. Do not use household or commercial cleaners. Wipe the base, beater shaft and mixer head. Do not immerse in water or get water into gears, ventilation ports or openings of any kind.
Make sure your stand mixer, bowl, attachments and accessories are completely dry before putting away.

STEP 9: PROPERLY STORE YOUR STAND MIXER
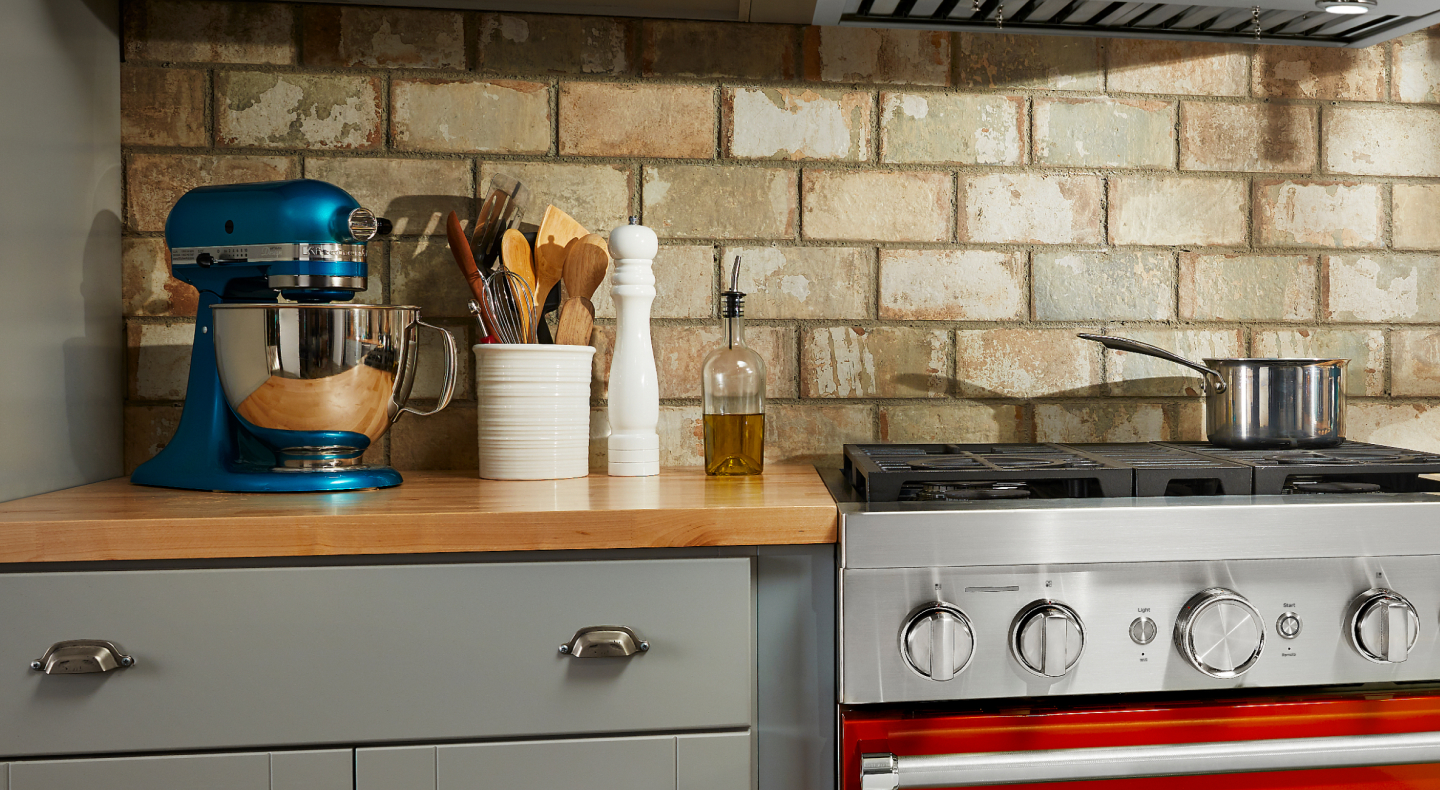
Store your stand mixer on the countertop to display your personality and style with a KitchenAid® stand mixer in your favorite color, like white, red, blue or Aqua Sky. Use our customization tool to personalize your mixer with your favorite color, bowl design, and a free engraving to add a countertop statement that’s all you. Storing your stand mixer on your kitchen counter also means it’s easily accessible when you need it. They only take up about a foot of counter space, and at 13-15 inches high, they will slide under the cabinets of nearly every kitchen.
However, if you’re lacking in counter space, keep your stand mixer in a pantry or cabinet that is tall enough to store the stand mixer vertically. Remember that your KitchenAid® stand mixer is a durable, heavy-duty appliance and weighs between 20 and 30 lbs., depending on the model. Make sure the shelf you’re storing it on can support the weight.
NOTE: Do not store your accessories on the beater shaft. You can keep them in the mixing bowl for easy and accessible storage.
EXPLORE KITCHENAID®STAND MIXERS NOW
Stand mixers from KitchenAid brand can help you discover new twists on your favorite recipes, providing the tools you need to create an assortment of dishes. Find the style that reflects your creativity with dozens of colors to choose from in bowl-lift and tilt-head stand mixer configurations.

BONUS: SELECT AN ATTACHMENT TO USE YOUR STAND MIXER AS A VERSATILE APPLIANCE
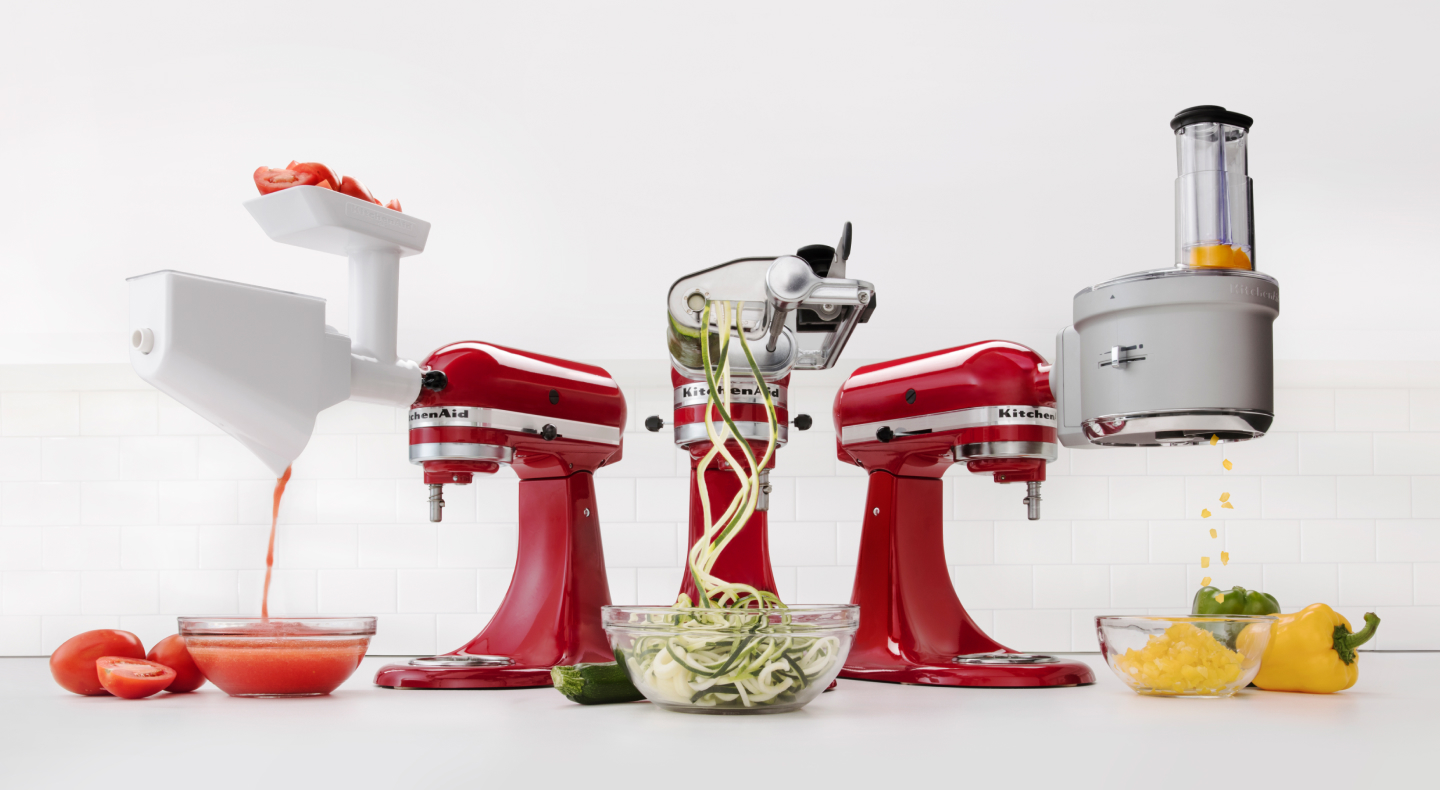
Stand mixer attachments can transform your mixer into a food grinder, grain mill, pasta press, shredder, sifter, dicer and more, making the mixer a go-to for nearly any kind of recipe. KitchenAid brand offers over 10 stand mixer attachments to help you explore new recipes, techniques, and inspirations. Attachments transform your stand mixer so you can:
Grind meat, cheese, bread crumbs, or other foods
Make homemade ice cream, ice cream cake, and frozen yogurt
Sift and weigh dry ingredients
Strain, juice and puree fruits and vegetables
Stuff sausage and ravioli
You don’t need a stand mixer attachment for mixing, beating, whipping or kneading tasks. However, attachments can transform your stand mixer into one of the most versatile countertop appliances in your kitchen. Attachments let you take your cooking and baking to the next level, try new techniques and discover new favorites. Take a look at how to use some of KitchenAid brand's most-loved attachments with the articles below.
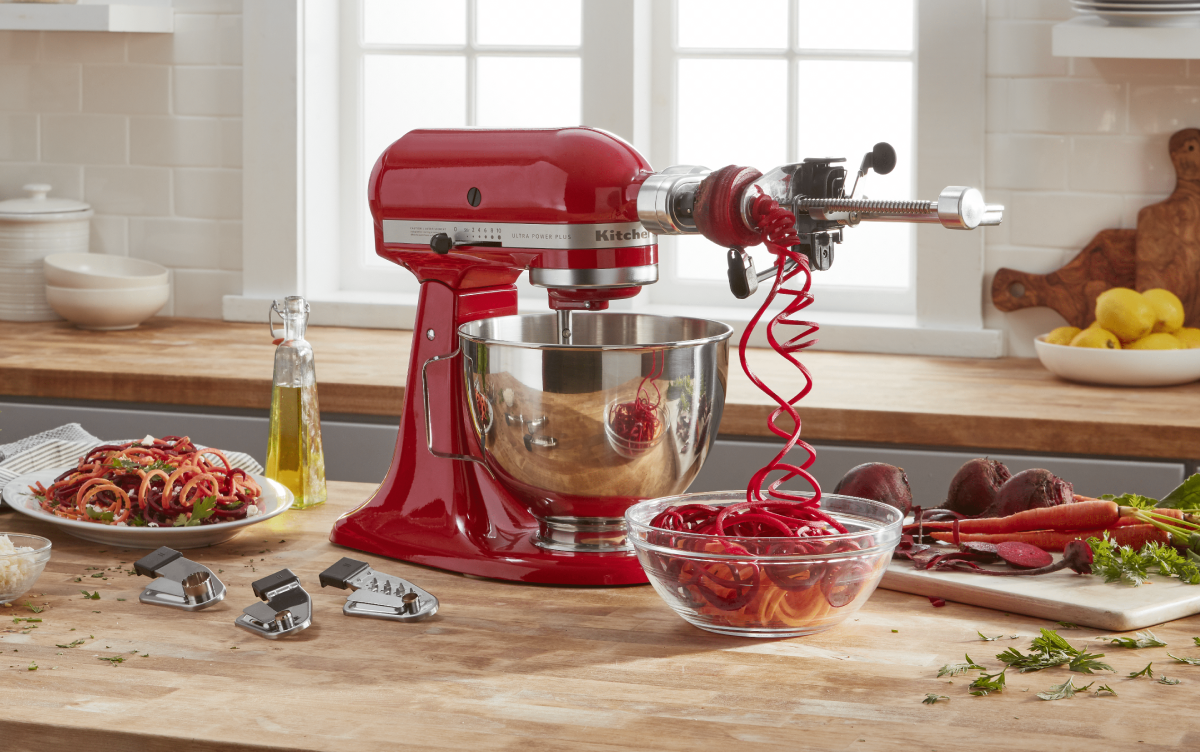
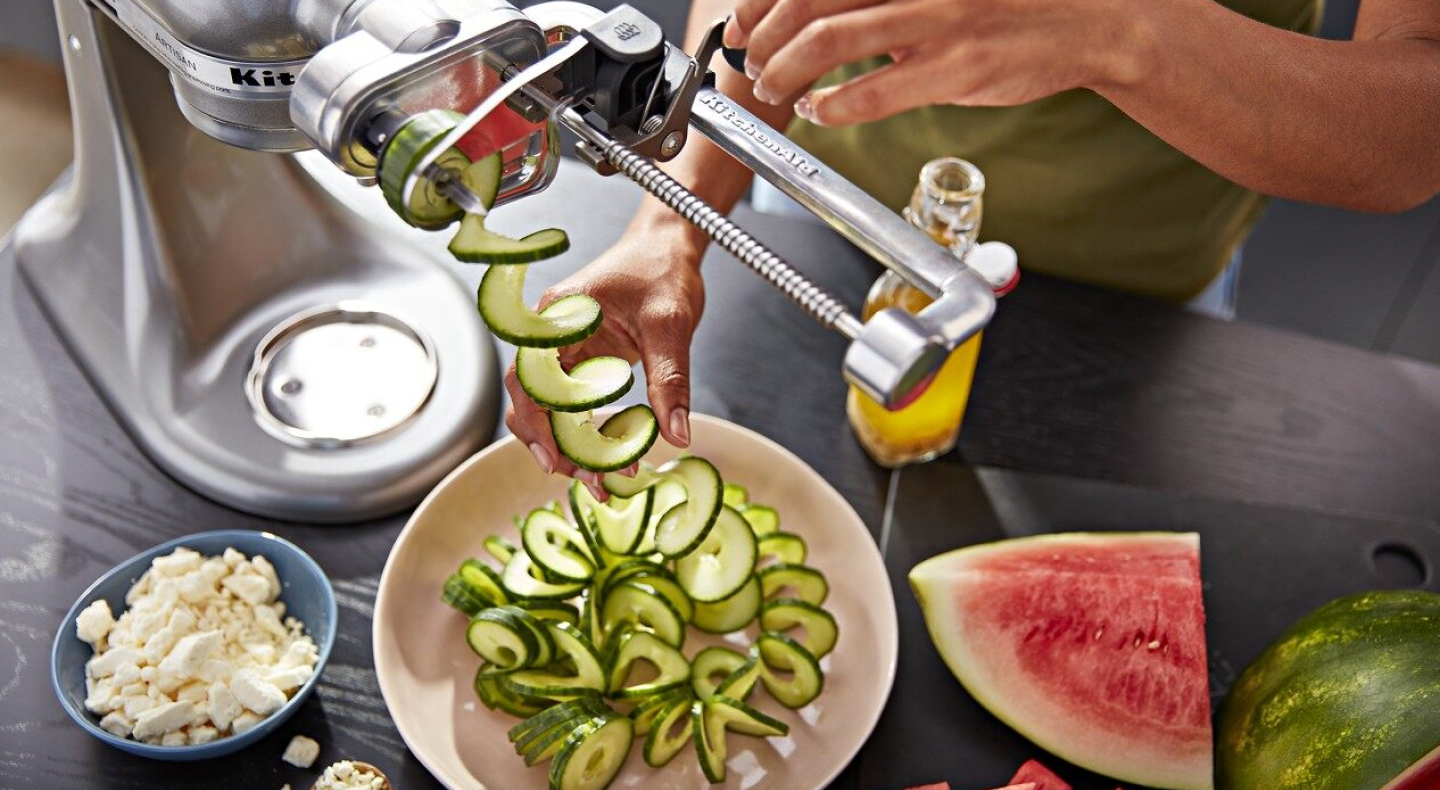
How to Use a Spiralizer
Your spiralizer has plenty of uses and can help make food prep easier. Learn more about using a spiralizer and get helpful tips with our guide.
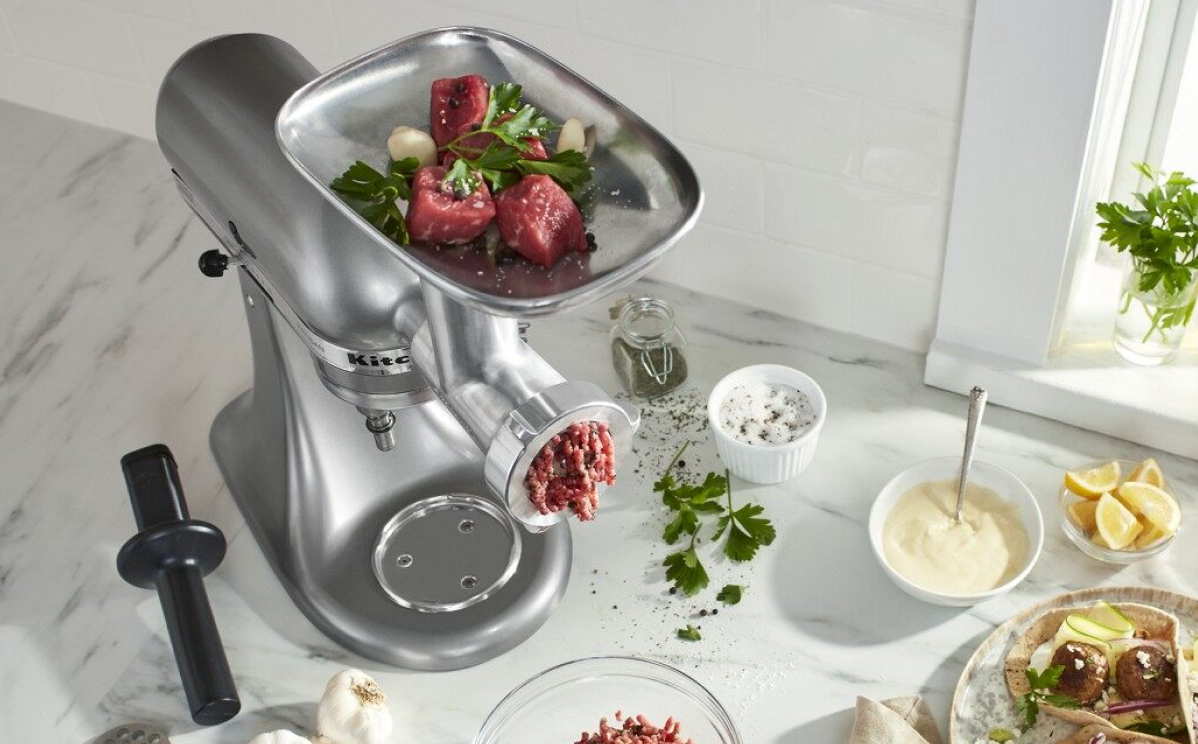
What is a Meat Grinder and How Does it Work?
Learn what a meat grinder is and how to use the KitchenAid® stand mixer food grinder attachment for sausages, potatoes and many more uses.

How to Use a KitchenAid® Ice Cream Attachment
Make nearly any ice cream with the KitchenAid® Ice Cream Maker attachment. Learn how to use a stand mixer ice cream attachment, plus setup and cleaning.
HOW TO USE AN ATTACHMENT WITH YOUR STAND MIXER
If you are using an attachment with your KitchenAid® stand mixer, omit step #2 above about selecting and inserting an accessory. Instead, follow these steps to install your chosen attachment. The steps are the same no matter which model, type or size of stand mixer you have.
Although each attachment is a little different, all of the power hub attachments connect to your KitchenAid® stand mixer the same way.
With your stand mixer unplugged, remove or flip up the KitchenAid® metal power hub cover located on the front of the mixer head. Loosen the thumb screw to the right of the power hub.
Insert the attachment shaft into the power hub, making sure that the shaft fits correctly into the square hub socket. Rotate attachment if necessary until it fits properly. When in the correct position, the pin on the attachment fits into the notch on the hub rim.
Tighten the thumb screw by rotating clockwise until the attachment is completely secured into the stand mixer.
Place your bowl or container of choice under the attachment, as needed.
Check the directions that accompany your specific attachment to find the recommended mixer speed to use. This can vary from the slowest stir speed for the ice cream attachment up to speed 10 for the grain mill. Pay attention to your product guide for best results.
Bowl attachments such as the Ice Cream Maker and the Precise Heat Mixing Bowl fit under your stand mixer, replacing your usual mixing bowl with the specialized attachment bowl.
KitchenAid® attachments are a great gift idea. Buying someone their first stand mixer? Throw in an attachment to help them get the most out of it. For example, our food and meat grinder attachments open a world of new recipes. Or, help someone discover new ways to enjoy the stand mixer they already love. Give a friend or family member an attachment that will add to their culinary repertoire, or add one to your own wish list.
SHOP KITCHENAID®STAND MIXER ATTACHMENTS
From rolling pasta to grinding meat and spiralizing veggies, there’s an attachment for every cooking style. Find the right attachment to inspire your next creation.

EVERYDAY TASKS AND NEW TECHNIQUES
Now that you know how to use your KitchenAid® stand mixer, it’s time to discover everything it can do. In addition to making cakes and cookies, you can knead dough or whip up a cheesecake using the accessories that come standard with your stand mixer, but that’s just the beginning.
Spiralize sweet potatoes for a unique risotto, cut sheets of zucchini for a new twist on manicotti, and rethink dessert with green tea macarons. Before long, you’ll have mastered using your stand mixer for all kinds of culinary creations. What will you make with your KitchenAid® stand mixer? Get started with this extensive list of stand mixer recipes.
Shop POPULAR KITCHENAID®STAND MIXERS
Discover powerful models in a range of capacities and fresh, statement-making colors to keep up with your culinary evolution.