
How to Make Whipped Cream in a Stand Mixer
Whipped cream is the perfect final touch to a range of popular desserts – from sundaes and pumpkin pie, to hot chocolate and bread pudding. Fluffy, light and sweet, a great whipped cream is simple to make with just a few ingredients and the right tools. Knowing how to make whipped cream at home can elevate any dessert recipe you’re experimenting with. Read on for a homemade whipped cream recipe that you can create using a KitchenAid® stand mixer and a little creativity.
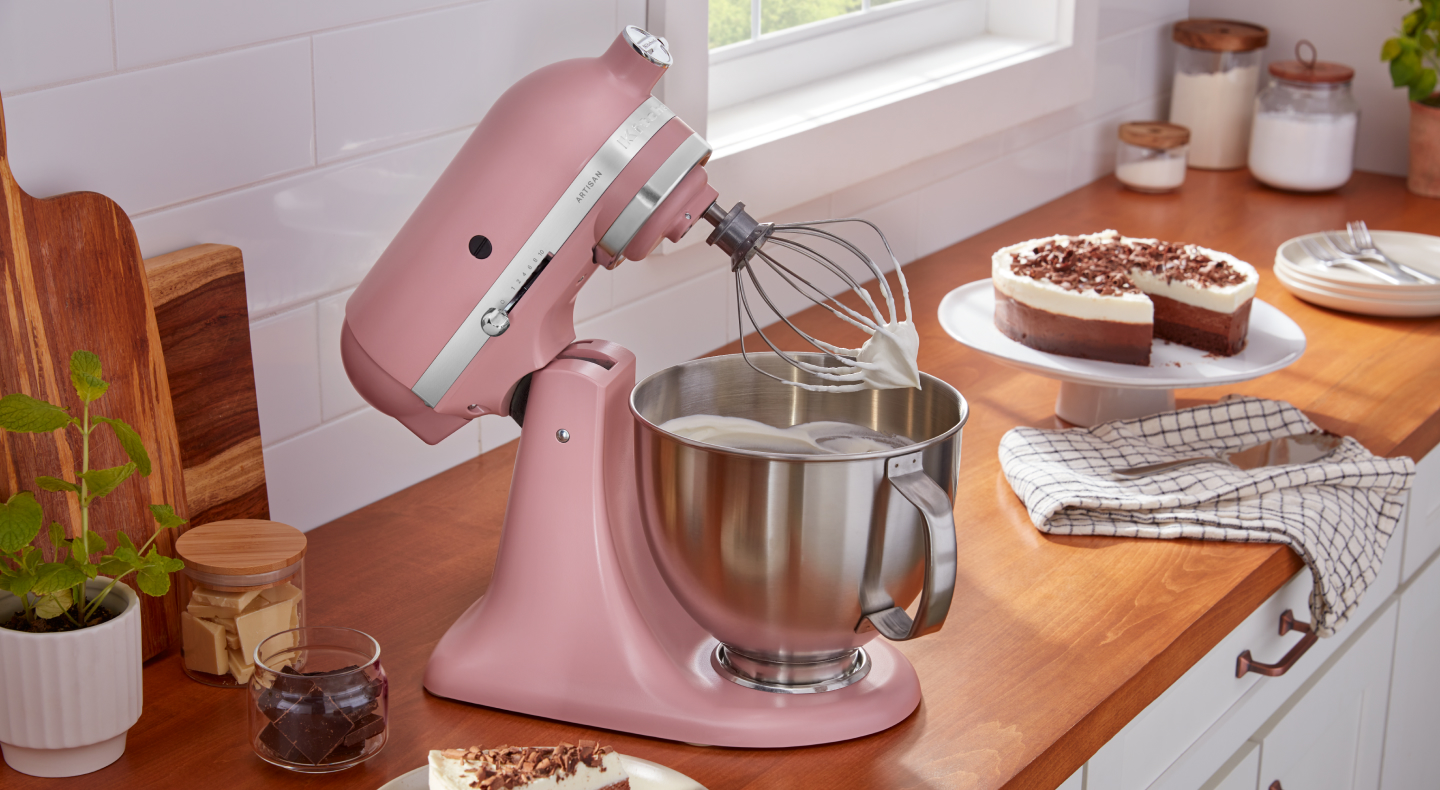
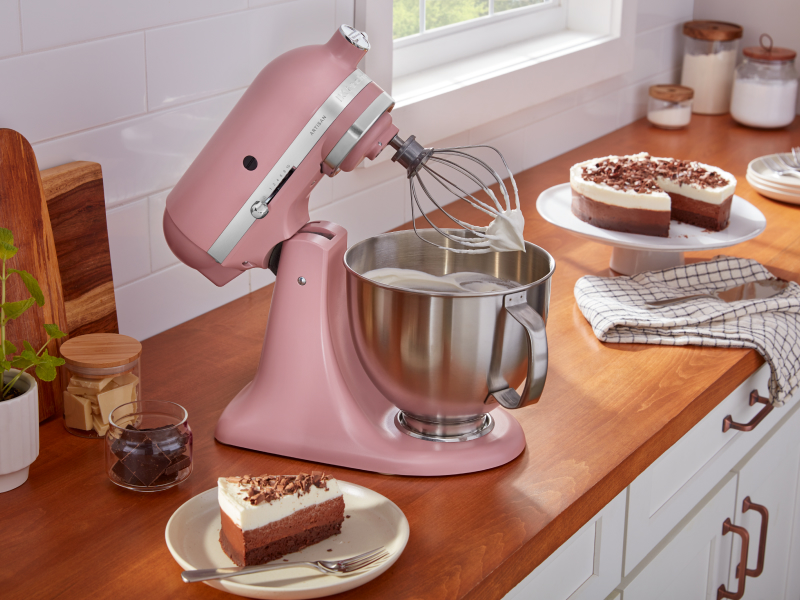
Whipped Cream Recipe
The right tools can make all the difference when it comes to making whipped cream. The heavy cream that’s the basis for whipped cream has a high fat content and making whipped cream is the process of adding air to that fat. The fat helps the cream keep its structure, while the air creates a foamy, light texture. If cream is whipped for a longer period of time, the liquid and fat will separate, resulting in butter and buttermilk.
Use this guide to understand how to make light-as-air whipped cream with a KitchenAid® stand mixer for creamy components and mouthwatering finishing touches for your desserts.
YIELDS
About 20 servings, or enough to add to 10 slices of pie or cake.
INGREDIENTS
- 2 Tbsp. powdered sugar
- 1 cup heavy whipping cream
- ½ tsp. vanilla extract, or a flavoring of your choice
TOOLS
- Wire whip stand mixer attachment
- KitchenAid® stand mixer
PREP TIME
10 minutes
TOTAL TIME
15 minutes
Step 1: Chill ingredients and tools
Starting with cold cream can help ensure that the foamy peaks formed during the whipping process hold their shape. Place your bowl and whisk with your KitchenAid® stand mixer in the fridge to chill for about 10 minutes so all ingredients and tools are cold and ready at the outset.
Step 2: Attach bowl and wire whisk to stand mixer
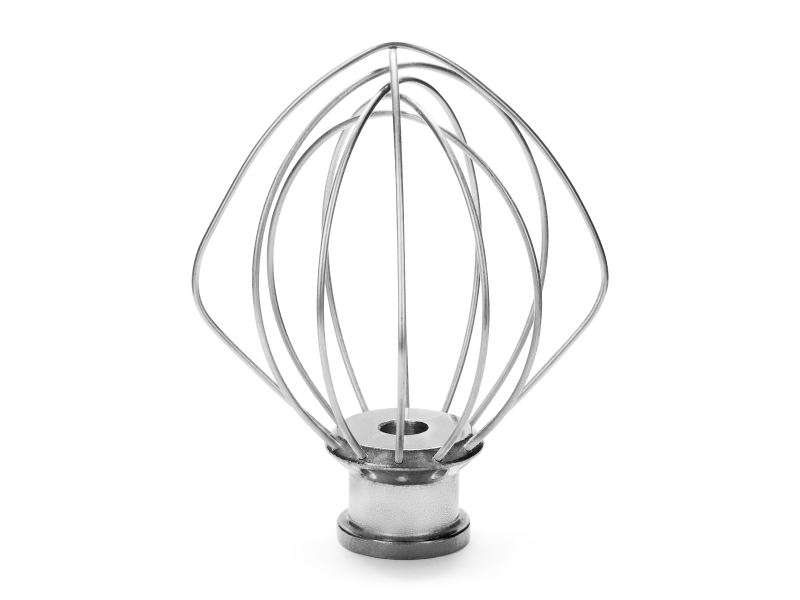
Now that your ingredients and tools are cold, attach your bowl to your KitchenAid® stand mixer and add the wire whisk accessory.
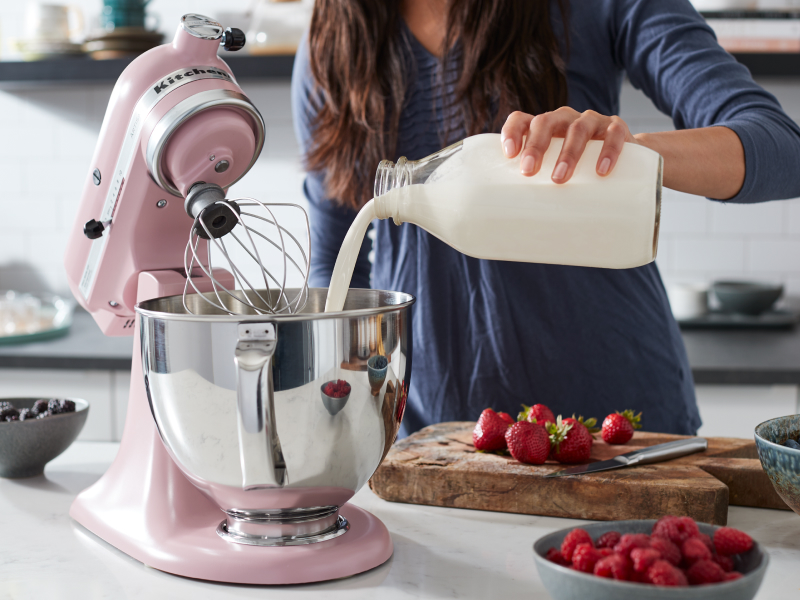
Step 3: Add ingredients to bowl
Pour cold heavy whipping cream into the bowl along with powdered sugar and any chosen flavoring. Vanilla is most popular, but don’t limit yourself: coconut extract, almond extract, lavender and maple syrup are just a few of the flavor possibilities you can use to enhance whipped cream.

Step 4: Turn mixer on
Start whipping at a lower speed and gradually increase up to speed 8 or 10.
Step 5: Watch closely
Keep an eye on the cream as it combines with the sugar and flavoring. The stand mixer helps to combine the ingredients quite quickly, so keep an eye on the texture as air builds up in the cream and makes it lighter. Watch for soft peaks forming in the whipped cream to know when it is finished (about 6–7 minutes).
Step 6: Add as topping
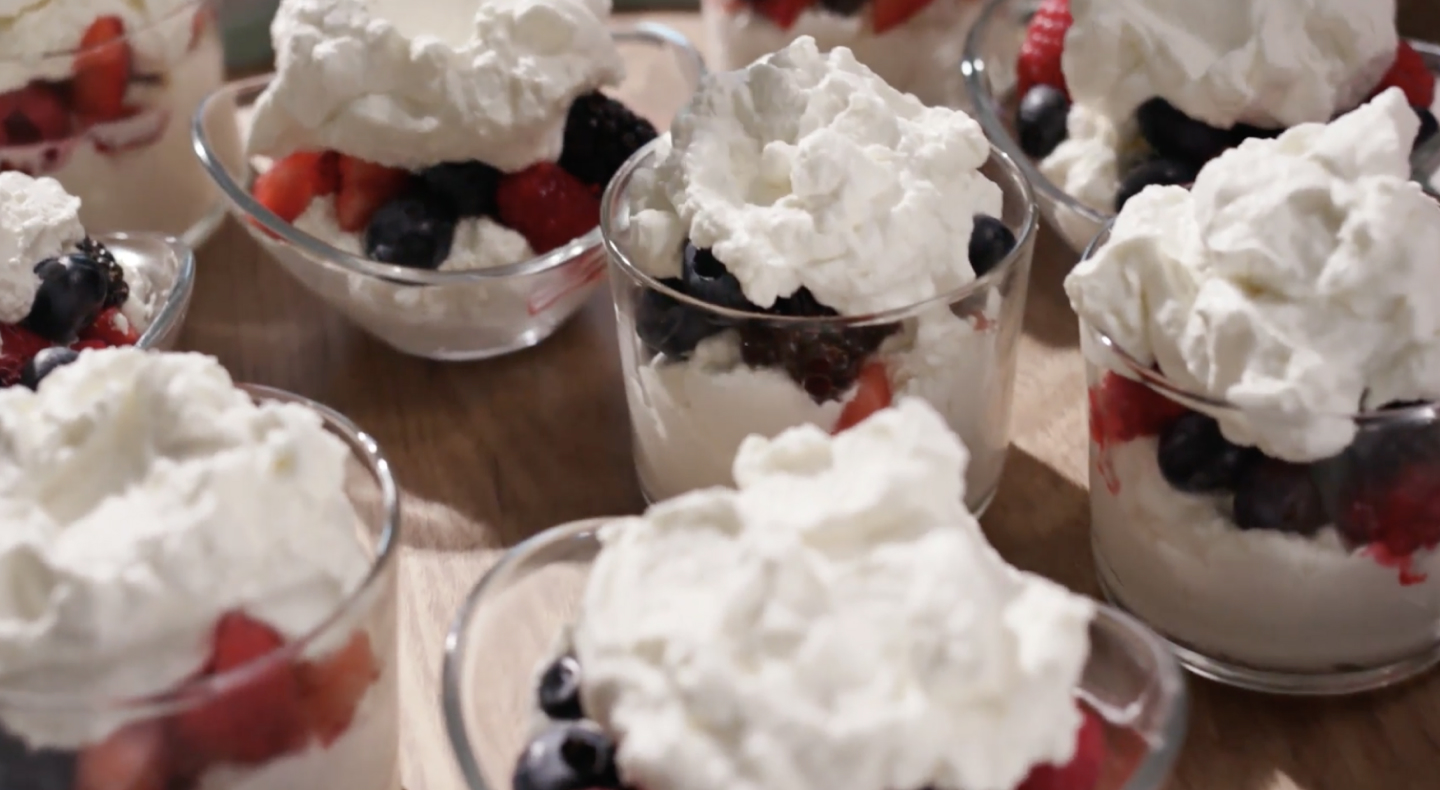
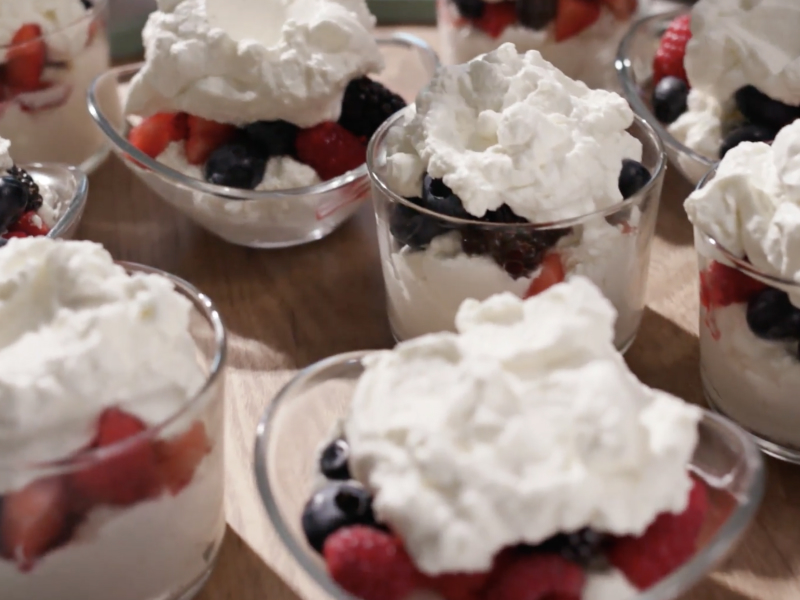
Now the dessert of your choice is waiting for that finishing touch of light, whipped topping. Use a spatula or spoon to spread on top of a cake or pecan pie or use it to top some boozy winter cocktails; and if there is any whipped cream not eaten by guests, you can store it in an airtight container in the refrigerator for up to two days. Be sure to re-whip when taking whipped cream out of its airtight container.
Shop KitchenAid® stand mixers accessories and attachments
Your KitchenAid® stand mixer accessories and attachments can open the door to a world of dessert possibilities. Create fresh whipped cream, decadent pies and more sweet favorites with accessories that complement the way you like to make.
Which stand mixer attachments are best for making whipped cream?
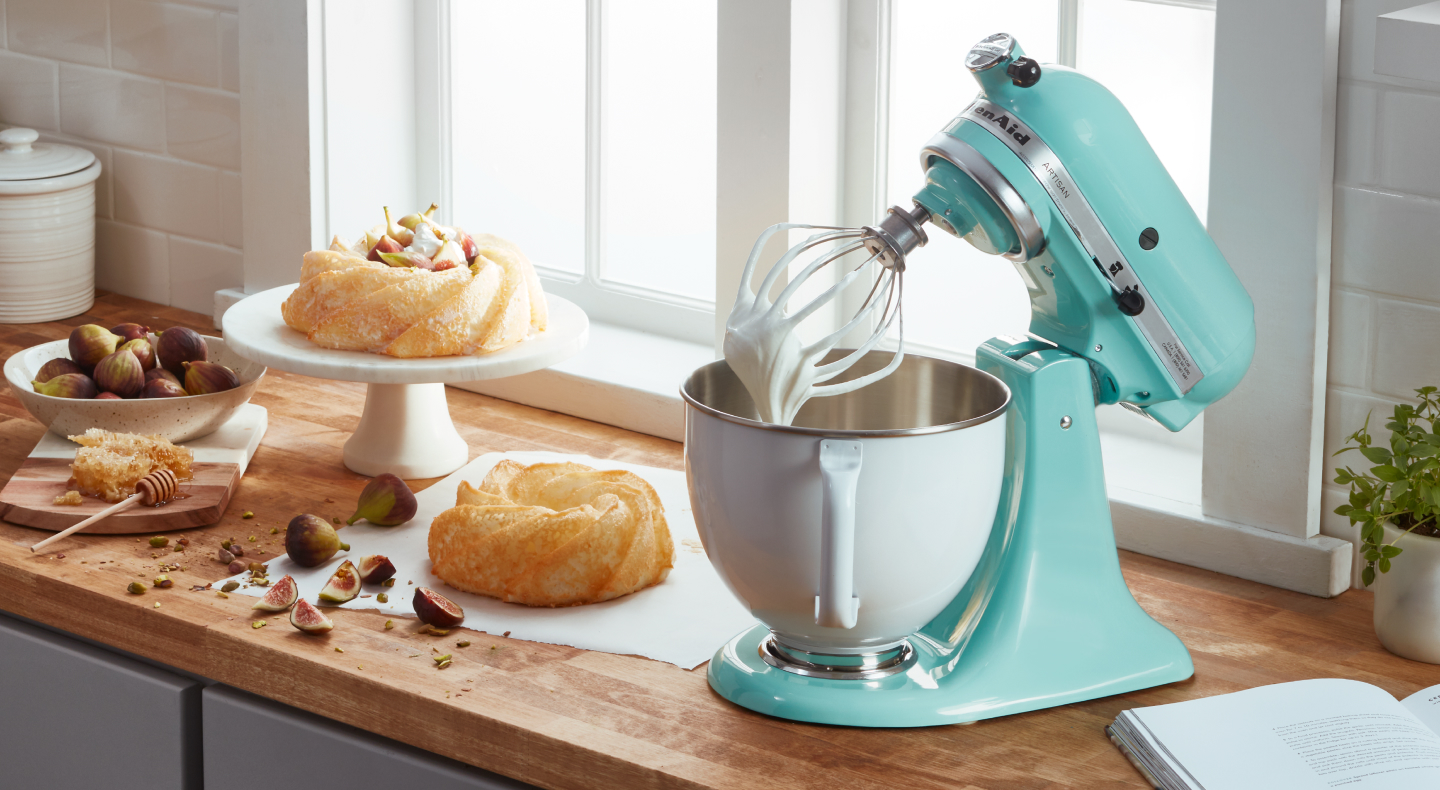
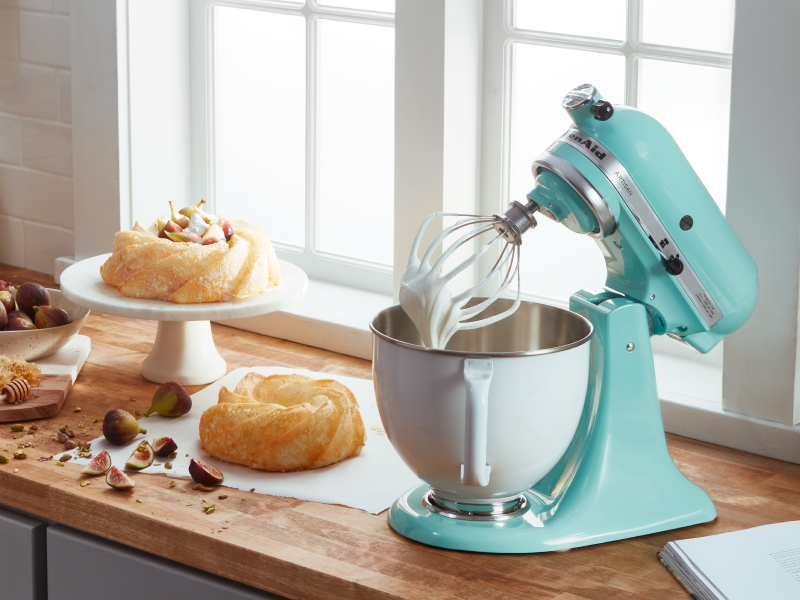
The wire whisk accessory is best for making whipped cream because it is specially designed to quickly incorporate air into ingredients. This accessory can transform heavy cream, helping to create a fluffy and airy texture.
The KitchenAid® stand mixer is a versatile tool to have in your baking and dessert recipe lineup, so take a moment to discover which accessories and attachments are ideal for the way you make.
Can I add flavoring to a homemade whipped cream recipe?
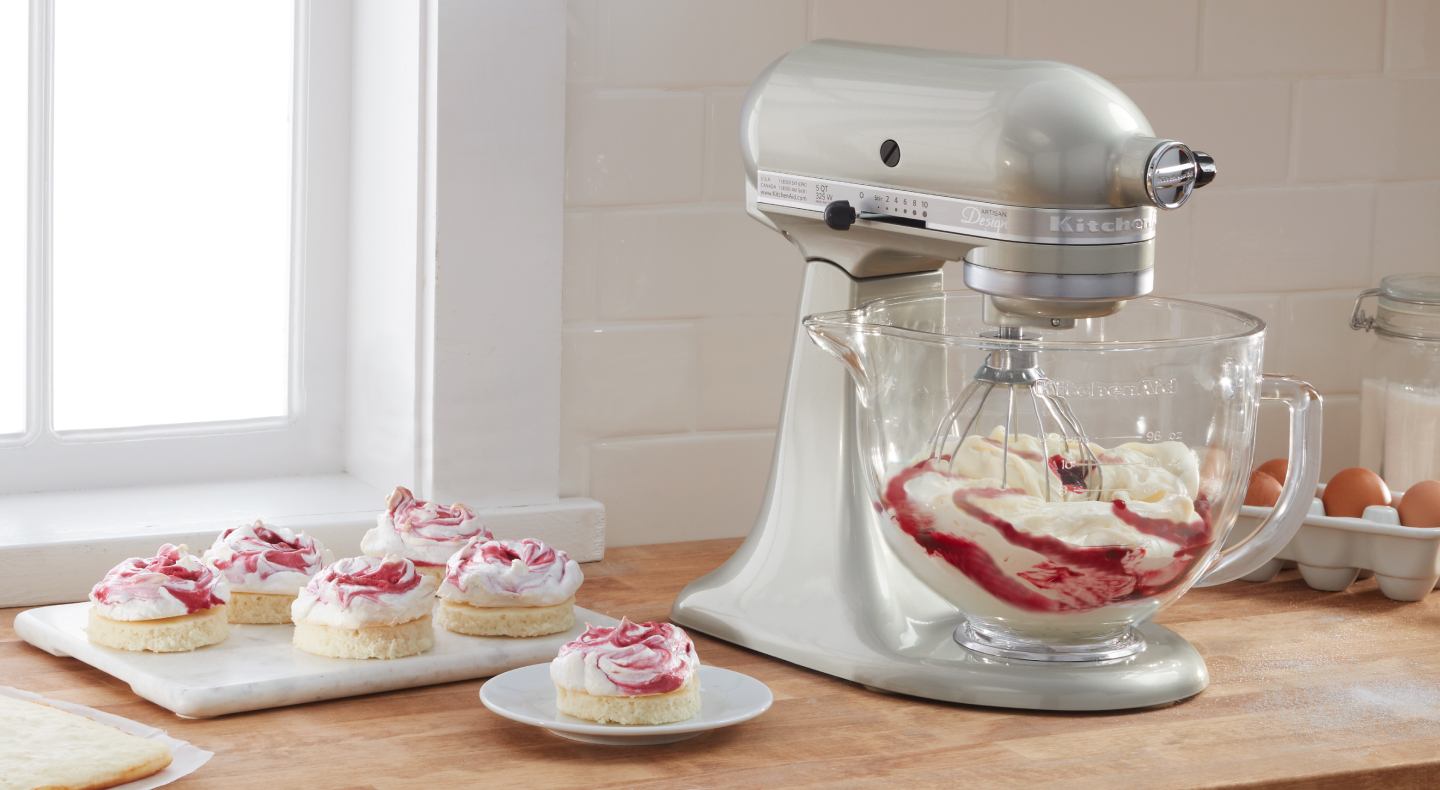
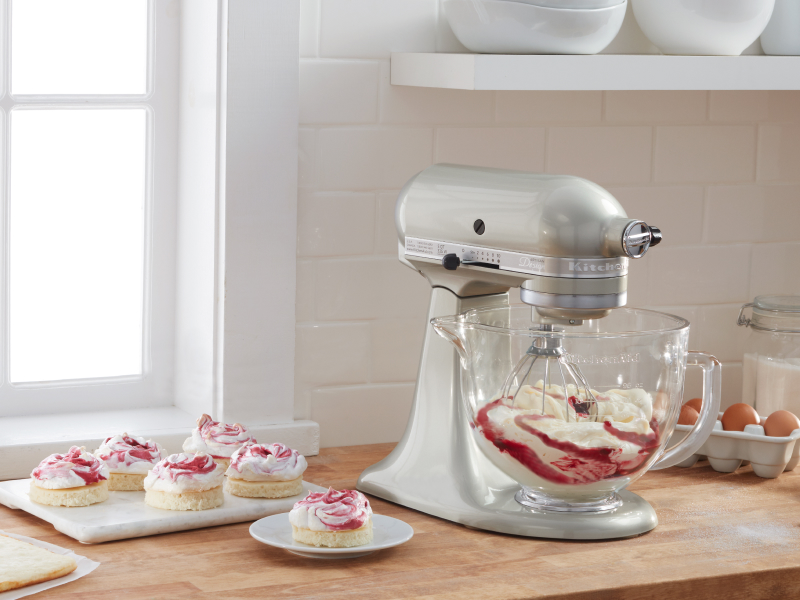
You can add a variety of flavors to your whipped cream recipe to complement the dessert that the cream will be added to. Top sweet potato pie with maple bourbon whipped cream for a flavorful dessert or add a boozy kick to angel food cake with marsala whipped cream. Avoid creating overpowering flavors by adding flavor concentrate drops gradually and tasting between additions.
This aquafaba whipped cream recipe uses the water in which chickpeas have soaked, along with vanilla extract and pure maple syrup to create a vegan version of whipped cream with stiff peaks and sweet flavors. You can also experiment with adding a variety of liquid flavor concentrates like cotton candy, lemon, or lavender based on the kind of dessert you’re serving.
Can I make whipped cream with a hand mixer?
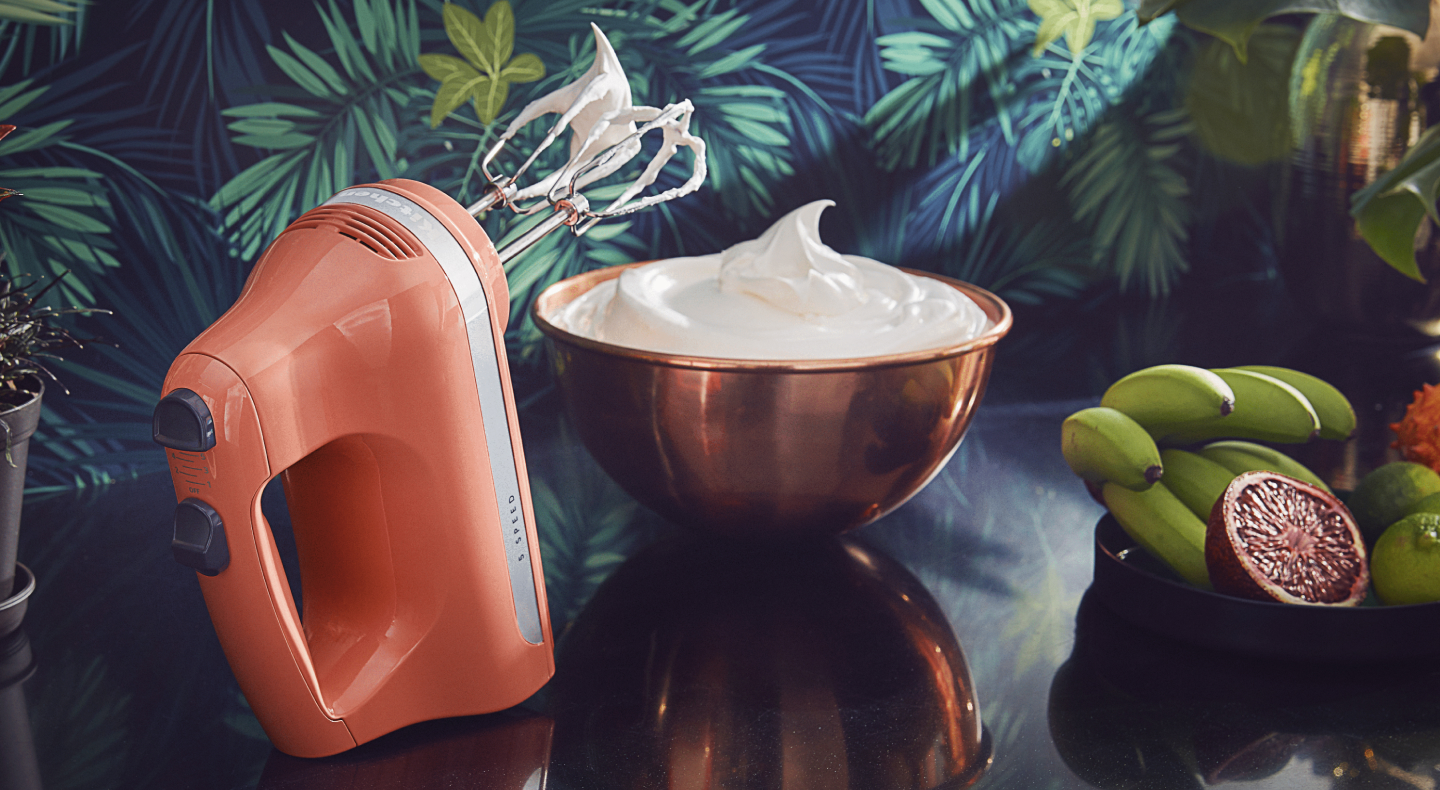
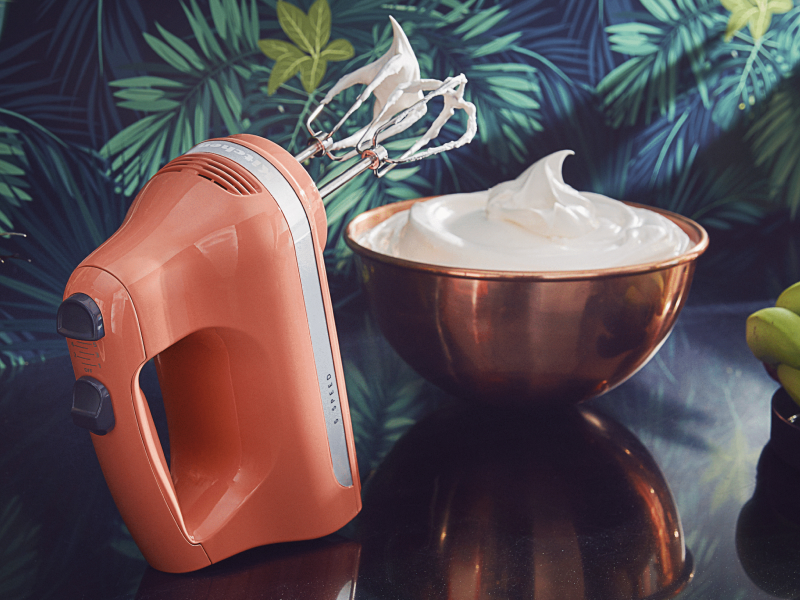
A hand mixer is another great option for making whipped cream. Like a stand mixer, it can help to incorporate enough air into heavy cream, resulting in a light, fluffy texture for your homemade whipped cream recipe. This Vanilla Bean Whipped Cream recipe can be made with the KitchenAid® Cordless 7-Speed Hand Mixer that blends the cream, sugar and vanilla beans until medium peaks form.
Tips for Making Whipped Cream
Use cold ingredients and tools
Watch your timing: KitchenAid® stand mixers and attachments can operate quickly, so observe the cream as it develops a fluffy, light texture
Add a few drops of food coloring when mixing if you’re using whipped cream to decorate a cake or cupcakes
Explore KitchenAid® Stand Mixers, Attachments and Accessories
Putting a new spin on classic dessert recipes is easy with the versatile KitchenAid® stand mixer. Create a sweet brioche perfect for French toast with the help of the KitchenAid® 4.8 L Tilt Head Coated C-Dough Hook, and get inspired to make delicious desserts like ice cream and pie with a selection of KitchenAid® Stand Mixer Attachments.