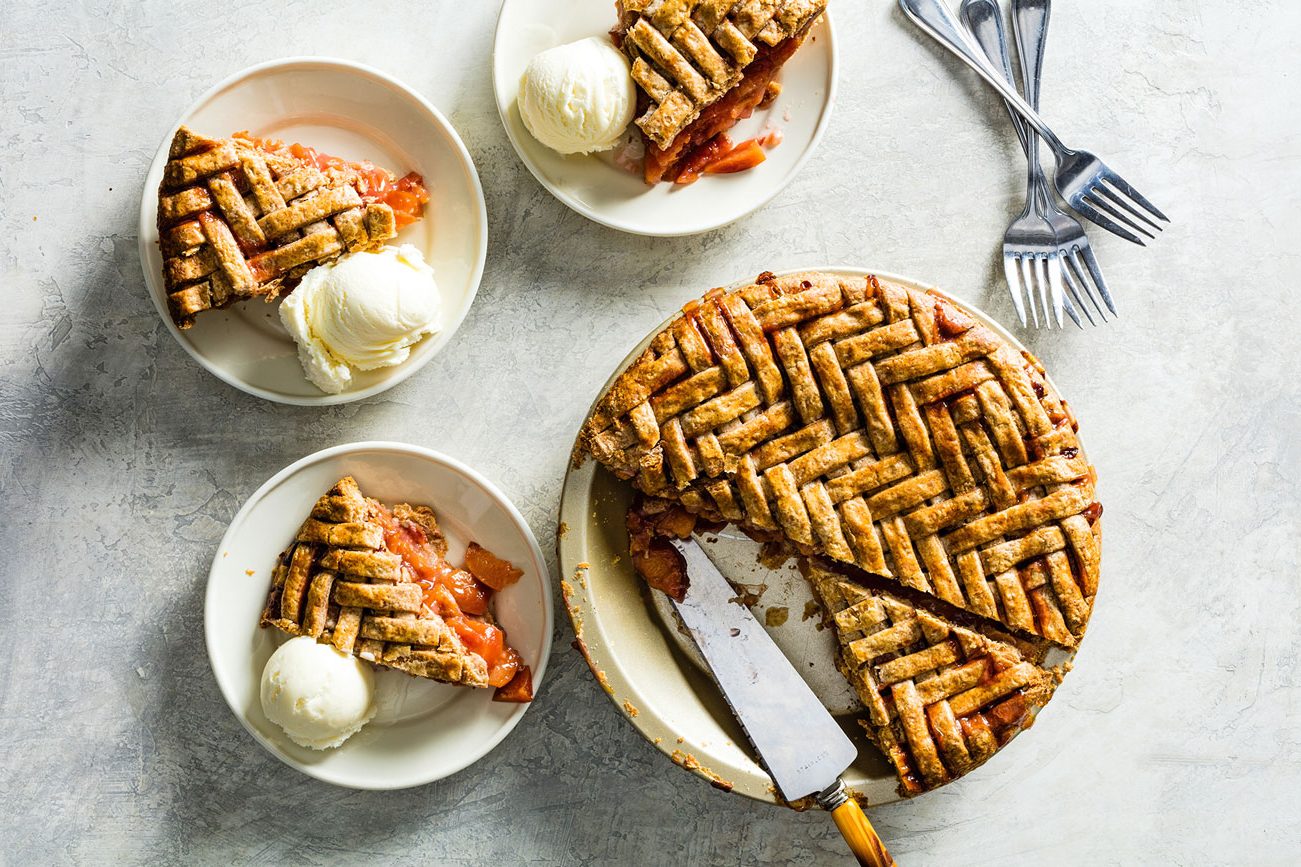
Pie can be a little intimidating. Rolling out the crust, seasoning the fruit fillings, achieving the perfect consistency for custard pies, and timing the baking just right can be a delicate dance. But it’s not as tricky as you think. “Pie is terribly forgiving,” says pastry chef, food writer and recipe developer, Ellen Gray. “Pie wants you to succeed.”
Gray has spent most of her lifetime baking pie. Growing up in her household, pie was a dessert served year-round and would make weekly appearances on the Sunday dinner table. Since 2013, Gray has shared her adventures in pie baking, her recipes, and haikus about pie that she calls “Pikus” on her blog No More Mr. Nice Pie. “I definitely wanted to encourage people to embrace pie and perhaps be less intimidated by it,” she says.
Like with anything, the more times you do it, the better you get. “I normally tell people that practice makes pie,” says Keia Mastrianni of Milk Glass Pie. Mastrianni has been baking pie since 2014 when she opened Milk Glass Pie, her cottage bakery in Shelby, North Carolina. In addition to selling her pies from Asheville to Charlotte, she also teaches others how to make pie. “I always encourage people to not take themselves so seriously and to enjoy the process of making pie,” says Mastrianni.
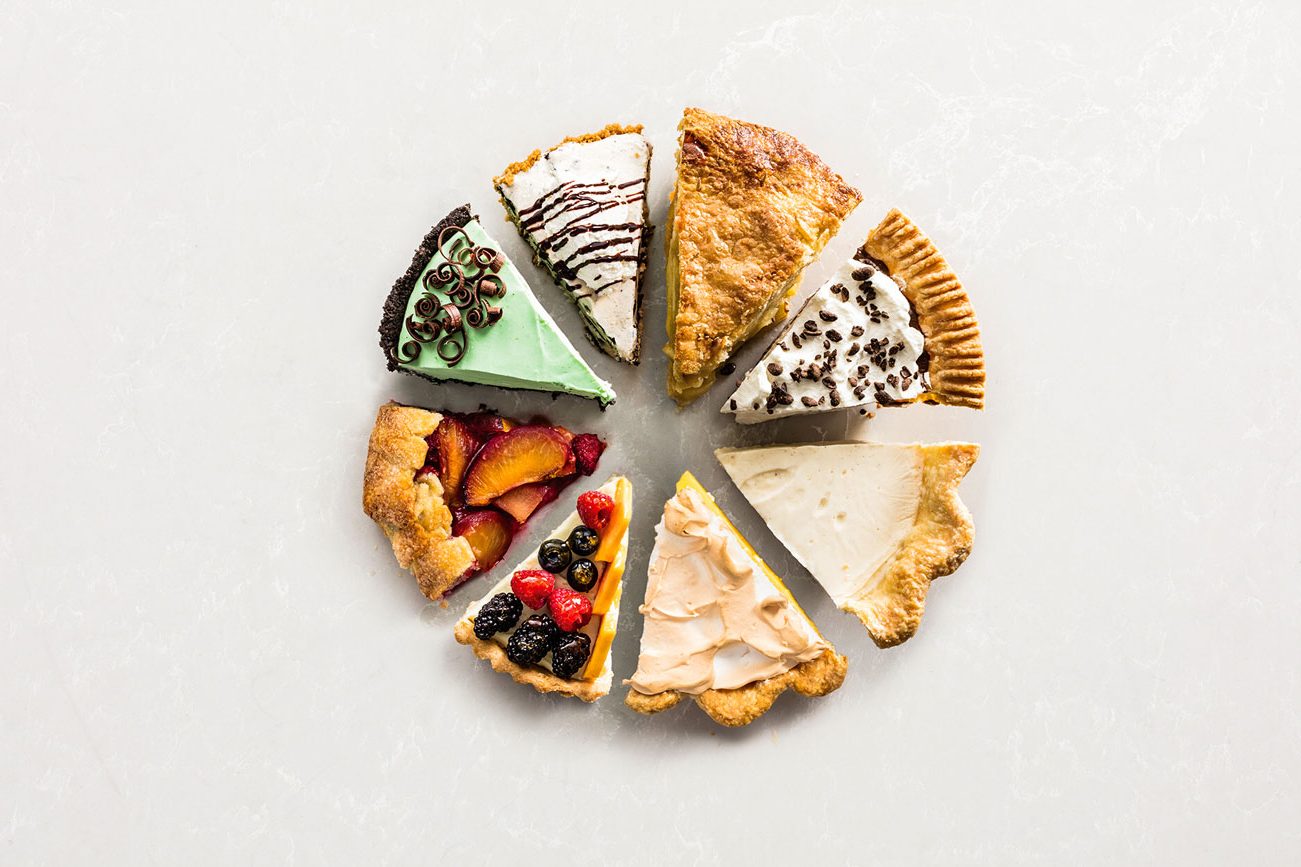
Photo by America’s Test Kitchen
Pies also come in a wide range of styles and flavors. There are double crusted fruit pies, cream pies, custard pies, tarts, meringue pies, chiffon pies, galettes, and even ice cream pies. Pair those styles with different kinds of crust – all butter crusts, cookie crusts, and graham cracker crusts, all with varying textures and tastes – and there are virtually endless pie combinations you can create. “I love the classics, but I love that the more pies I make, the more of an opportunity I get to be a bit more creative with flavor pairings,” says Leah Colins, Senior Editor of America’s Test Kitchen’s Books Division. Colins worked with the America’s Test Kitchen team to develop The Perfect Pie cookbook, which gives home bakers foolproof recipes and tips to bake any type of pie.
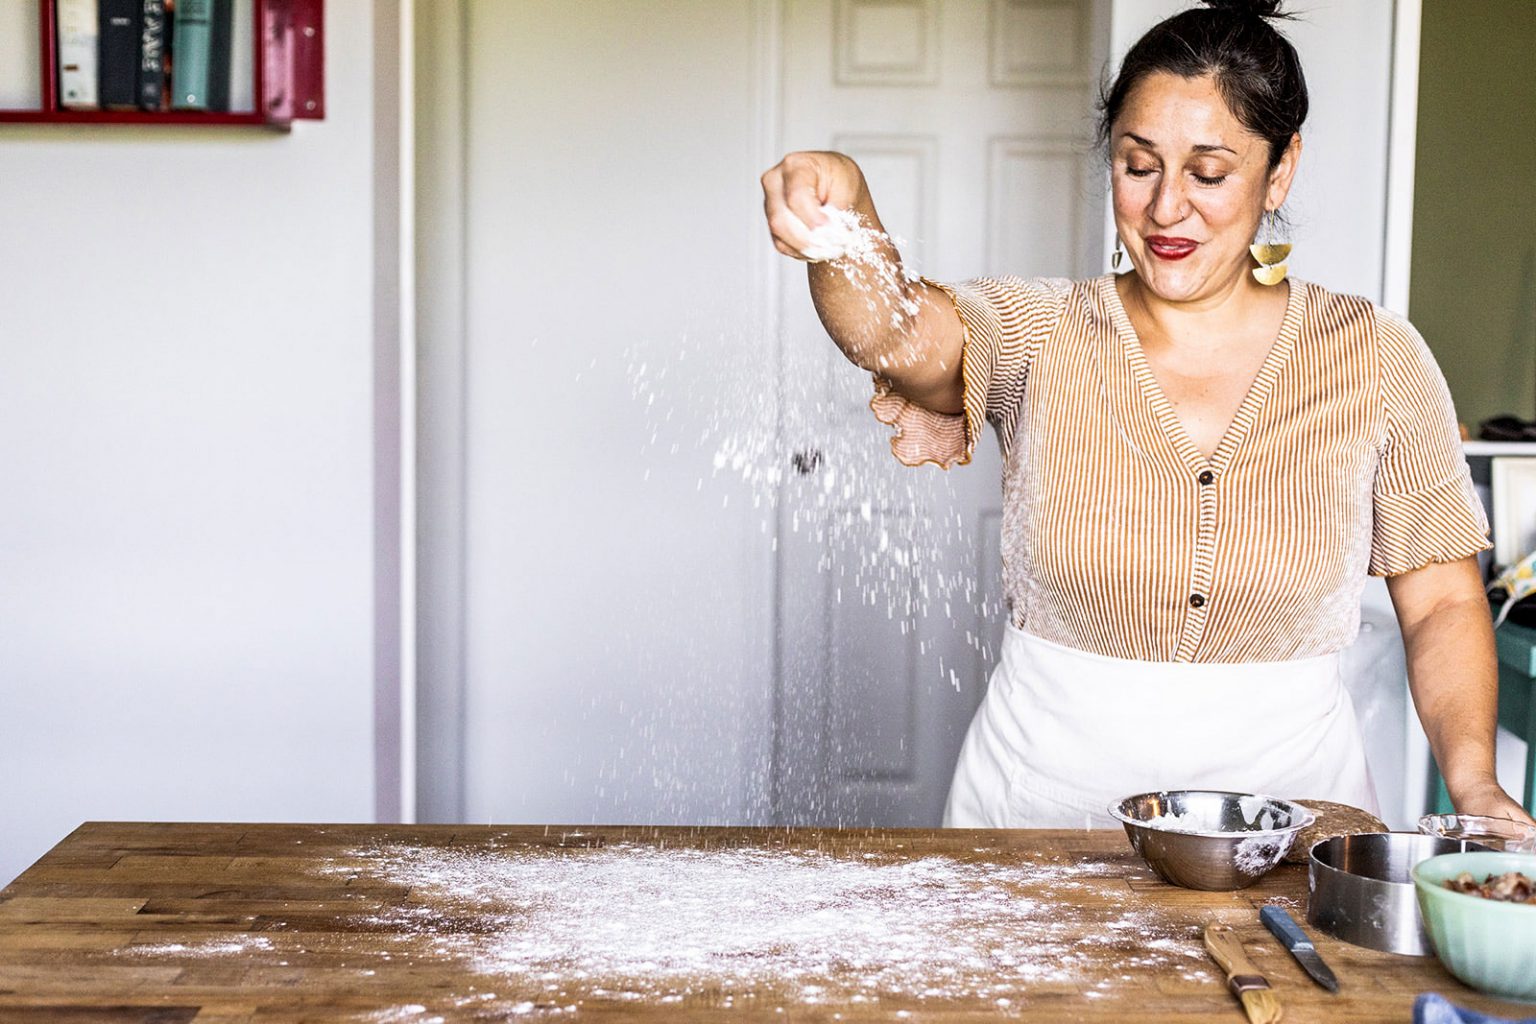
Though pie making can be an exact science, there are so many variables that can affect the final outcome. The weather, how hot your hands are, the temperature of your kitchen, and even the humidity can all be factors that impact your pie bake. But it’s working with the elements, responding to your dough, and watching and feeling the ingredients that can be most rewarding. “I love the whole process of working with my hands, being present, and using all of my senses to create something that will make people happy,” says Mastrianni. “I think that there’s a deep satisfaction and generosity in feeding people something that you made with your own hands.”
As pie baking season begins, here are some expert tips on how to make exceptional pies.
Photos by Jonathan Cooper
PLAN AHEAD
Before even making the pie dough, you need to make sure you’re giving yourself ample time to bake your pie. “People want it to be a one step process,” says Gray, “but baking pie takes longer than you think.”
A great way to plan is to break things up into steps and make your pie crust and filling ahead of time. “You can make your dough one day and refrigerate it overnight. Then you can roll it out the next day and make your filling,” says Mastrianni. “The refrigerator and the freezer are your friends.”
Taking things slow will take the pressure off of you, which is crucial if you’re baking while preparing a big holiday dinner. “If you’re really flustered and you’re racing around, trying to juggle a turkey, and make gravy and you’ve got a relative that’s hovering in the kitchen – that can be really stressful,” says Gray.
“The root of a good pie is centered around a good crust.”
MAKING THE CRUST
When it comes to baking pies, it’s the crust that home bakers get hung up on most. That’s because the structural integrity of the pie and so much of the pie’s texture and flavor hinges on the crust. “The root of a good pie is centered around a good crust,” says Colins.
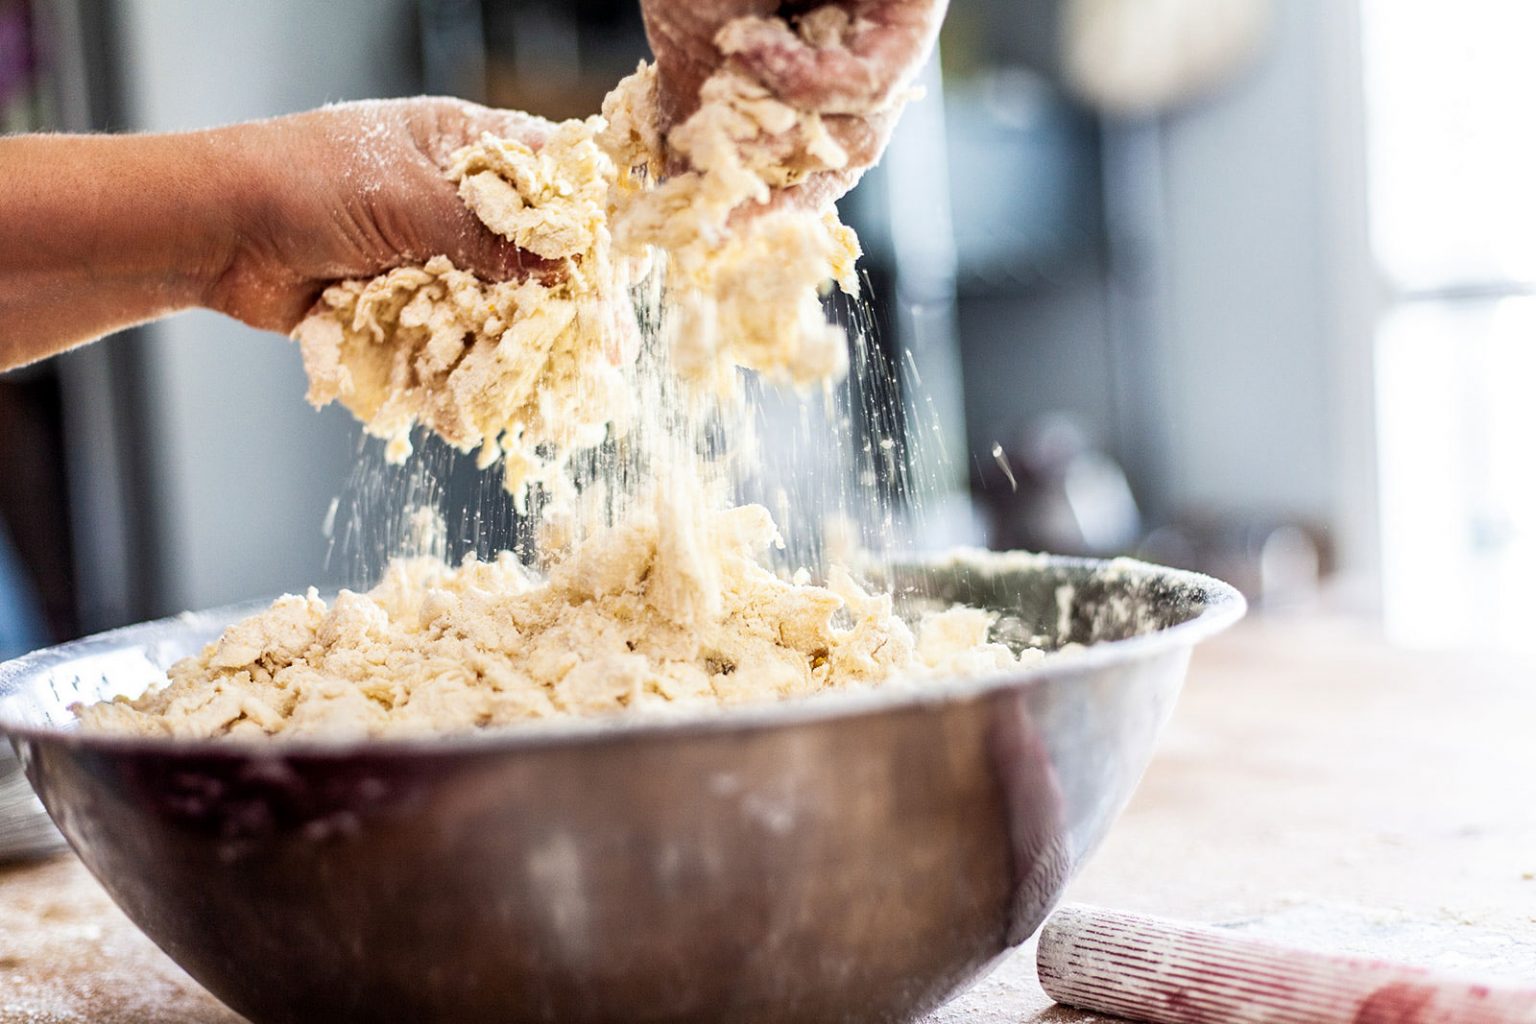
Cookie crusts and graham cracker crusts are most forgiving and go nicely with certain custard pies, cream pies, and ice cream pies. But the rolled-out dough crusts can be a little finicky. A great way to work with pie crust is to work with it by hand. “Think of it like tossing a salad instead of stirring or mixing. You want it to be light,” says Gray. “When you add the liquid, do it slowly and use your hands to fluff it up so you can feel it as it continues to hydrate.”
Mastrianni likes to add a little apple cider vinegar to the ice water before mixing it into her dough. She says the apple cider vinegar helps to slow down gluten development. “In bread, we want those gluten networks to develop,” says Mastrianni, “but in pie dough, we want to minimize the amount of gluten that’s developing within that dough.”
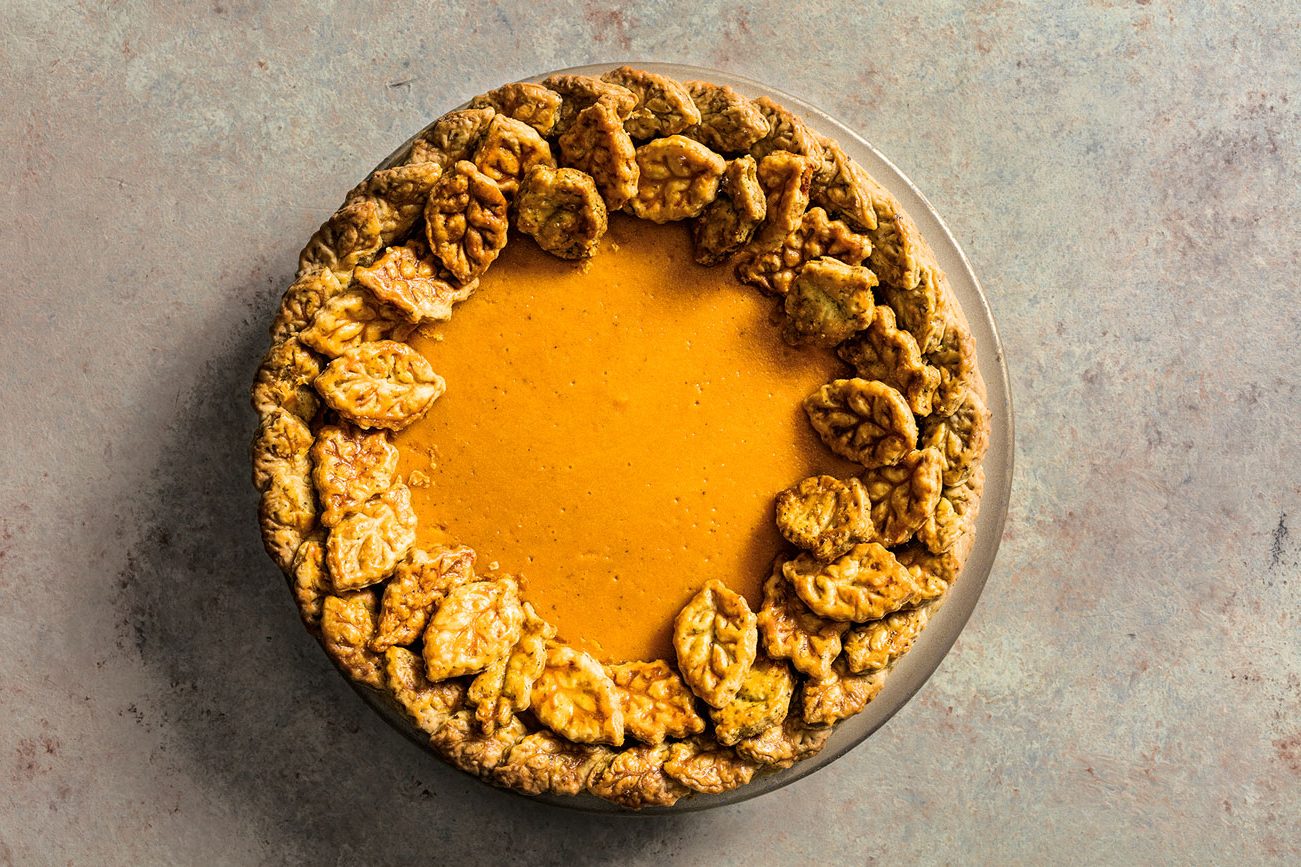
Colins recommends having fun and getting creative with the flavor of your pie crust by incorporating herbs and spices into your recipe. She says you can also use different nut flours to make the pie crust your own.
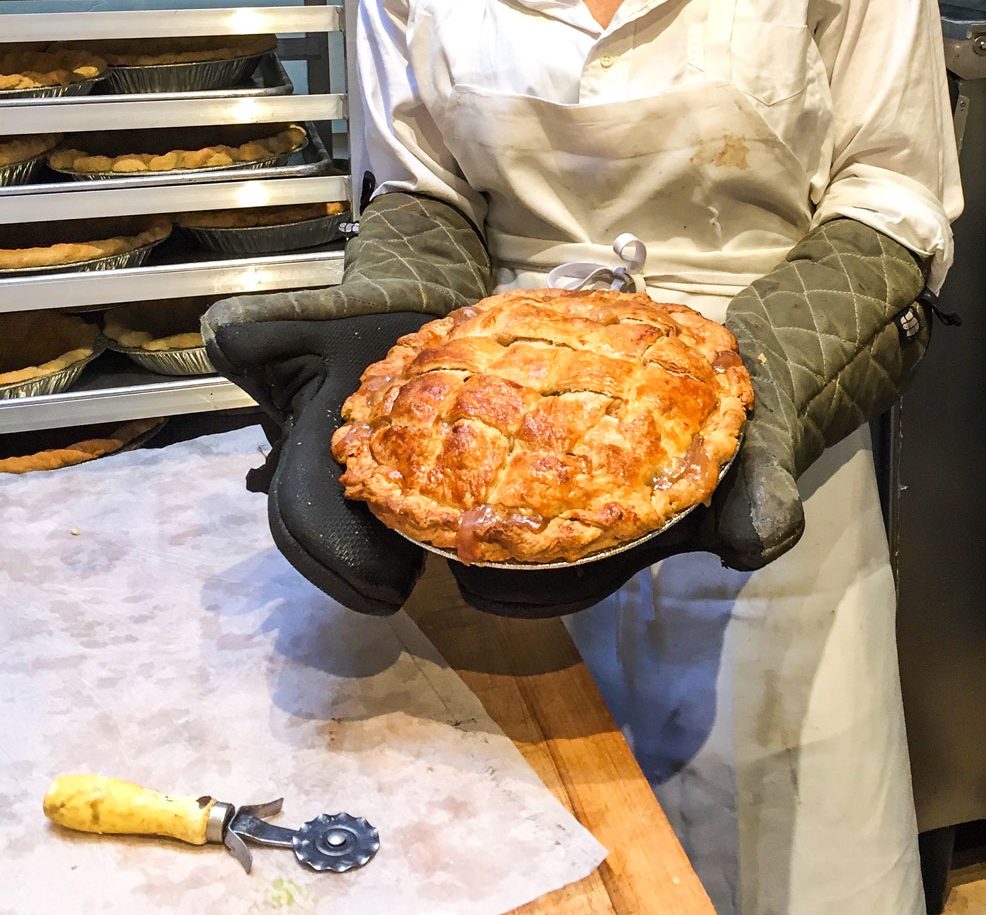
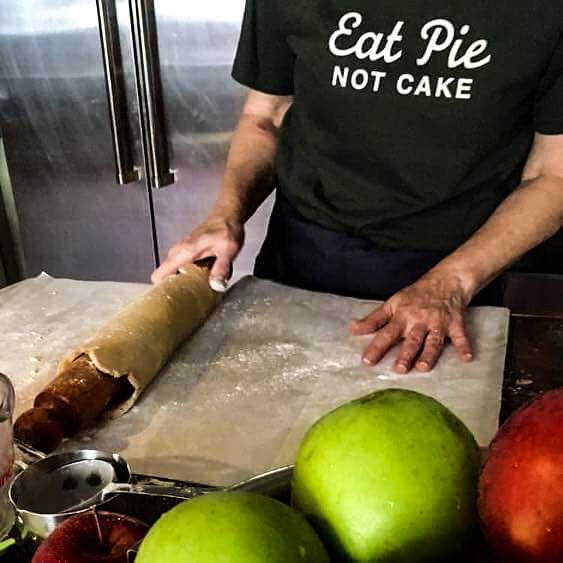
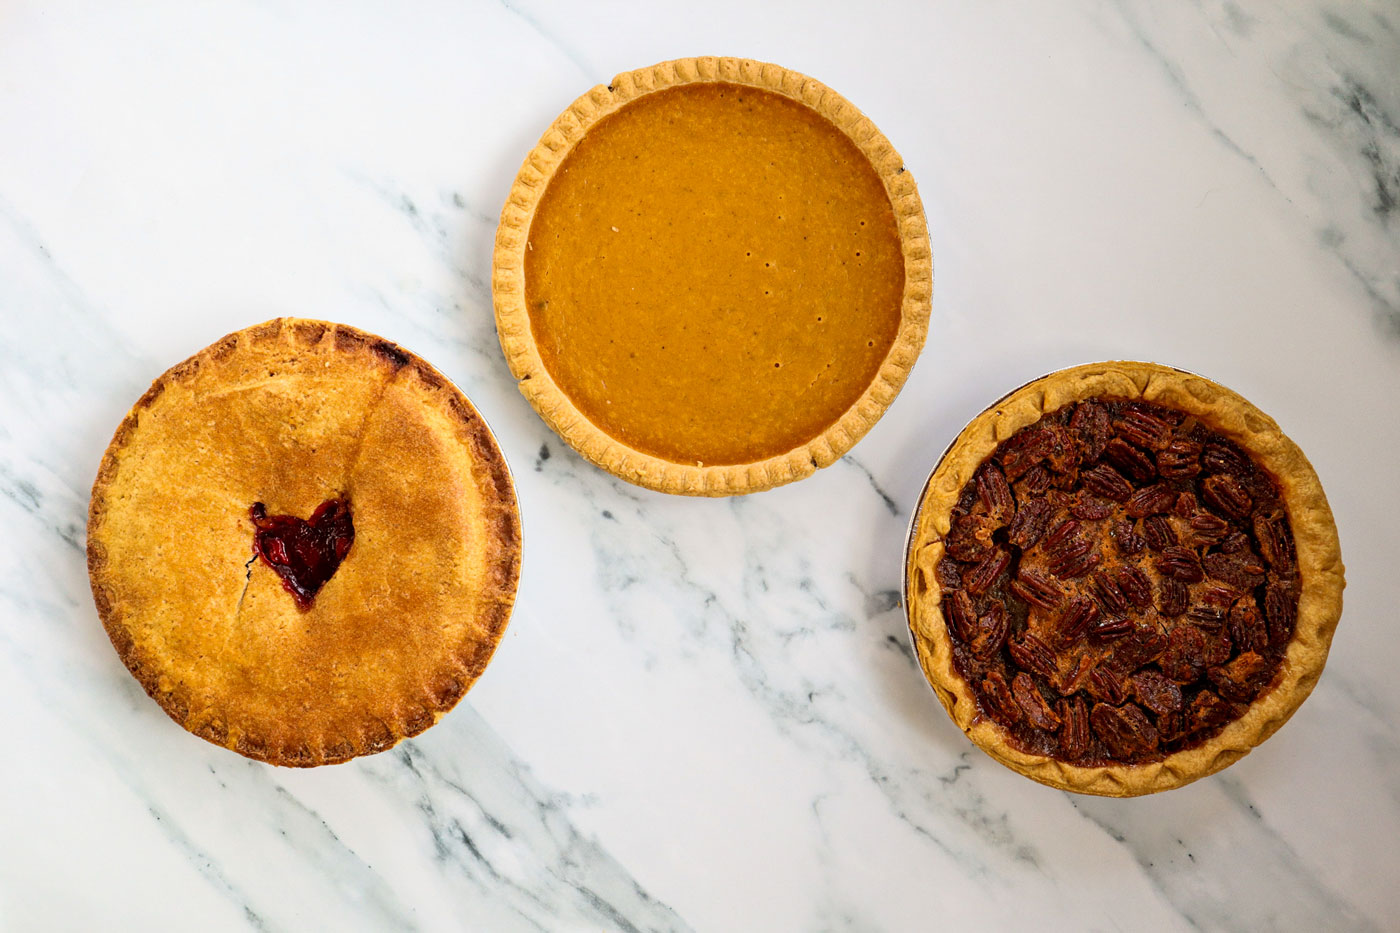
Photos by Ellen Gray (top left & top right) & Kae Lani Palmisano (bottom)
KEEP THE PIE CRUST CHILLED
Keeping the ingredients cold throughout the crust making process is key, but ensuring that your pie crust is chilled until the moment it’s baked is just as important. “Keep your pie dough as cold as possible,” says Colins. “The colder your dough is, the better it will bake up in the oven.”
Even after the pie crust is rolled out, placed into the pan, and crimped along the border, Colins says you will want to put the crust back into the refrigerator for at least a few minutes to let it chill before putting it in the oven. “That’ll make sure all that butter and the crust puffs up and it’s nice and flaky and you don’t run the risk of your pie dough droop down along the sides.”
A chilled pie crust will also make crimping and lattice work a lot easier. Having more control over the dough will allow for more elaborate designs like braiding strips of pie crust, or using small cookie cutters to cut out festive shapes.
“Keeping the ingredients cold throughout the crust making process is key, but ensuring that your pie crust is chilled until the moment it’s baked is just as important.”
PAR-BAKE THE CRUST
Par-baking your crust can prevent the dreaded soggy bottom pie. Depending on what kind of pie you’re baking, sometimes the crust bakes at a different temperature than the filling. So before adding your filling, par-bake your crust in a very hot oven. Colins recommends using pie weights, which helps prevent the bottom of the crust from puffing up. If you don’t have weights handy, Colins says you can line the pie crust with tin foil and fill it with dried beans.
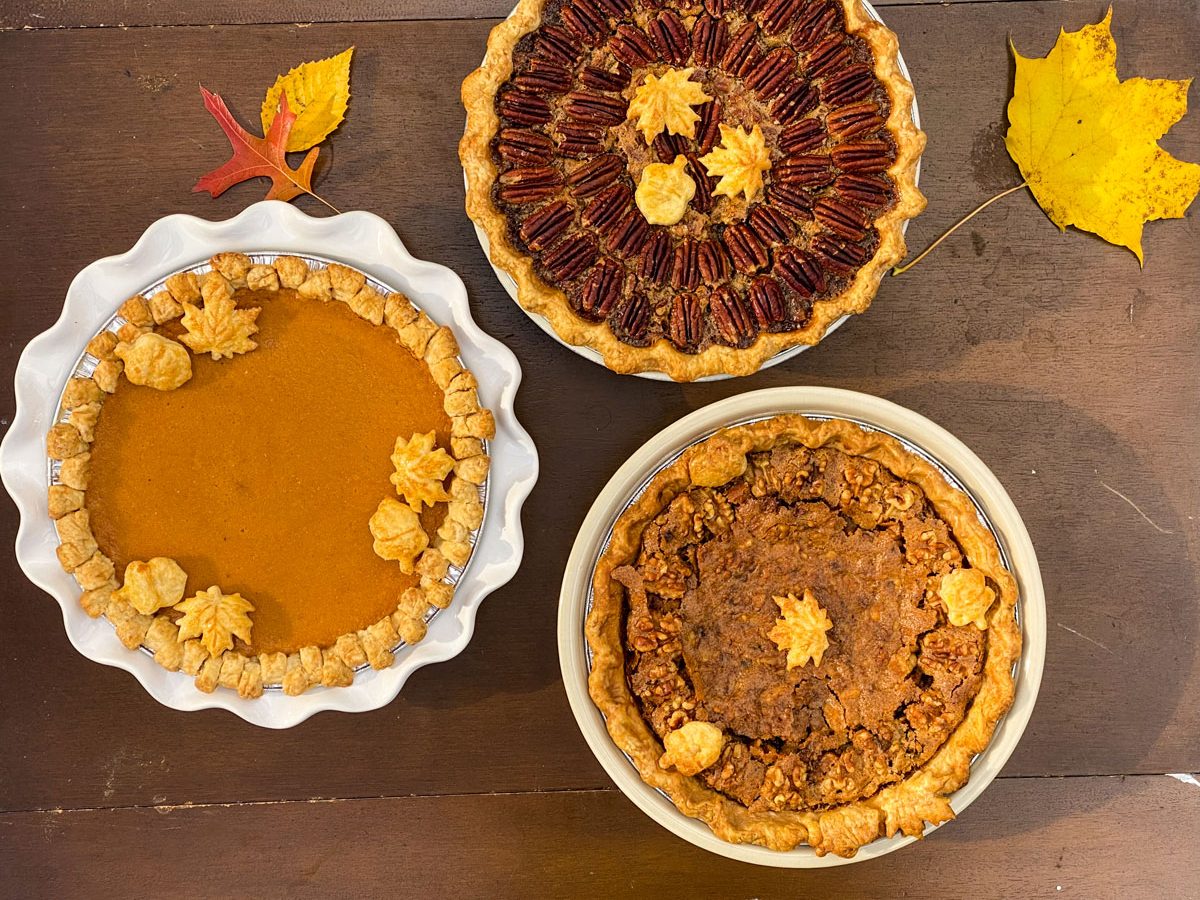
Photos by Ellen Gray (left) & America’s Test Kitchen (right)
KNOW YOUR FILLING
What is pie without the filling? With so many different styles and flavors of fillings, there are many ways to enjoy pie. But that also means that your pie’s needs will vary from bake to bake. Knowing what kind of filling you’ll be working with will help you figure out what you’ll need to achieve the perfect texture, what temperature for that final bake, and how long you’ll need to leave it in the oven.
Fruit pies are great for beginner pie bakers. All you need is to toss the fruit with the seasoning and a thickener before pouring the filling into the pie crust. “We always like to macerate and toss our fruit with thickener to help bind the pie,” says Colins. She recommends using either corn starch or ground tapioca flour to act as a thickening agent.
To Mastrianni, custard pies seem like the easiest because you can whip up everything in one bowl, but these pies need to be baked at a low temperature for a long period of time. “If I were to fill a frozen pie shell with a custard and cook at a high temperature in the oven, I’d scorch the top of the custard and the center wouldn’t be cooked,” says Mastrianni. “And if I did the opposite, I would get a soggy pie crust and an undercooked shell.” To troubleshoot these problems, Mastrianni says par-baking is crucial for custard pies as the pie crust and filling bake at different temperatures. Par-bake the pie crust and go low and slow for the filling and you’ll have a perfectly silky custard pie.
Among the most temperamental pies is the meringue, another pie that requires a par-baked crust. Beat your egg whites but be sure not to over beat them as it might cause the meringue to deflate. “When you’re topping your pie, make sure you’re sealing the meringue to the crust of the pie, using your spatula and pressing it into that crust around the edge,” says Colins. “So as it cooks, it seizes up and it sticks to the pie crust.” Browning the meringue in the oven is also a pie baking feat of strength. You have to keep a close eye on it so as not to overcook it, otherwise it’ll start to weep and develop little beads of water. You definitely want to trust in your senses when making meringue pies.
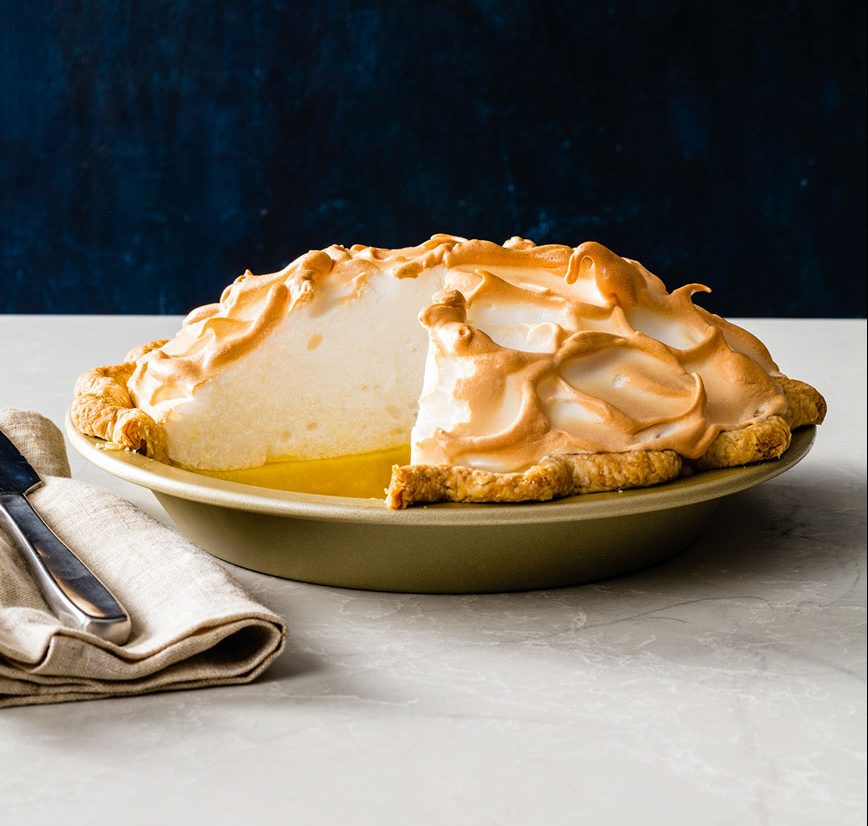
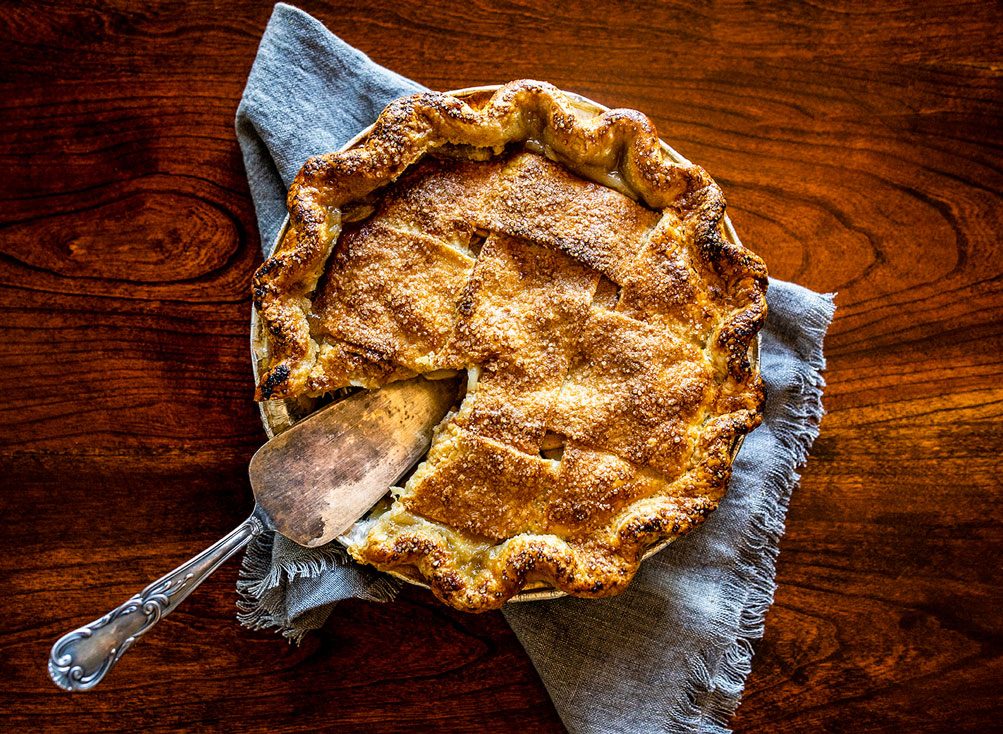
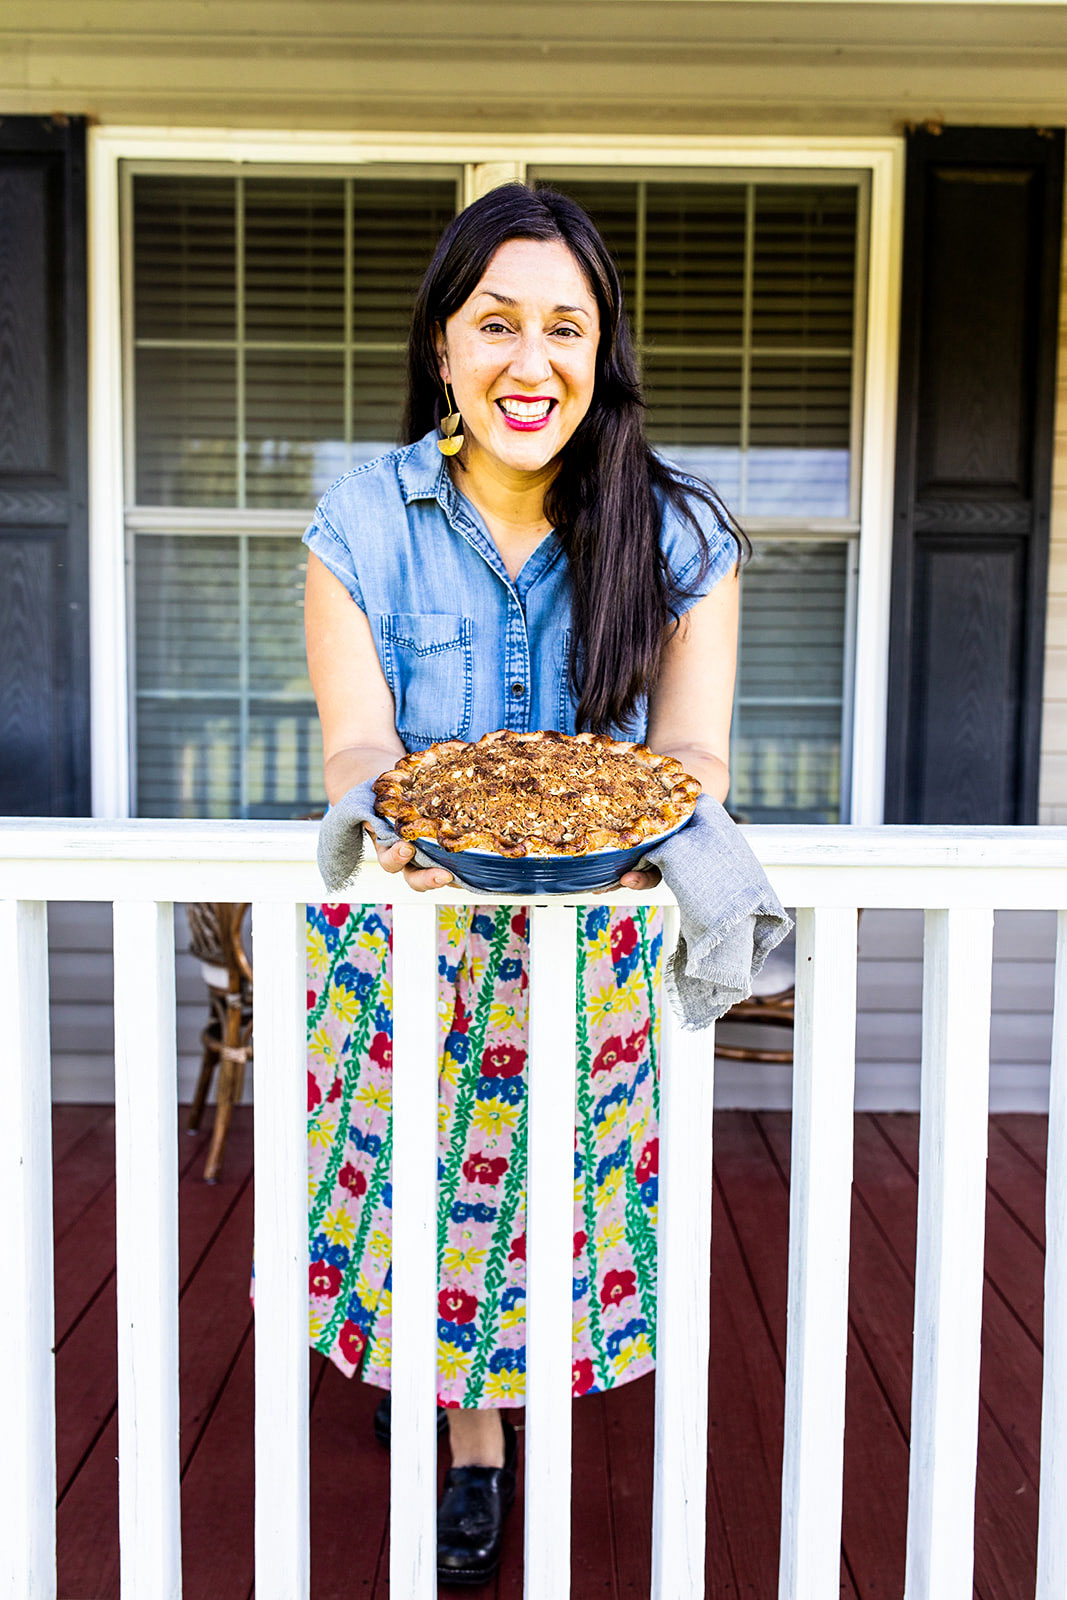
Photos by America’s Test Kitchen (top left) & Jonathan Cooper (bottom left & right)
BAKE FOR LONGER THAN YOU EXPECT
After how much work you put into making this pie, it might feel like taking a huge gamble, but you will want to bake your pie for longer than you think. “Your pie has to reach a certain temperature to really bubble to activate the thickener,” says Gray. “So if you shy away from letting the pie vigorously bubble, you run into the danger that it might not be ready when you’ve taken it out of the oven.”
The goal, says Gray, is to get a deeply golden crust which signifies that the crust is strong enough to hold up when the pie is served. If leaving your pie in the oven for a little longer than you expect stresses you out, Gray recommends covering the edges of the pie crust with foil and covering the top of the piece of parchment paper. Definitely keep an eye on your pie while it’s baking. Pay close attention to the color of the crust, but also the activity of the filling. Gray says for fruit pies, you want the filling to be really bubbling. But for custard pies, keep an eye on the middle to make sure the center jiggles a little bit when you shake the pan.
“The goal, says Gray, is to get a deeply golden crust which signifies that the crust is strong enough to hold up when the pie is served.”
WAIT A FEW HOURS BEFORE SERVING
It might be tempting to cut into a fresh-out-of-the-oven pie, but you want to wait for several hours before cutting into it. “You always let your pie rest for at least four hours afterwards,” says Colins. Your pie needs ample time to cool in order for the filling to thicken up after it has been baked. This is especially true for custard pies and fruit pies which might ooze out of the crust once it’s cut into. “Pie really needs time to pull itself together in the end,” says Gray. “It has to have some time to rest before cutting a picture-perfect slice.”
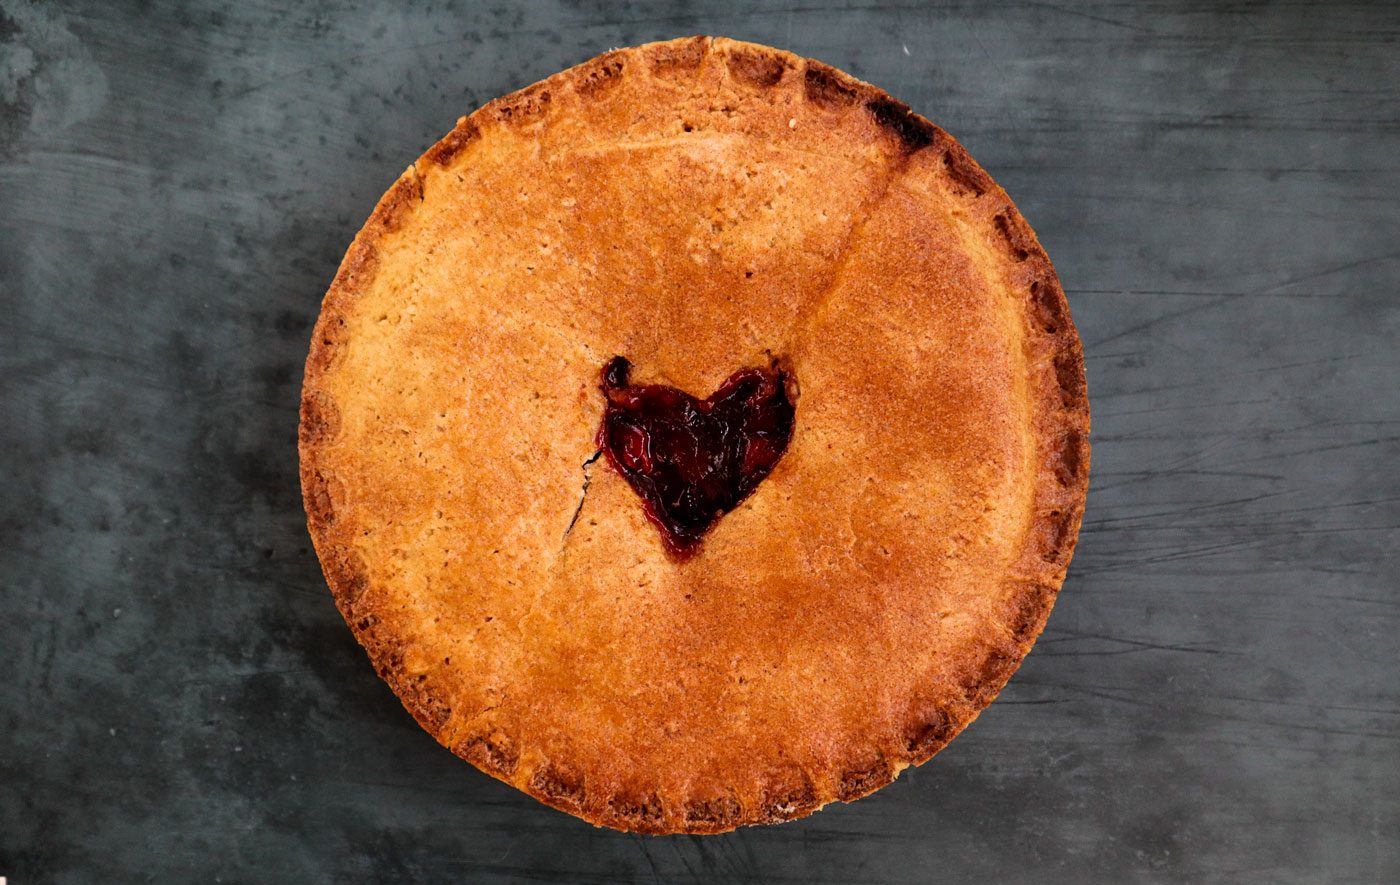
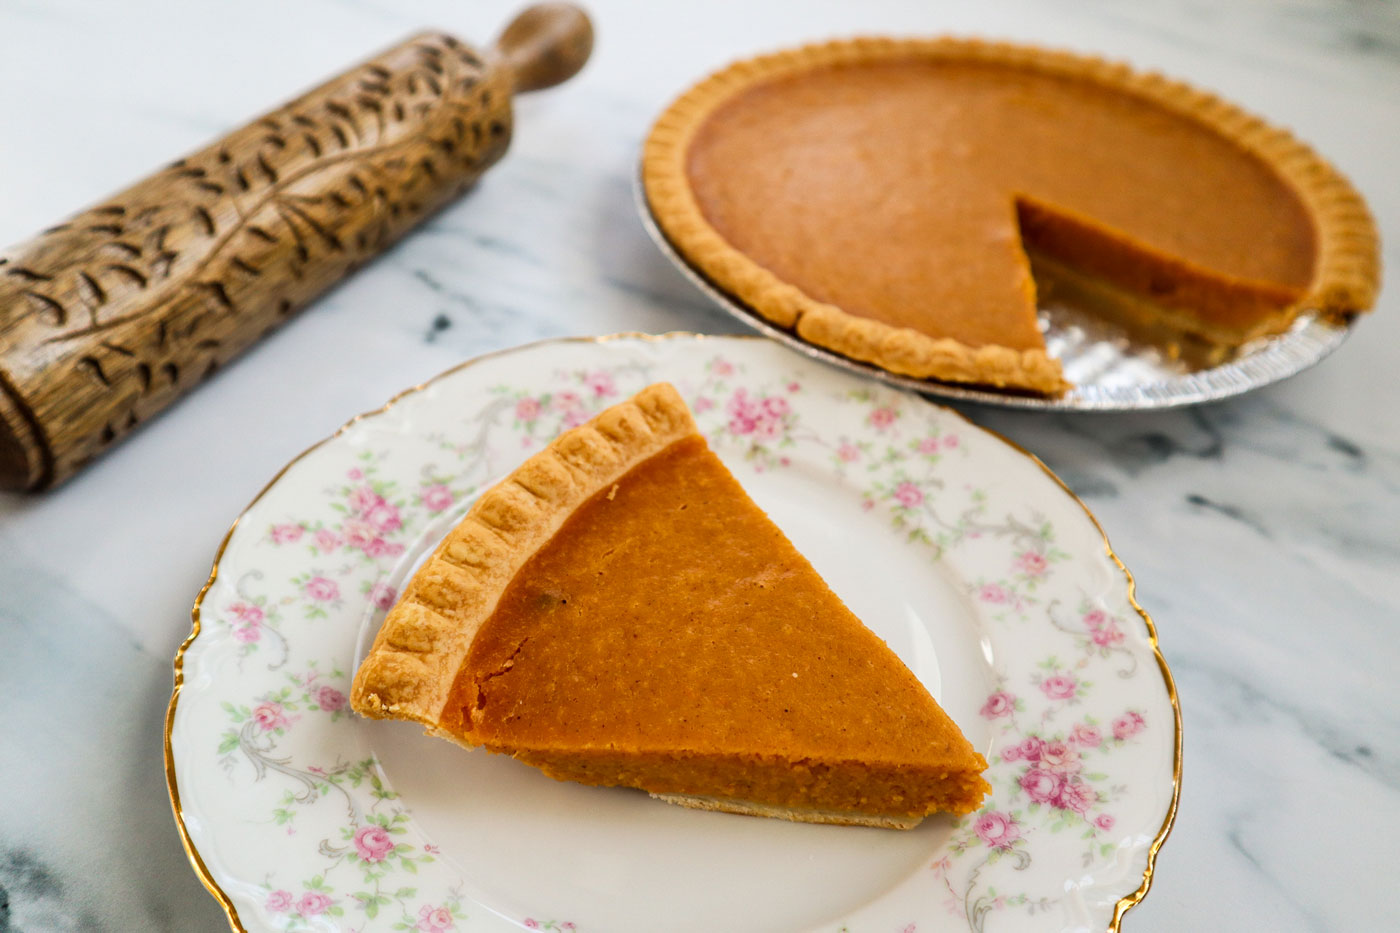
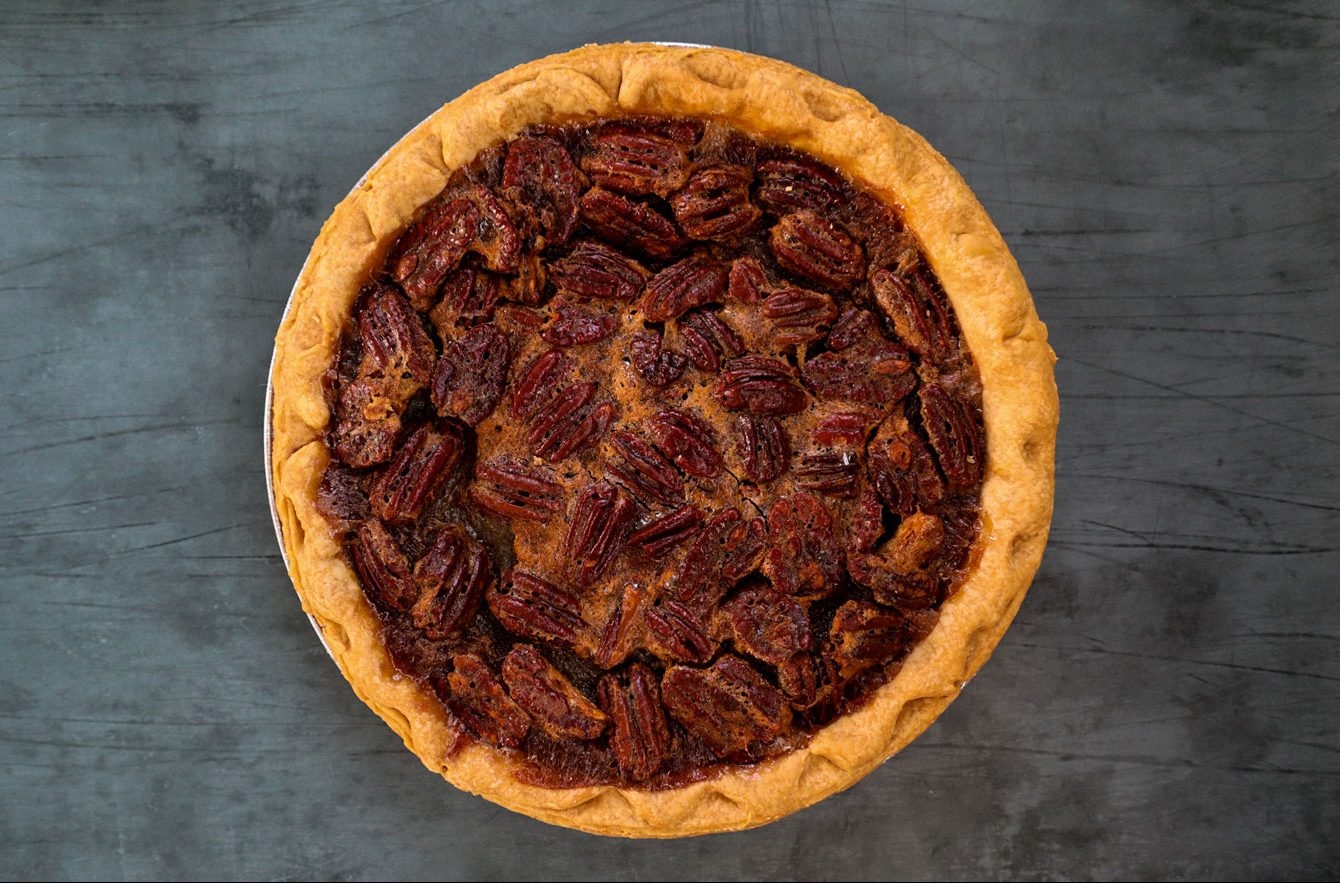
Photos by Kae Lani Palmisano
Related Articles
-
 Food & Drink March 16, 2020 | 5 min read Going Rogue in the Kitchen Eventually, I did what most people do when they’re feeling confident in the kitchen. I whipped up a pot of homemade soup without any instructions.
 -
 Food & Drink March 16, 2020 | 6 min read Delicious Differences: Potatoes Mashed potatoes. Fried potatoes. Hash browns. Baked potatoes. The list goes on for all the ways you can prepare potatoes in the kitchen.
 -
 Food & Drink June 11, 2020 | 6 min read Food Traditions Family traditions don’t always have rhyme or reason, but they give us something to look forward to, and remind us to be grateful.
