
What is Pavlova?
Pavlova is a meringue-like dessert typically topped with lightly sweetened whipped cream and fresh fruit, and it’s a great baking project to add to your repertoire as you expand your culinary endeavors. Although not a typical cake, the delicious baked meringue dessert can be round, giving it a cake-like look.
Named after the Russian ballerina, Anna Pavlova, the dish was created in her honor, with her feathery tutu serving as an inspiration. Both New Zealand and Australia claim this showstopper dessert as their own, as it's traditionally a festive treat during the holidays. Read on to learn how to make pavlova, get baking tips and find inspiration in recipe ideas.

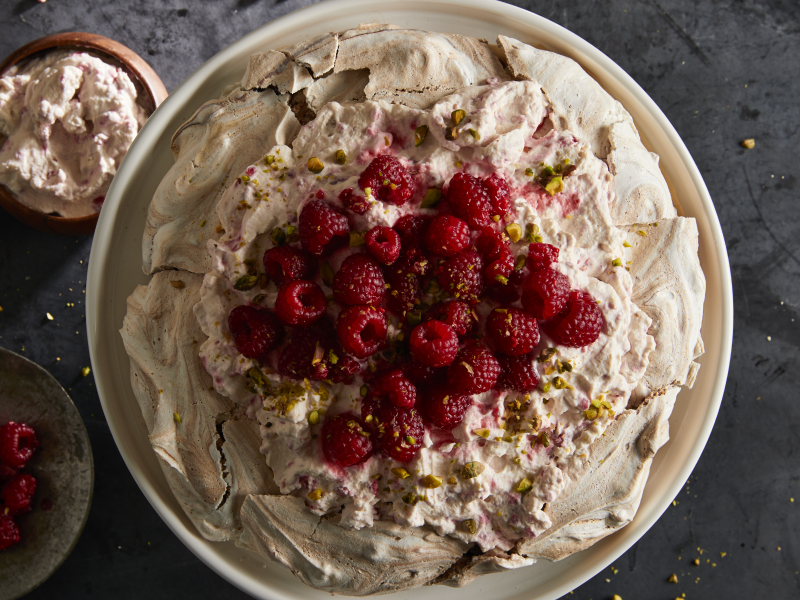
How to Make Pavlova in 7 Steps
As luscious as the pavlova may look, it can be surprisingly simple to make when you use your KitchenAid® stand mixer for whipping egg whites and incorporating other ingredients for the meringue. Next, the resourceful stand mixer continues to come in handy to create a variety of toppings including whipped cream or custard for the pavlova.
If you are looking for more whipped egg white desserts, explore tips and ideas on how to make meringue.
YIELDS
Minimum 4 servings
INGREDIENTS
- Room temperature egg whites
- Sugar
Cream of tartar
Cornstarch
White vinegar
Vanilla extract
Toppings such as whipped cream, custard, fresh sliced fruit, lemon curd, chocolate shavings, herbs, florals
PREP TIME
- Approximately 20 minutes.
COOK TIME
- Approximately 2-1/2 hours.
TOTAL TIME
- Approximately 3 hours.
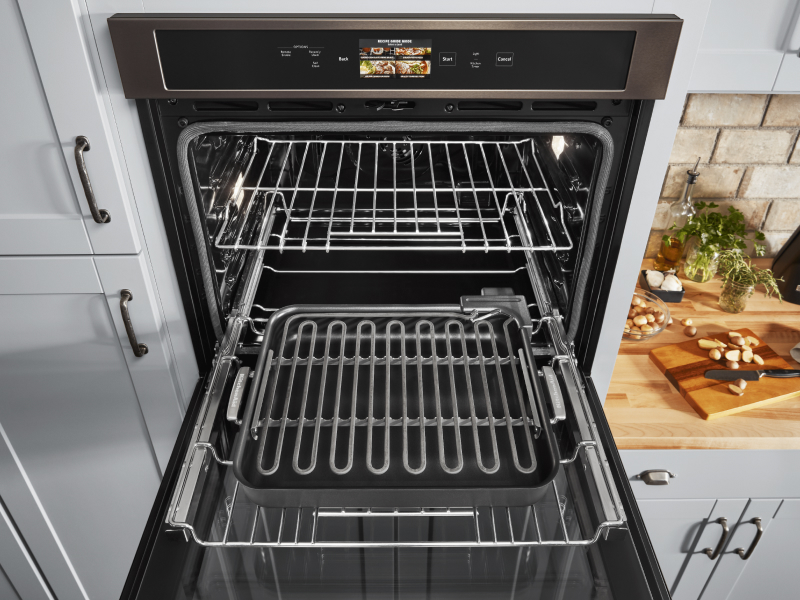
Step 1: Prepare oven
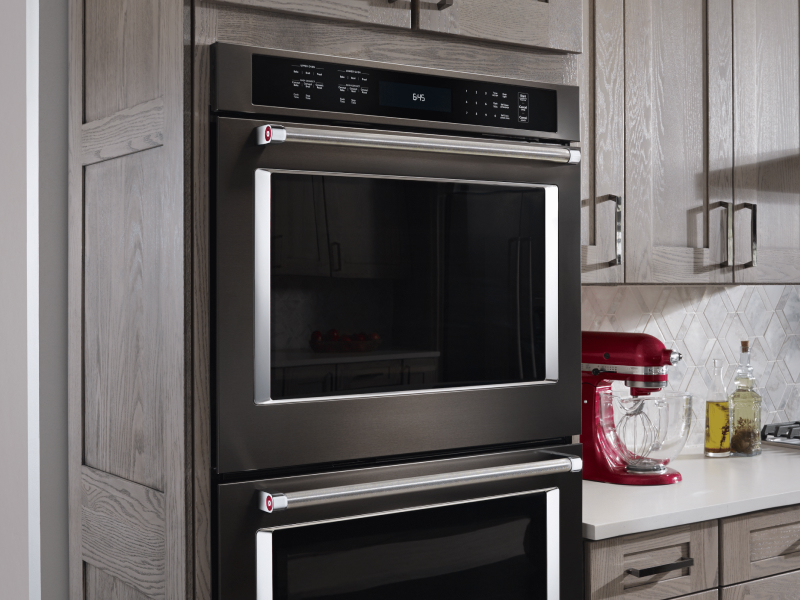
Position one oven rack in the center of the oven. Preheat the oven to 250ºF (121ºC). Line a rimmed baking sheet with parchment paper. Using a pencil, in the center of the parchment paper, lightly trace a circle along the bottom of a cake pan. Make sure to flip the parchment paper over so that the meringue doesn't touch the pencil lead.
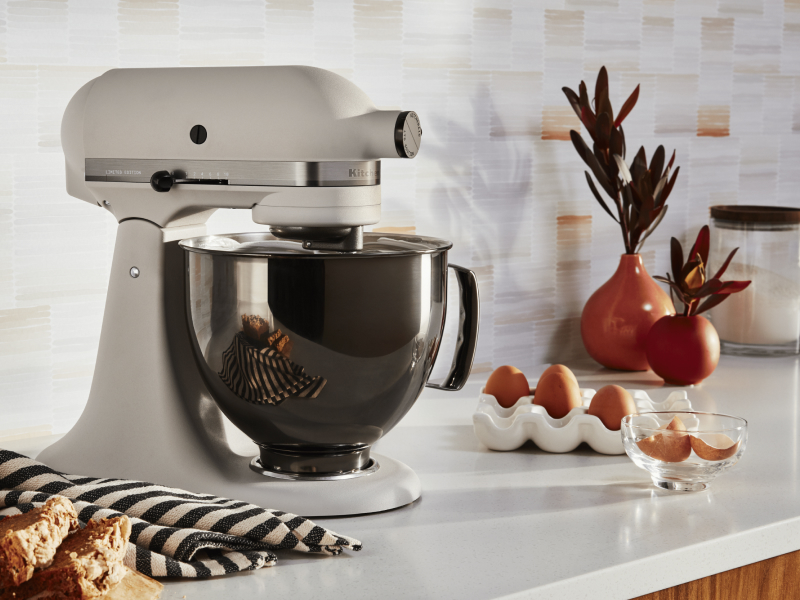
Step 2: Prepare stand mixer
Fit your stand mixer with the wire whip accessory. Make sure your mixing bowl and wire whips are clean. Any residue from previous use, especially fats like oil or butter, will interfere with the process.
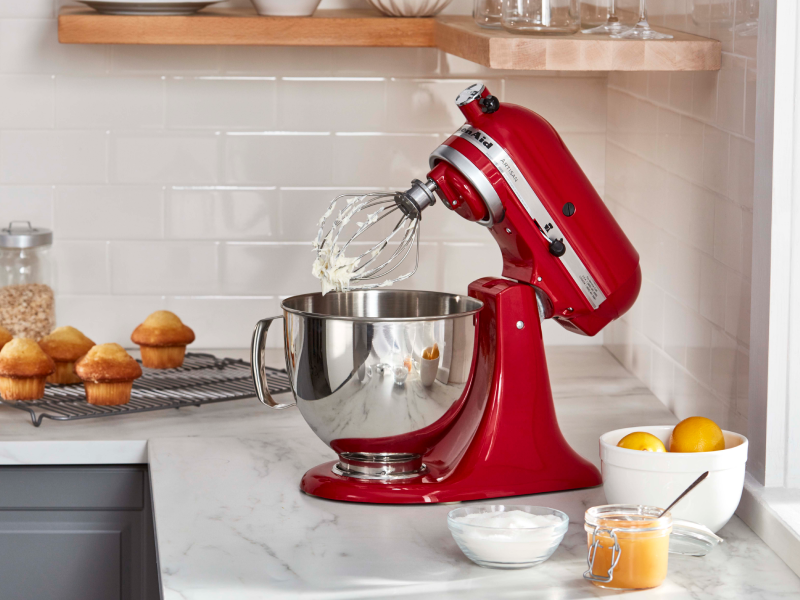
Step 3: Whip egg whites
Start with room temperature egg whites. Add cream of tartar to egg whites. Whip egg whites in your stand mixer on a speed of 6. When the mixture reaches soft peaks, start adding the sugar tablespoon by tablespoon. Once the mixture reaches stiff and glossy peaks, sift in the cornstarch. Then, add the vanilla and vinegar. Continue beating the ingredients until all ingredients are incorporated.
Step 4: Prepare pavlova for oven
Using a spatula, gently mound the pavlova in the center of the drawn circle on your parchment paper. Spread and smooth it, building a round shape that is slightly higher along the edges and concave towards the middle.
Step 5: Bake pavlova
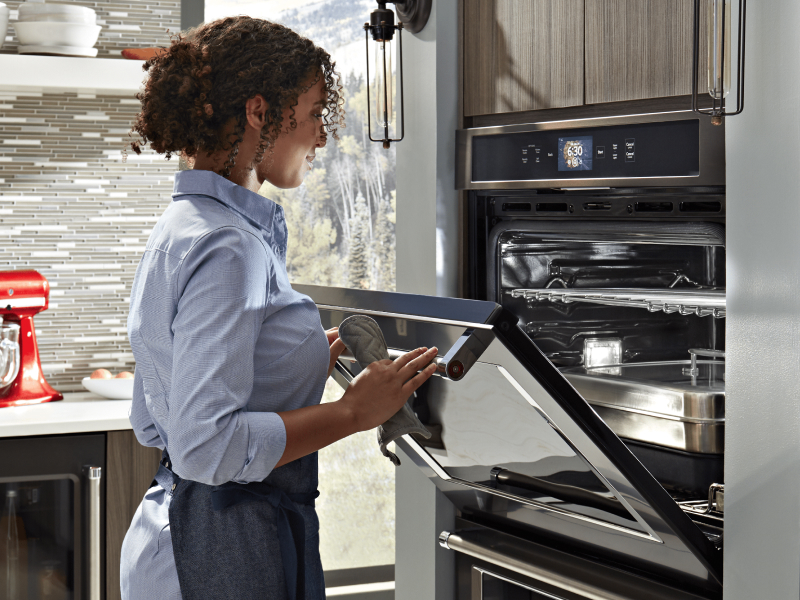
Place the sheet pan on the center rack in the oven. Bake until the pavlova exterior is pale in color, firm, dry, and releases easily from the parchment when lifted with a spatula, approximately 1 to 1-1/2 hours.
You can also check the inside center with a toothpick. It should come out thick, sticky like a marshmallow consistency. If it’s undercooked, it will come out more gooey.
Step 6: Turn oven off
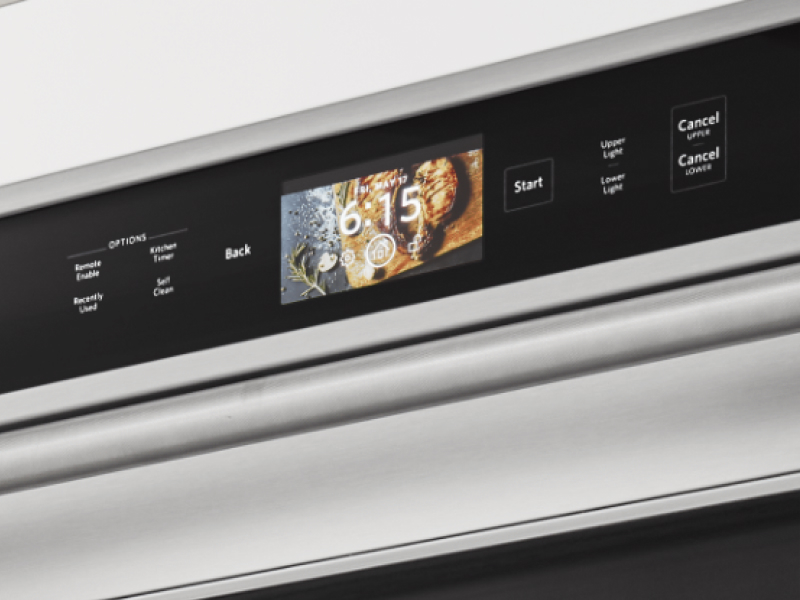
Turn off the oven, and prop the door open. Let the pavlova cool, undisturbed, for another 1-1/2 hours to prevent cracking. Then remove it from the oven to let it cool completely.
Step 7: Add toppings
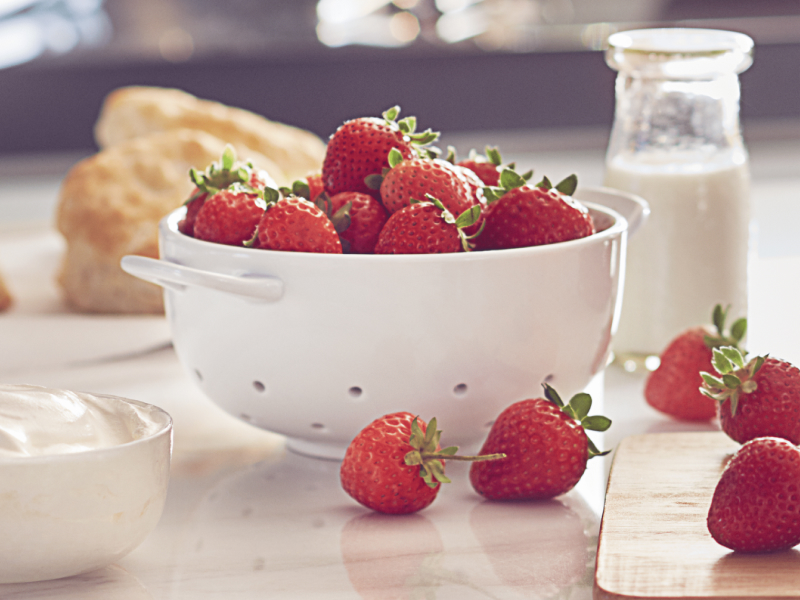
After your pavlova has cooled, add the toppings. Start with a spread, whipped cream is traditional although you can get creative and use other toppings like custard, sour cream or vanilla pudding. Cut up your favorite fruit and place it on the spread, try berries, passion fruit, kiwi and bananas. If you want to take it one step further, you can add a drizzle of sauce, like sumptuous chocolate ganache, robust lavender caramel, or delightful blood orange syrup.
Shop KitchenAid® stand mixerS
Experience the ease and precision of whipping egg whites with a KitchenAid® stand mixer. If you’re not sure where to begin, explore this stand mixer guide to find the right fit for your epicurean adventures.
How should pavlova feel when cooked?
Pavlova should come out of the oven firm, with a dry and crisp shell, and easily lift off the parchment paper with a spatula. If you notice it sticking, it may need to be baked longer. You’ll also notice that it is pale in color.
What should the inside of a pavlova be like?
A properly cooked pavlova will have a thick, sticky, pillowy texture inside, similar to marshmallow consistency. It’s a nice contrast to the crisp, yet chewy outside. You can test the center with a toothpick. If you notice that it’s gooey, it may need to be baked longer.
Why do pavlovas crack?
It’s normal for a pavlova to have some cracks. When you move the pavlova from inside a warm oven to the countertop, the change in temperature can cause cracks. That’s why it’s recommended to cool your pavlova in the oven after baking. This may help with cracking and deflating.
Why is pavlova chewy?
The chewy center of the pavlova is from the cornstarch. Cornstarch helps the pavlova to retain moisture, allowing the inside to be a fluffier, more of a marshmallow-like texture. The sugar, white vinegar and cream of tartar all help the whipped egg whites to hold air, preventing the pavlova from deflating.


Pavlova topping ideas
Pavlova is a versatile dessert that you can tailor to your palate’s desire. A classic pavlova typically has lightly sweetened whipped cream topped with fresh fruit. Instead of whipped cream, you can use coconut cream, creme fraiche, yogurt, lemon curd, custard or whipped coffee. Add your fruit and if you prefer, drizzle with your favorite syrup, like chocolate, honey, salted caramel or a cherry sauce.
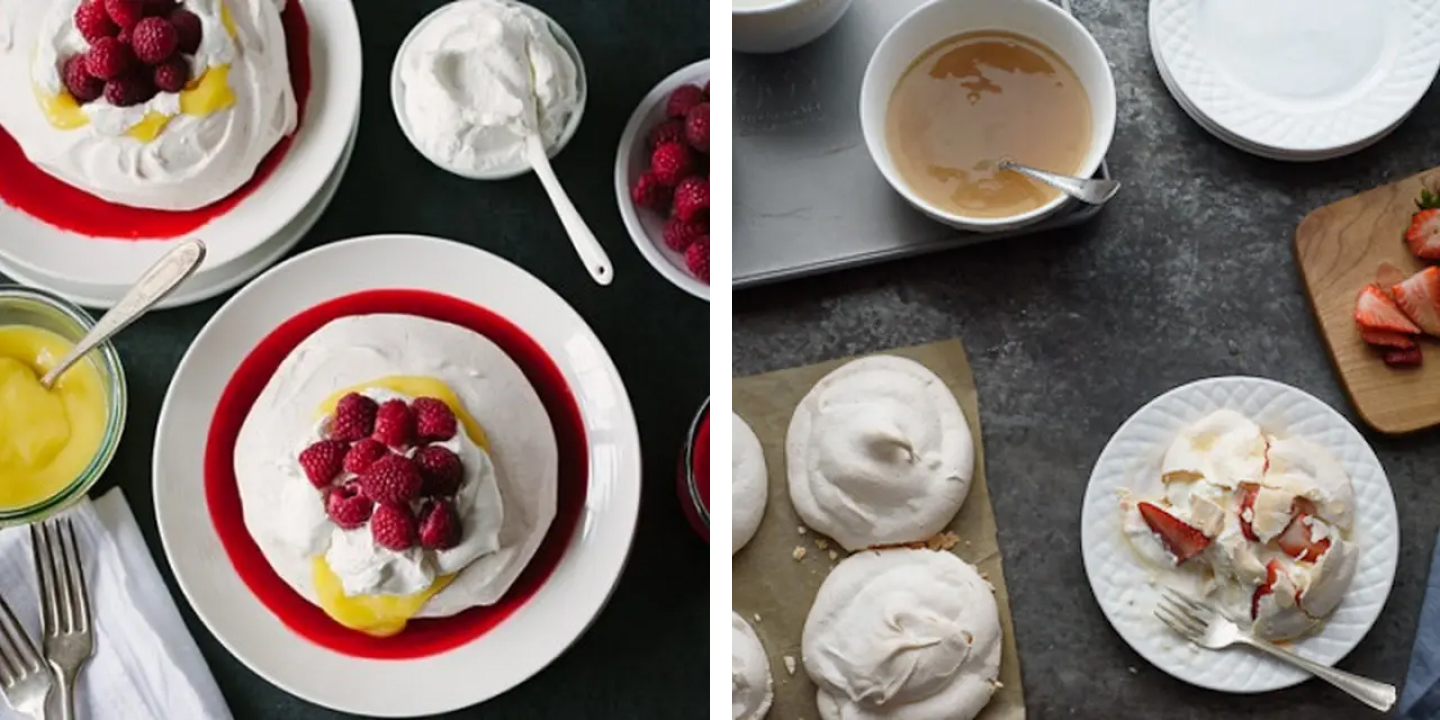
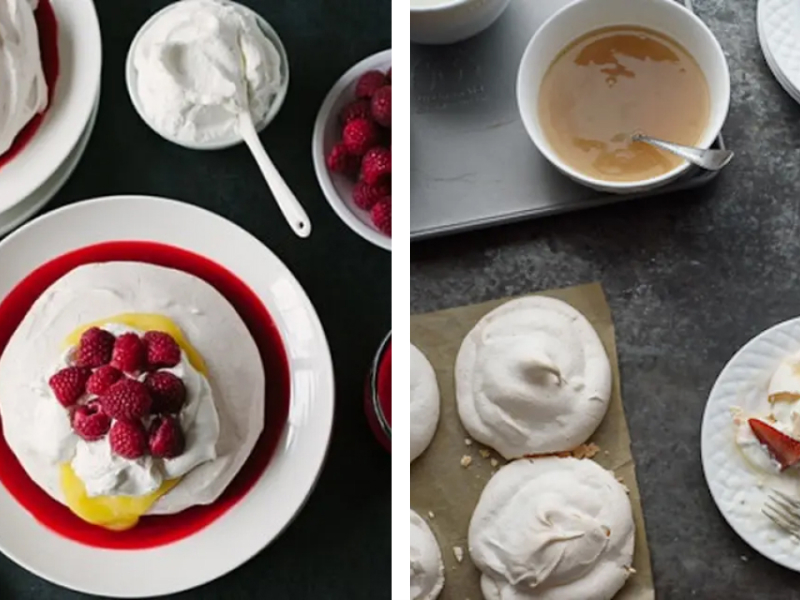
The possibilities of delightful, mouthwatering combinations are endless. You may want to try the delectable Meyer lemon and raspberry pavlova, or the exquisite strawberry pavlova with champagne sauce, or the enticing chocolate pistachio pavlova with raspberry cream.
Explore KitchenAid® stand mixers, accessories and attachmentS
Quickly add ingredients and swap out attachments1 with stand mixers from KitchenAid brand. Discover an assortment of KitchenAid® stand mixer attachments that let you streamline your process for consistently delicious desserts and meals.
1 Sold separately