
HOW TO USE A MEAT GRINDER
Meat grinders give you the versatility in the kitchen to transform your favorite cut of meat, succulent fats and aromatic spices into your own blend of ground meat. With the KitchenAid® Metal Food Grinder attachment, you can use the freshest ingredients to create mouthwatering recipes.
Follow these tips for how to use a meat grinder and discover how it can help you make new recipes.

WHAT IS A MEAT GRINDER?
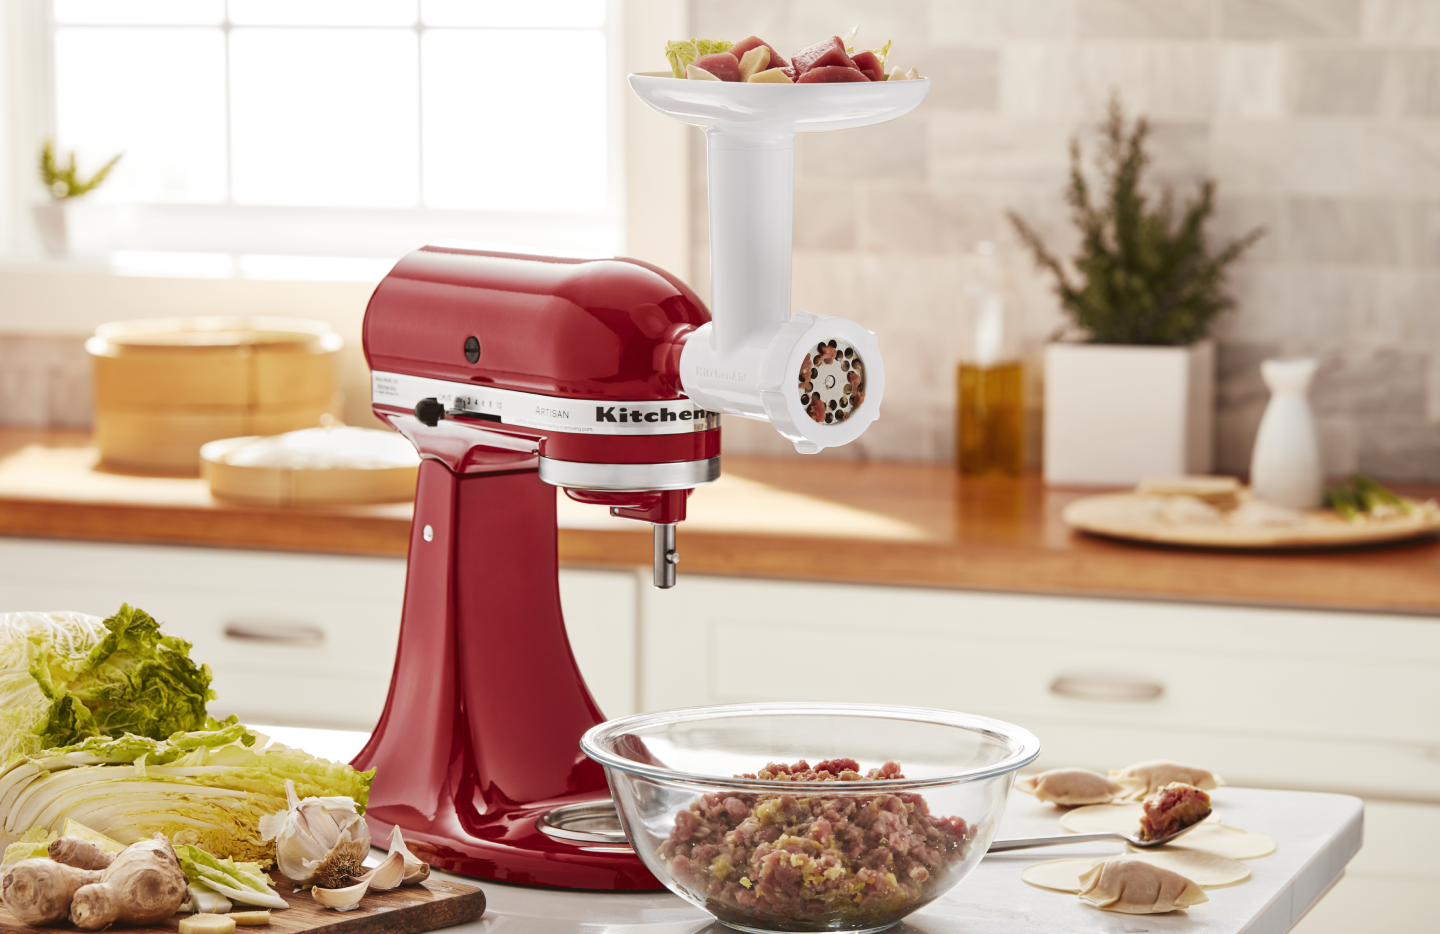
A meat grinder is made up of a hopper or tray that feeds food through grinding plates to finely mince and mix fresh meat and other ingredients. Types of meat grinders include: a manual grinder that operates with a hand crank, an electric grinder with an internal motor and a stand mixer attachment that uses the mixer’s motor to power the grinding action.

HOW DOES A MEAT GRINDER WORK?
The meat grinder’s food tray holds cold meat or alternative ingredients, while the food pusher helps you drive the ingredients through the feed tube and toward the blade. The blade cuts the food into smaller pieces before pushing it through the holes of the exterior grinding plate.
The size of the grinding plate’s holes will determine the appearance of your final grind. The KitchenAid® Metal Food Grinder attachment comes with three different grinding plates, so you can customize recipes to your liking.
IS GRINDING YOUR OWN MEAT WORTH IT?
A food and meat grinder gives you a level of control over ingredient sources, flavor and texture that makes it a worthwhile addition to your repertoire. Keep reading to discover more key benefits of using a food and meat grinder.
CONTROL WHERE YOUR MEAT COMES FROM
Grinding your own meat lets you decide not only where the meat comes from, but also the varieties and cuts you use in recipes, whether locally-raised or purchased at a grocery store or butcher.
MAINTAIN FLAVOR INTEGRITY
It’s easy to maintain flavor integrity with fresh ingredients and without commercial additives and preservatives. Fine-tune the flavor in your recipes by combining different meat blends such as beef and lamb for tagine cooking or easy kabobs, chicken and pork for homemade dim sum, ground meat for Swedish meatballs or lean beef with pork for the ultimate burgers.
CONTROL THE TEXTURE OF THE MEAT
Grinding your own meat lets you control the texture of the grind from fine to coarse and lets you shape items such as meatballs and sausage loosely so they are tender when cooked, unlike packaged products that might become compressed, which can make them feel tough once cooked.
CREATE DIVERSE RECIPES
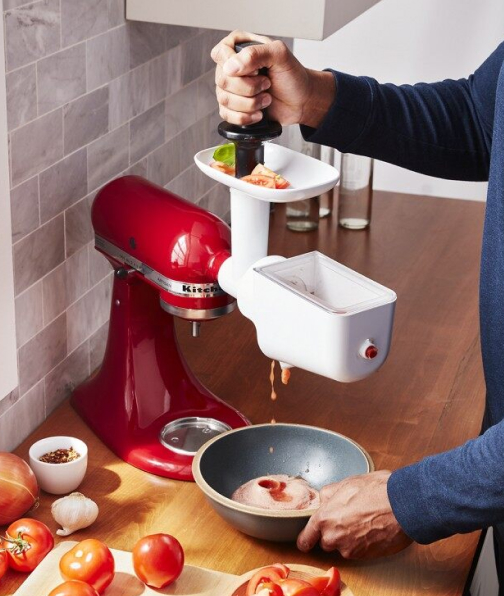
You can also use a KitchenAid® Food Grinder for foods such as potato, sweet potato, squash and other cooked soft vegetables to make gnocchi, pierogi, hash and more. Or, pair it with the Fruit and Vegetable Strainer attachment to create fresh jams, sauces, baby foods and more.
DO YOU NEED TO FREEZE MEAT BEFORE GRINDING?
Partially freezing gives your ground meat mixture a more solid texture and can help it go through the grinder with ease. Freezing your meat for around 30 minutes can also minimize the need for excessive cleaning afterward, as your meat is less prone to smearing.
Once you’ve cubed your meat of choice, set it into the freezer until cold or partially frozen before grinding. Do not use completely frozen ingredients with your grinder. Roughly 30 minutes in the freezer is enough to help reduce smearing and create a clean grind.

HOW TO USE A MANUAL OR ELECTRIC MEAT GRINDER ATTACHMENT
Whether you use a manual grinder, a standalone electric grinder or a stand mixer attachment, follow these tips to help you achieve the best possible results.
WHAT YOU’LL NEED TO GET STARTED
SUPPLIES
Seasoning (optional)
Cold or partially frozen meat
TOOLS
Kitchen shears
Refrigerator-safe bowl
Meat grinder (electric or manual)
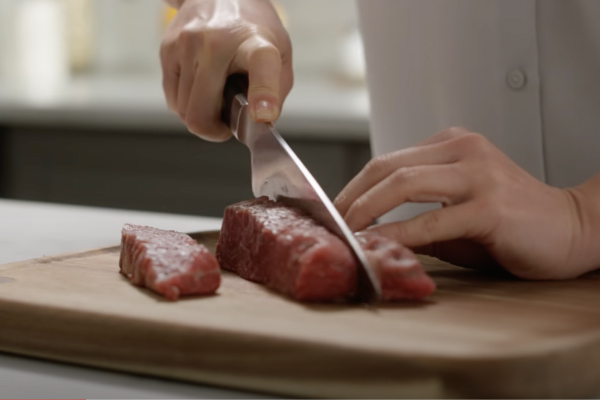
1. Trim the Meat
Prepare your meat by trimming any excess fat and skin so you’re only grinding the prime parts of the meat. This will help the grinder chop the meat efficiently and help you avoid smearing.
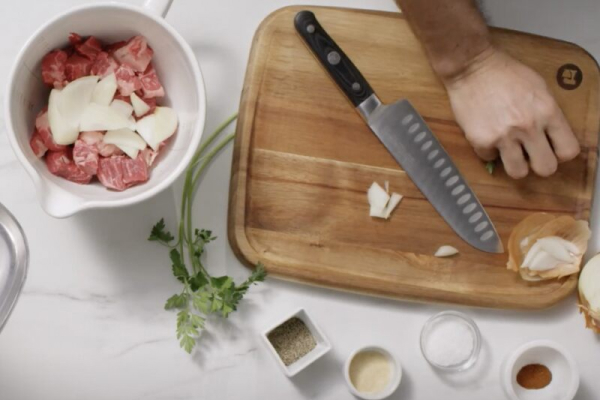
2. Remove Bones
Make sure to remove any bones and bone fragments. Trimming out bones is critical for your safety and longevity of the product.
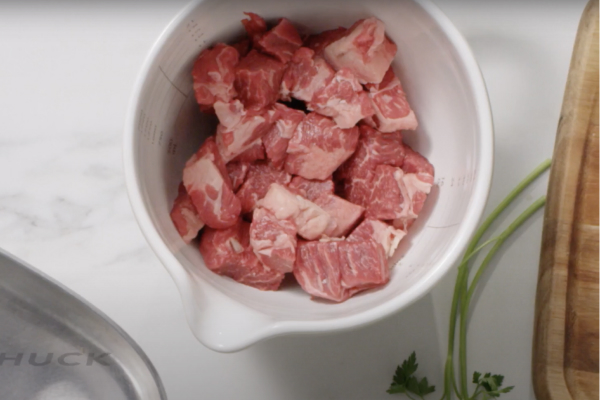
3. CUT THE MEAT INTO PIECES
Be sure you cut your meat into pieces that are sized to move easily from the tray into the grinder opening. If you cut pieces too large, they may clog the grinder.
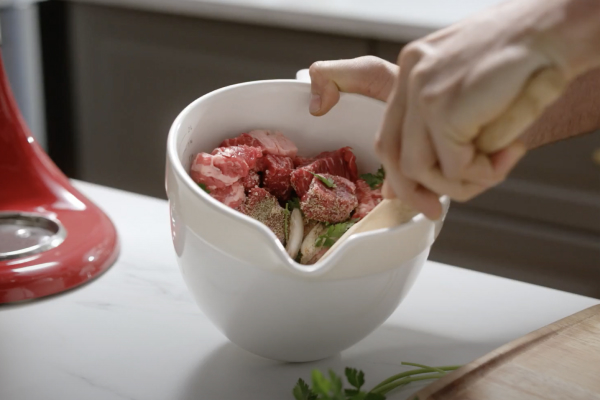
4. PRE-SEASON
If you plan to season meat, let the trimmed cut rest in the fridge coated in a dry rub. Seasoning the meat before grinding ensures even flavor distribution throughout the final product.
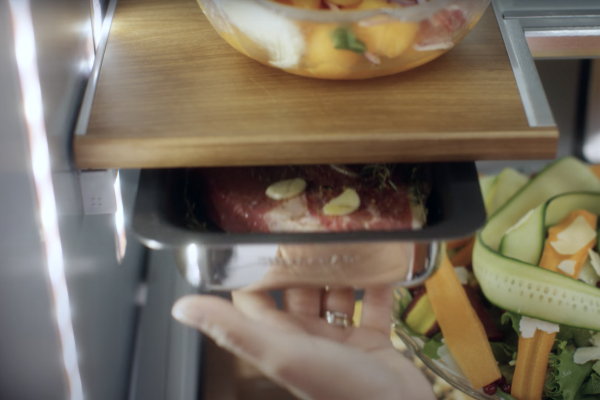
5. CHILL THE MEAT
For best results, grind meat that is very cold or partially frozen. Chill for around 30 minutes depending on the size and cut of your meat. If you’re grinding large quantities, keep it in the fridge and remove small amounts to grind in batches.
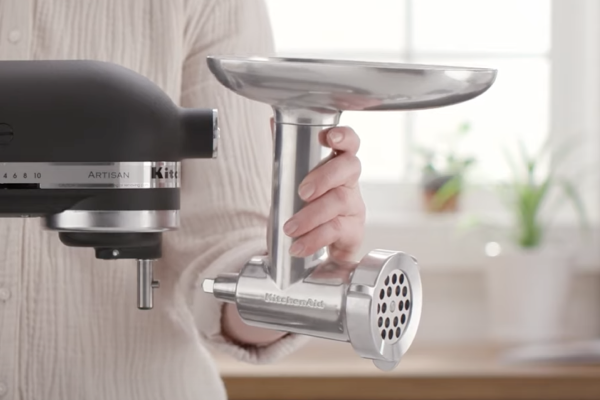
6. CHILL THE GRINDER
To help maintain cool temperatures while in use, chill the grinder and food tray for at least 30 minutes prior to grinding. The KitchenAid® Metal Food Grinder can be pre-chilled in the refrigerator or freezer to maintain a cold grinding temperature, while giving you a clean grind when preparing meat.
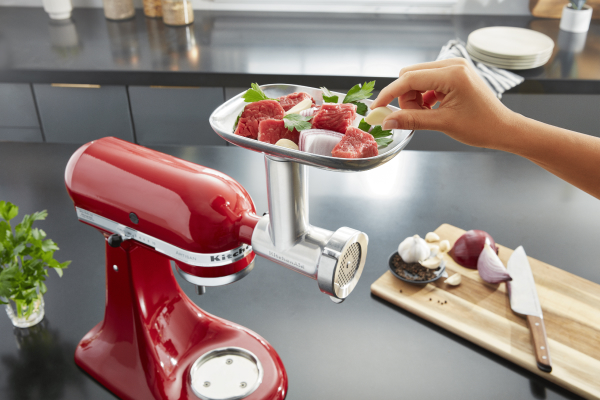
7. SET UP THE GRINDER
Remove your meat grinder from the freezer or refrigerator and assemble it for grinding. Once assembled, a KitchenAid® Metal Food Grinder can be connected to the power hub of any KitchenAid® stand mixer by inserting the attachment shaft into the hub, then tightening the mixer hub knob clockwise to secure the grinder.
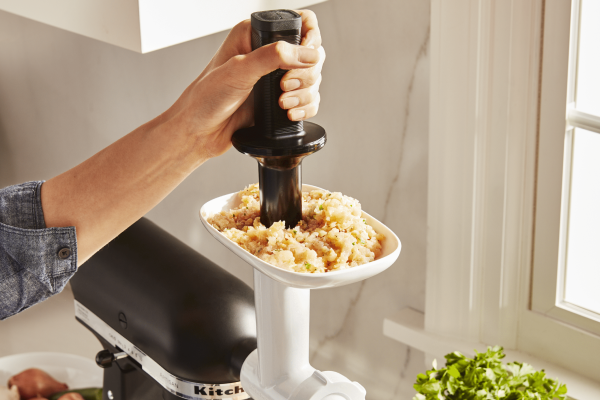
8. GRIND MEAT IN SMALL BATCHES
Always work in small batches so you don’t overload the grinder and clog the plate or strain the motor. Make sure to clean the die and blade before moving on to another batch.
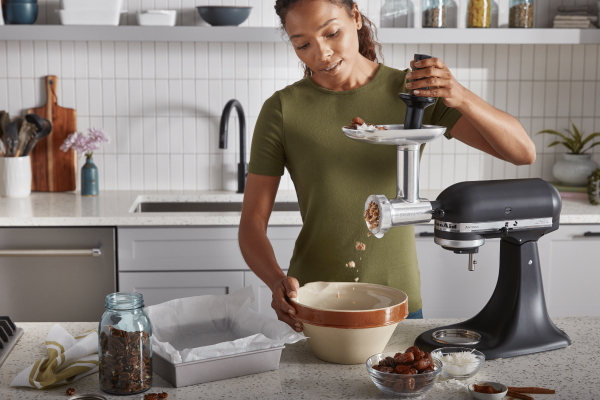
9. Grind and Grind Again
For more tender results, some meats can be ground twice. However, fatty meats should be ground only once.
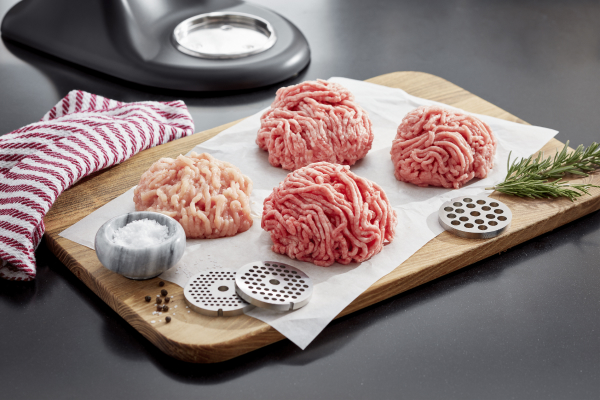
10. Re-Chill the Meat Between Grinds
Be sure to cool the ground meat in between grinds. You can easily do this by grinding the meat directly into a bowl that’s nested inside a larger bowl of ice.
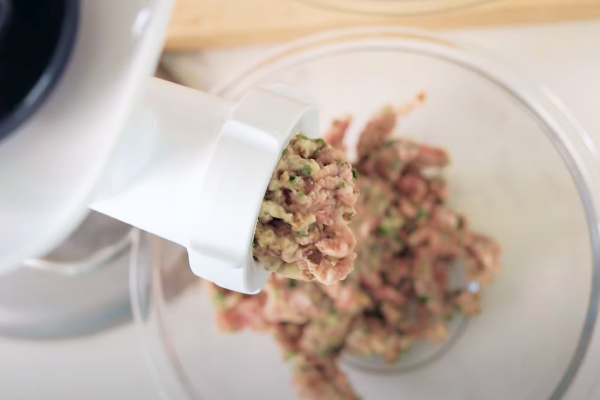
11. LOOK FOR SIGNS OF SMEARING
If you see smearing as the meat is coming out of the grinder, you may not have trimmed the sinew adequately. This can cause the meat to squeeze through the holes without getting properly chopped. You may need to disassemble the grinder, clean the blade and re-trim some pieces if this happens.
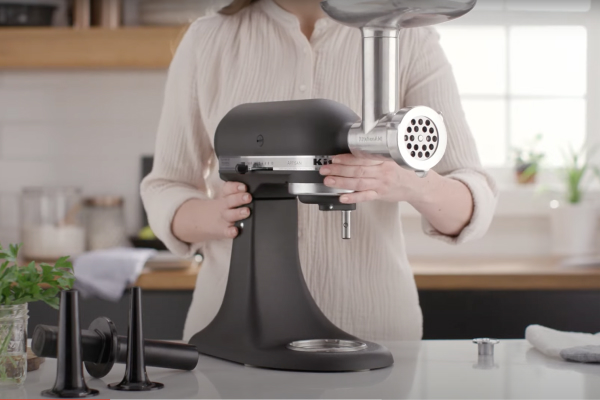
12. CLEAN AND STORE YOUR MEAT GRINDER
Properly maintaining your meat grinder will help it last for many delicious recipes to come. Once you’re ready to start cleaning, use the cleaning brush that came with your KitchenAid® Metal Food Grinder Attachment to clean the housing compartment and grinding plates.
Then, follow your owner’s manual instructions for handwashing your grinder or for dishwasher guidelines. Once your grinder is cleaned, store it in a dry place where it won’t become damaged.
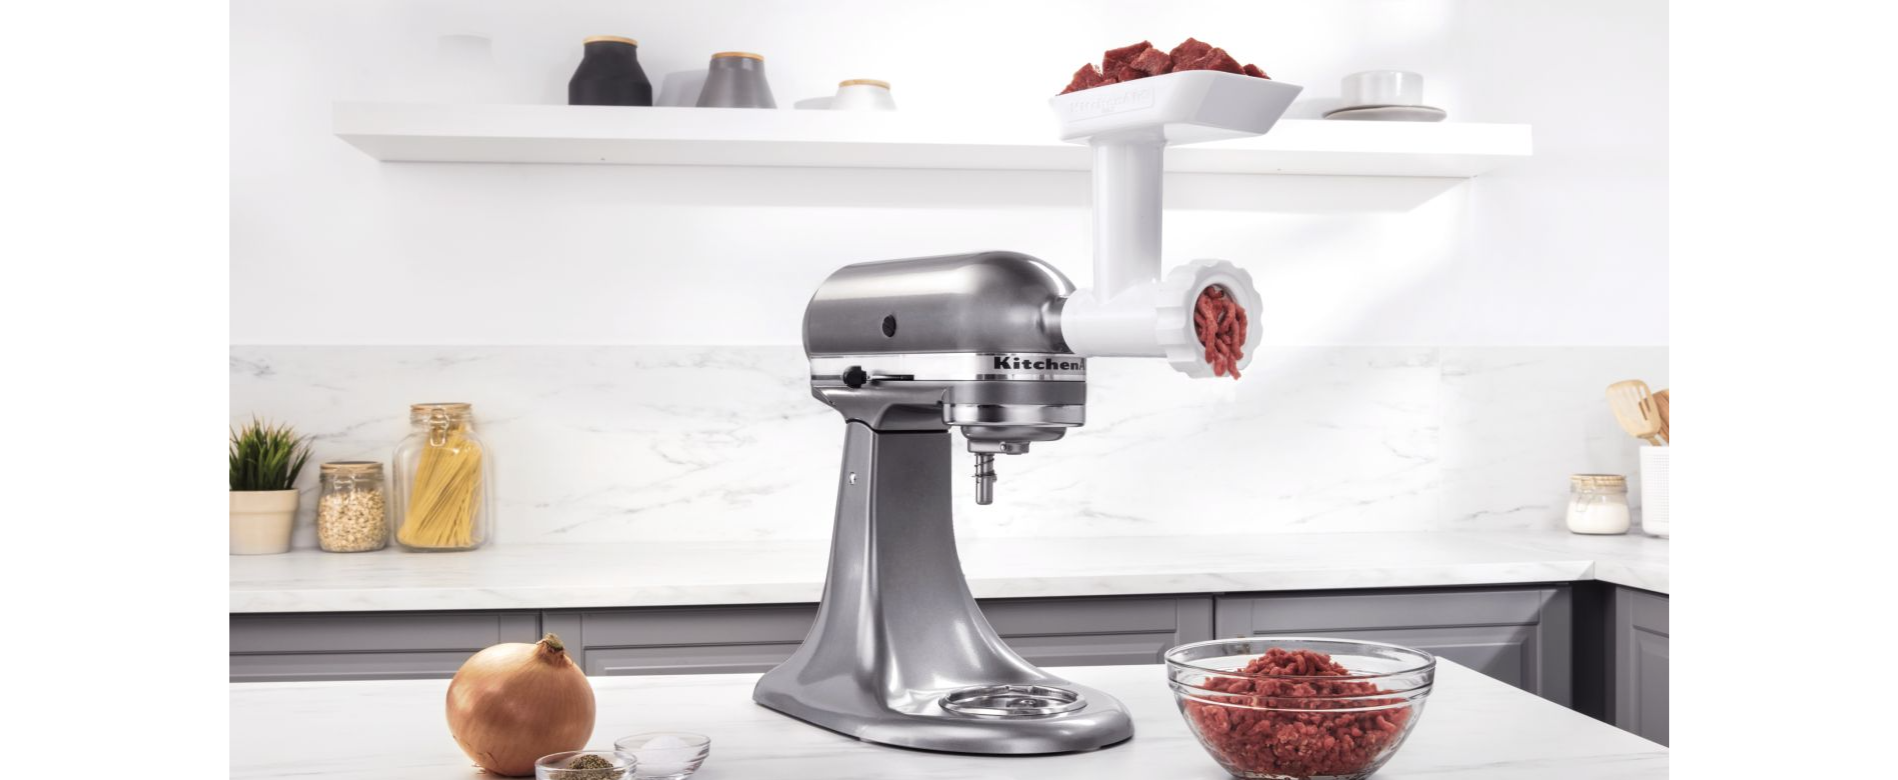

HOW DO YOU MAKE GROUND BEEF WITH A MEAT GRINDER?
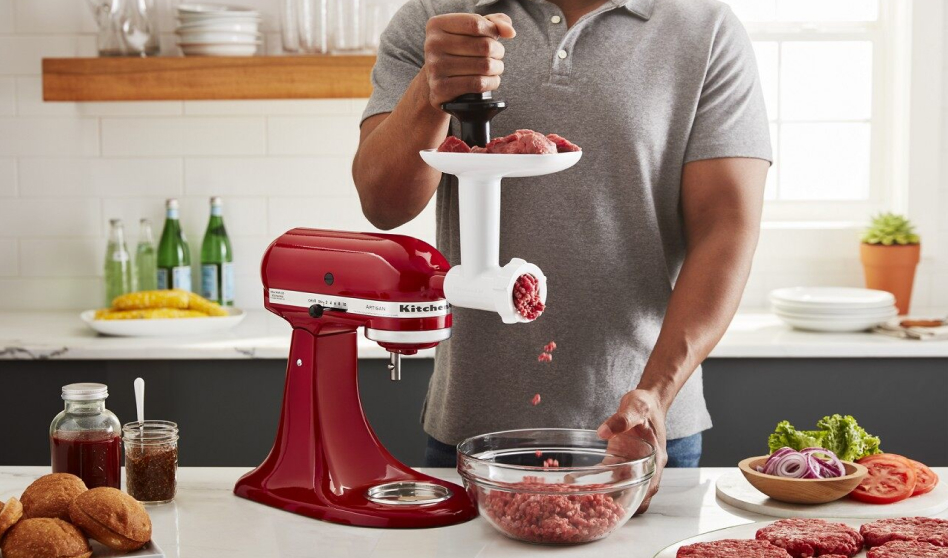
Before grinding, cut meat into cubes and make sure you chill your meat, the meat grinder and any other utensils and equipment you plan to use. Load cubed, chilled meat onto the meat grinder food tray, then push it through the feed tube and out into a chilled bowl.
Properly grinding beef creates the optimal texture for your favorite beef dishes and helps keep your meat grinder in good shape. Select and insert the grinding plate best suited to the texture you hope to achieve before you chill the grinder. It’s best to use a medium or coarse grinding plate for raw meats. When feeding meat through the grinder, be sure to only use the food pusher that came with your meat grinder.
Grinding tip:
Cold meat and equipment helps ensure that the fat in the ground meat doesn’t get soft and smear the meat into a paste. When smearing happens, the fat in the meat may leak out during cooking, leaving you with dry and mealy meat.
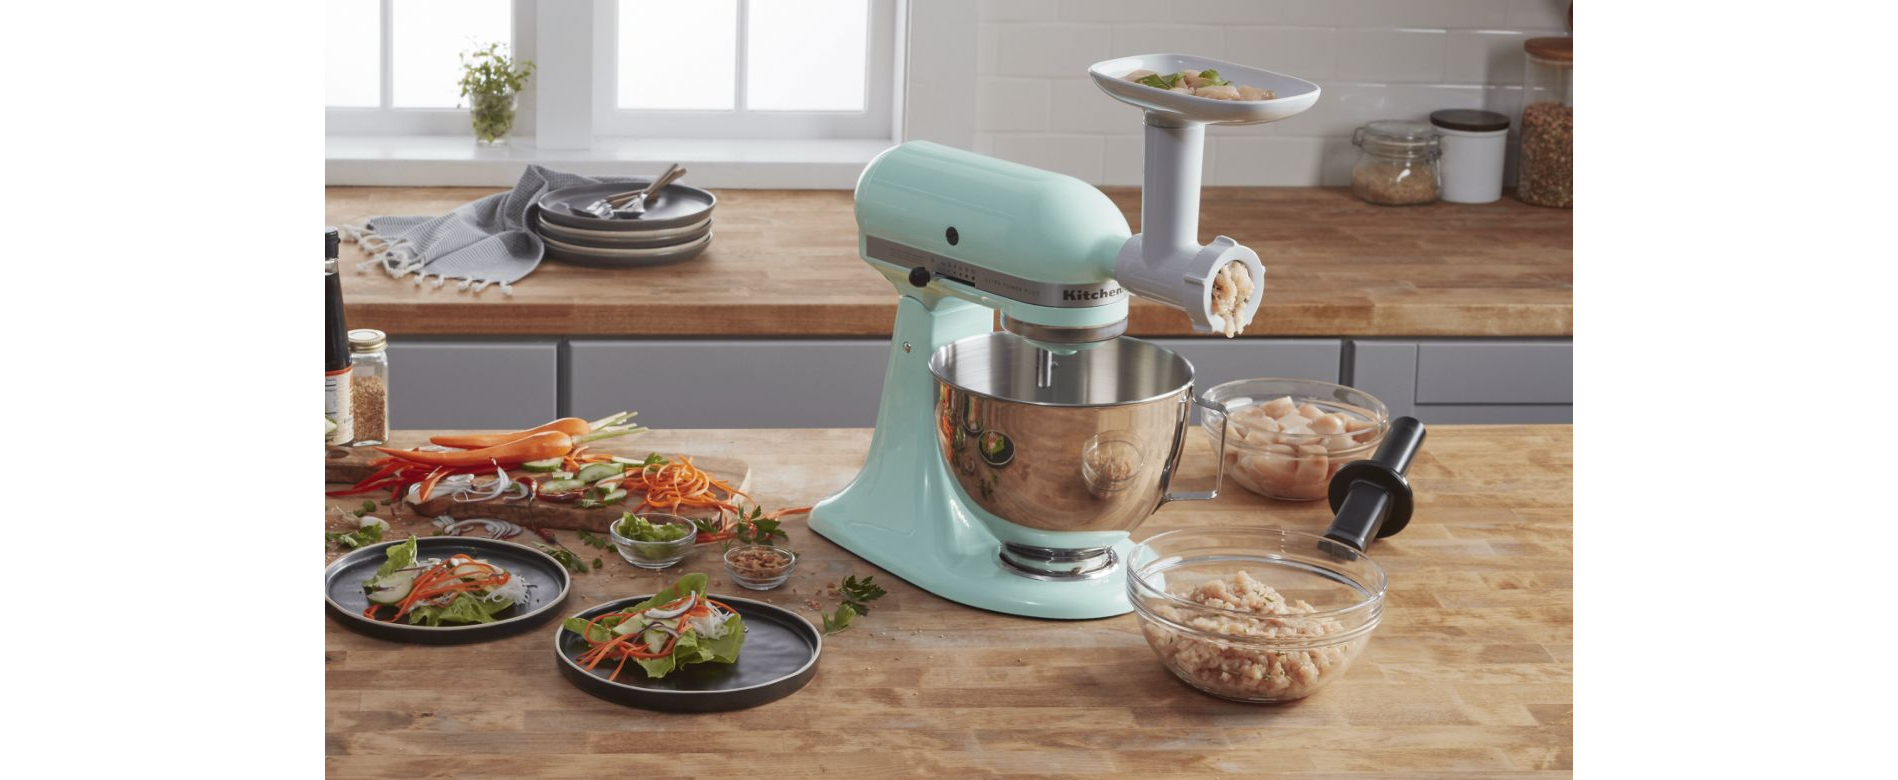

HOW DO YOU GRIND CHICKEN WITH A MEAT GRINDER?
Ground chicken can transform go-to dishes like meatballs and burgers into flavorful entrees with a lighter twist. To grind, start by removing tendons, ligaments or bones from the chicken, then cut it into small 1-2 inch cubes or strips that fit your meat grinder’s feed tube. Like with beef, cold meat and tools help prevent smearing, so chill chicken in the freezer for 30-40 minutes so it's cold (but not frozen), and chill the meat grinder and any bowls, knives or plates you plan to use throughout the process.
Insert the grinding plate you’d like to use and place a bowl beneath the grinder, then put the sliced or cubed chicken onto the food tray of your meat grinder and slowly move the chicken towards the feed tube. Help move chicken through the feed tube using your meat grinder’s food pusher as necessary.
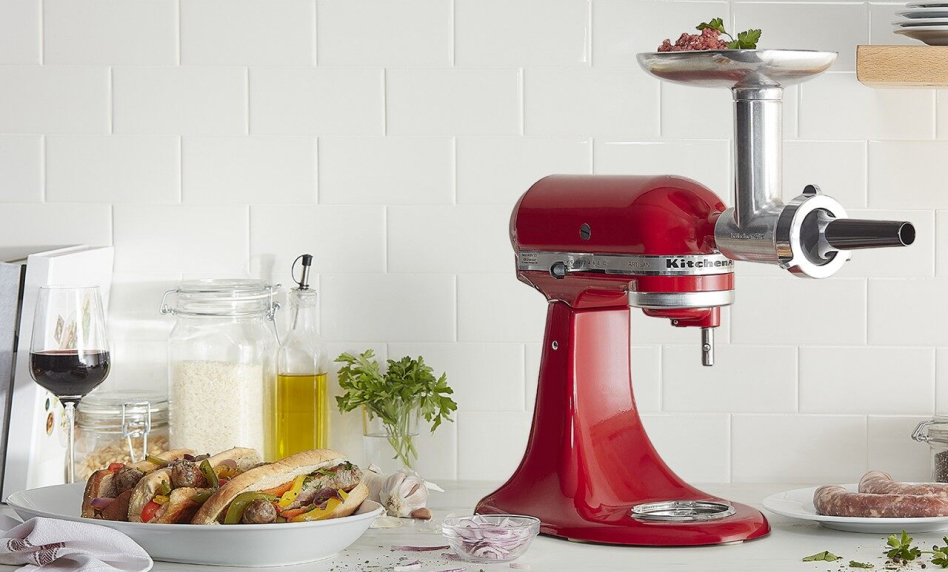

IDEAS FOR USING A MEAT GRINDER
Grinding your own meat makes it easier to curate dishes tailored to your taste buds, but a meat grinder can also help prepare a wide array of other ingredients. A meat grinder can be used instead of a food mill or food processor. Use it to grind hard cheeses like parmesan, asiago and gruyère, or use a fine grinding plate to quickly whip up a batch of bread crumbs.
Grind veggies like cucumbers, pickles, peppers, garlic or onions to create relish, or tackle ingredients like chickpeas and other softened beans to prepare homemade hummus or falafel.
Read on to learn how to blend meats, stuff sausage, create non-meat dishes or assemble nutritious, juicy chicken meatballs for your next adventure with a meat grinder.

1. GRIND POTATOES FOR PERFECT GNOCCHI
You might not consider putting potatoes in a meat grinder, but food grinders can also be efficient food mills that you can use to grind potatoes, butternut squash and fresh garlic to make tender pillows of fresh gnocchi.

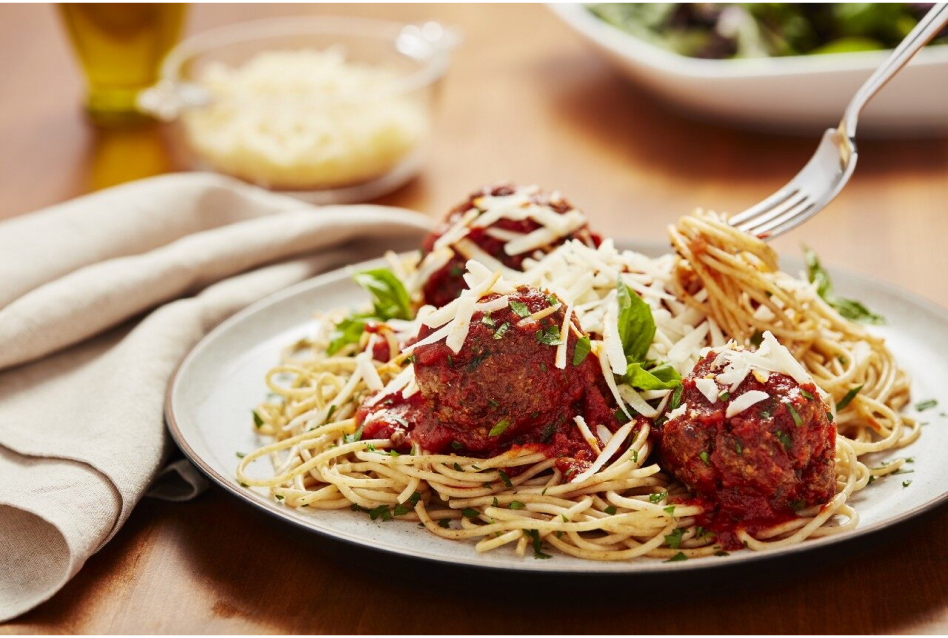
2. GRIND CHICKEN THIGHS FOR JUICY CHICKEN MEATBALLS
If you prefer to reduce the fat content in your favorite meatball recipes, you can substitute the beef or pork with fresh ground chicken thighs to achieve tender, juicy results. Or you can start with this Thai chicken meatballs recipe for a perfect balance of flavor and texture.

3. GRIND NEARLY ANY TYPE OF MEAT TO MAKE BURGERS
Use your meat grinder to create the perfect blend of meats that you can gently assemble into fluffy homemade burger patties that are juicy and flavorful. You might think a burger is always made with beef, but by controlling the grind and fat content using a meat grinder, you can easily make burgers with a variety of ingredients such as turkey or even salmon.

4. MAKE FRESH SAUSAGE
You can use your food grinder attachment to create a blend of beef, pork and pork backfat to create homemade bangers and mash. Easily stuff your fresh sausage using the KitchenAid® Sausage Stuffer Attachment that attaches to your food grinder, or the included accessories with the metal food grinder. To learn more about choosing, preparing and working with the casings that will hold your freshly ground meat, follow these tips and tricks for how to stuff sausage.
EXPLORE FOOD GRINDER ATTACHMENTS FROM KITCHENAID BRAND
KitchenAid brand food grinders attach to the power hub of any KitchenAid® stand mixer. The mixer’s motor powers food through interchangeable plates from coarse to fine that mince or grind ingredients so you can make custom blends and textures for your favorite recipes. Now you'll be ready to make sausage for breakfast, dim sum appetizers for Mother's Day, ground beef for Game Day burgers and much more.
KitchenAid brand offers several food and meat grinder attachments to help with everything from processing locally-raised meats for sausage to grinding up fruits for inventive chutneys, bread crumbs and more. Shop a variety of meat and food grinder attachments that work with your KitchenAid® stand mixer.
PAIR YOUR KITCHENAID® FOOD GRINDER WITH A KITCHENAID® STAND MIXER
You’ll enjoy many years of exploring unique ways to incorporate freshly ground ingredients into your cooking with a versatile and sturdy KitchenAid® stand mixer always ready to power the grinding action. Your stand mixer can become the culinary center of your kitchen with a wide variety of specialty attachments available to help you try new recipes, master new techniques and enhance your enjoyment of everyday cooking.