HOW TO MAKE PUFF PASTRY WITH A STAND MIXER
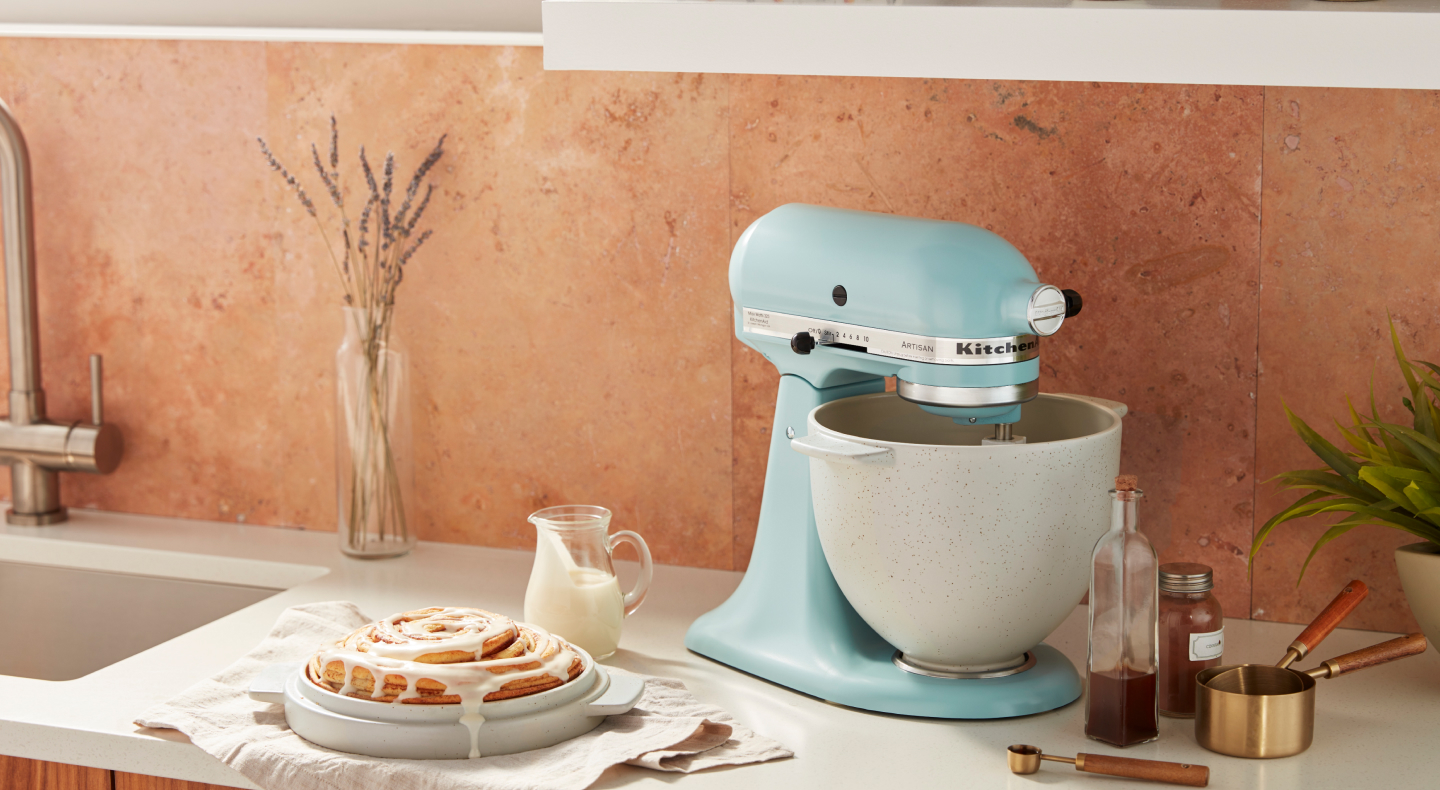
Puff pastry is a delicate, light-as-air pastry, made with a few simple ingredients. It puffs up in the oven creating layer upon layer of crispy, melt-in-your-mouth deliciousness. This versatile dough can be used for everything from cups for savory appetizer fillings and palmiers to flaky crusts for sweet turnovers, tarts and pastries. Make this puff pastry recipe in your KitchenAid® stand mixer and revel in the joy of mastering this beloved treat.
WHAT IS PUFF PASTRY?
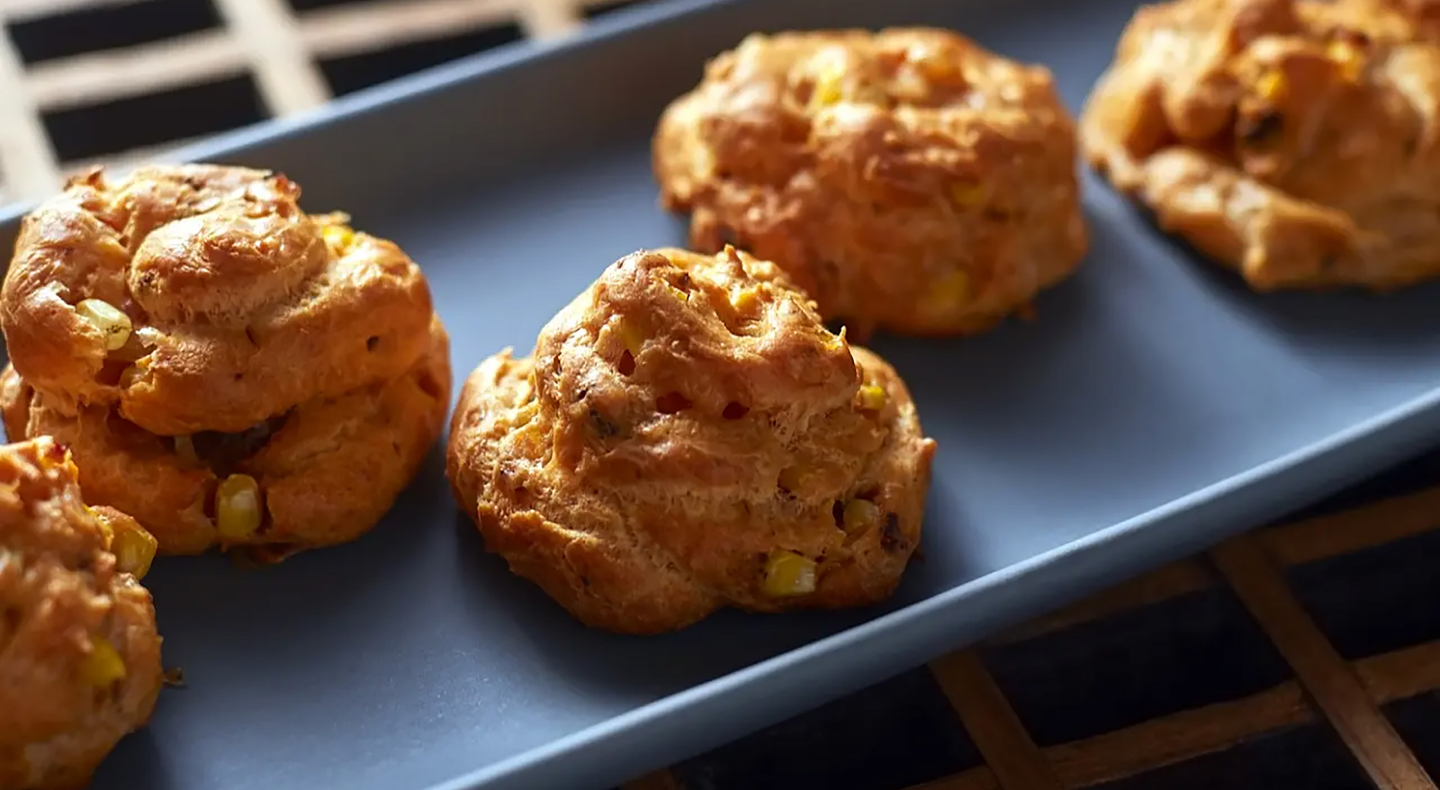
Homemade puff pastry uses butter, flour, salt and cold water to make a laminated/layered dough that can bake up into more than 500 layers of light, flaky pastry. When puff pastry—consisting of layers of rolled and folded butter and dough—is placed in the oven, the moisture in the butter and dough turns to steam and puffs the layers.
Croissant dough is another pastry dough that relies on steam for its rise. However, croissant dough contains yeast, which also contributes to the rise. Choux pastry is not a laminated dough, but it also puffs due to the eggs and moisture in its recipe.
PUFF PASTRY GLOSSARY
| ROUGH PUFF PASTRY | CLASSIC PUFF PASTRY | BEURRAGE | DÉTREMPE | PATON | PÂTE FEUILLETÉE | LETTER FOLD | LAMINATION | TURN |
|---|---|---|---|---|---|---|---|---|
| Butter is broken down into small pieces before combining with flour and water—dough is then folded and rolled several times. | Rectangular slab of butter is laminated into a lean dough using multiple turns and folds. | A block of flattened butter that’s placed on top of a lean dough for classic puff pastry. | A dough containing a small amount of butter. | Combined butter and dough package. | The French name for puff pastry meaning “leaf-like pastry.” | Dough is folded into thirds, like a business letter. | The process of folding and rolling butter and dough together to create thin, flaky layers. | Rolling the dough into a rectangle and creating a letter fold is a turn, your pastry will require 4-6 turns. |
CAN YOU MAKE PUFF PASTRY WITH A KITCHENAID® STAND MIXER?
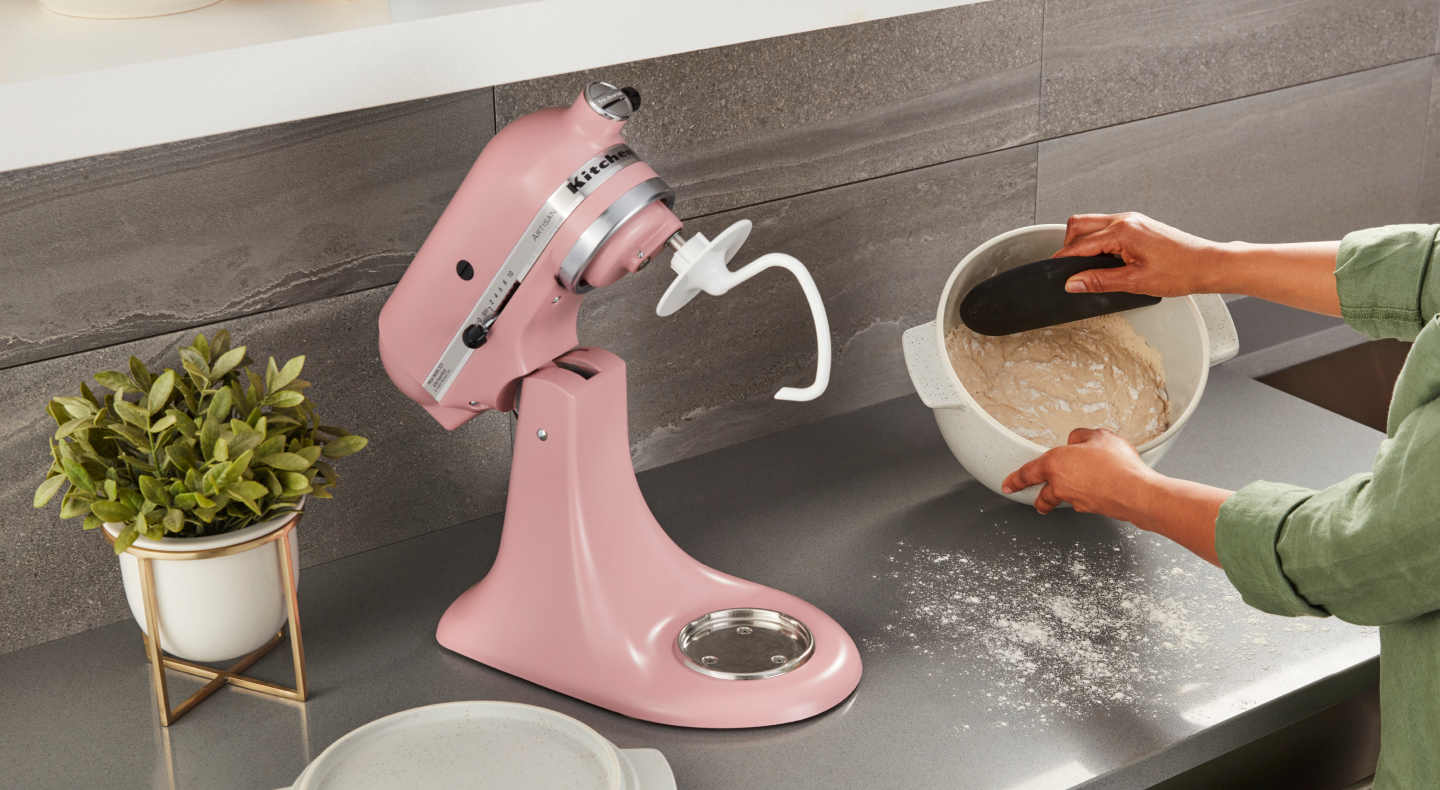
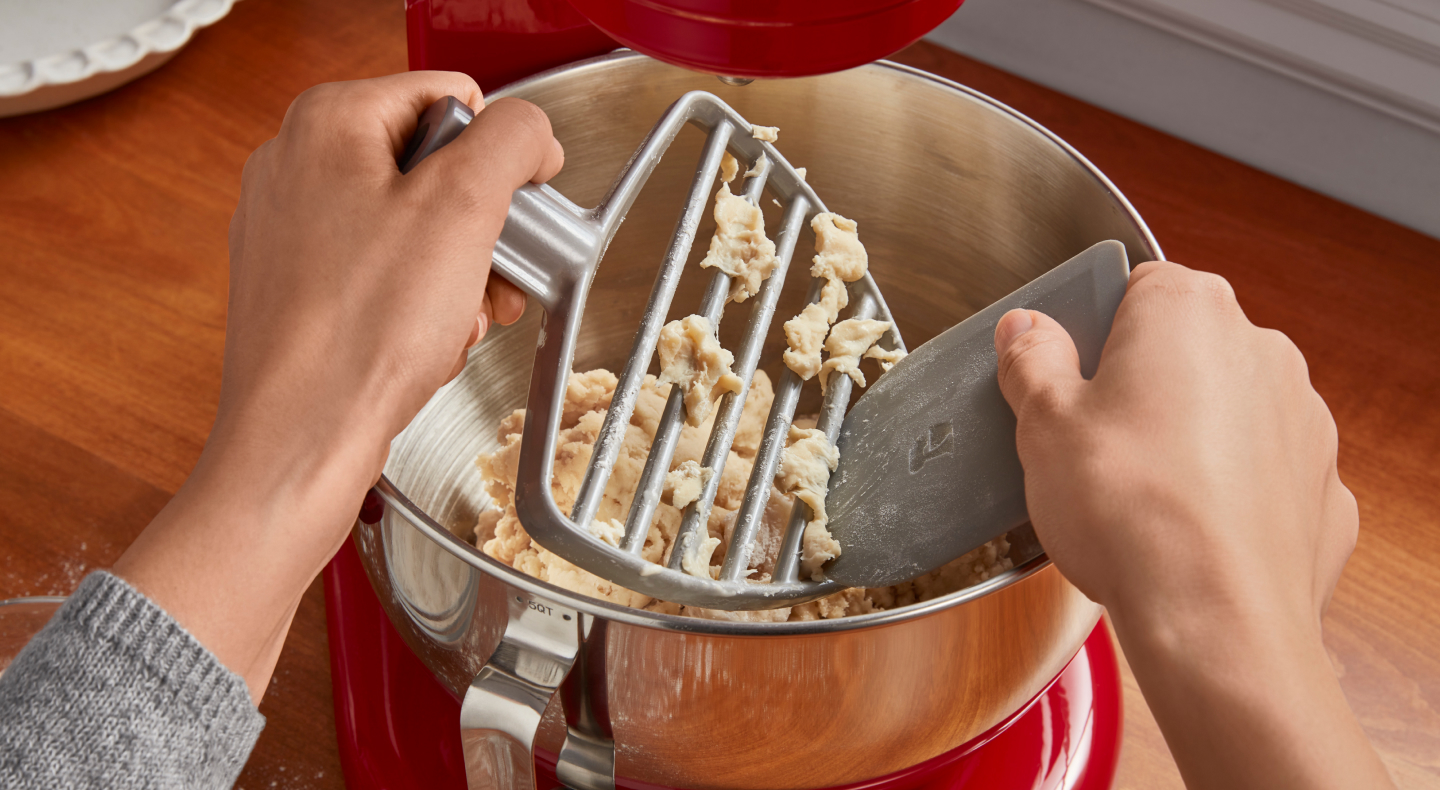
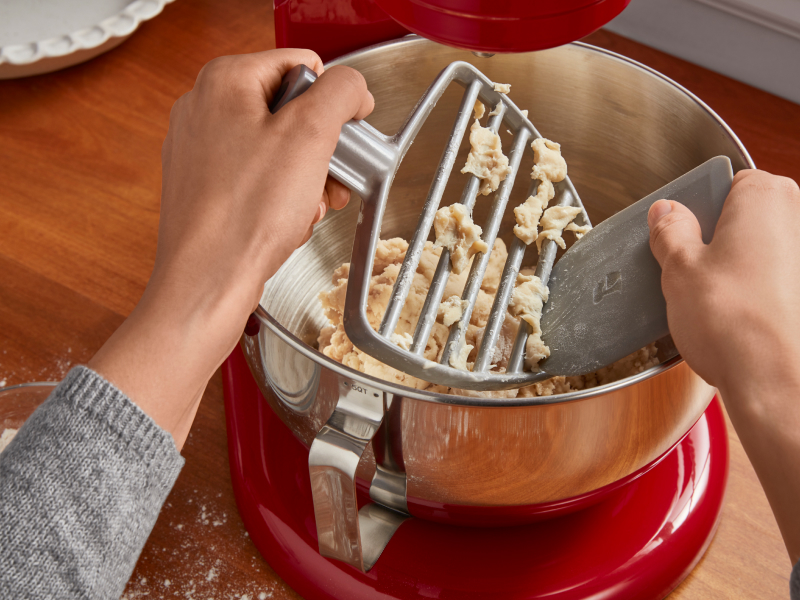
There are two methods for making puff pastry with a KitchenAid® stand mixer: rough puff or classic. The rough puff method breaks the butter down into small pieces before it’s combined with flour and other ingredients, which can be a more convenient way of preparing the dough. For the rough puff method, use a stand mixer and a pastry blender, like the KitchenAid® pastry beater accessory.1 The pastry beater from KitchenAid brand was specifically designed for the challenging task of cutting cold butter into dough for light and flaky pastries. It works seamlessly with the bowl to break cold butter into small pieces, creating a consistent texture and even distribution, minimizing the risk of overmixing.
For the classic method, use a stand mixer and the flat beater accessory2 to form a cohesive dough that is then wrapped around a rectangular slab of chilled butter which is folded, rolled and chilled multiple times.
1. Available on select models. Also sold separately.
2. Sold separately.
ROUGH PUFF PASTRY STAND MIXER RECIPE
The rough puff—or blitz—method is a cross between puff pastry and basic pie dough. It doesn’t rely on as many folds, turns or chilling time resulting in a quicker puff pastry.
YIELDS
- 6 servings
INGREDIENTS
4 cups flour
3 cups unsalted butter
1 cup ice water
2 ½ teaspoons sugar
1 tsp salt
PREP TIME (for classic puff pastry)
- 20 minutes to prepare dough
- 1 hour for rolling and chilling
TOOLS
Rolling pin
Bench scraper
Plastic wrap
TOTAL TIME
- 1 hour and 20 minutes
STEP 1: MIX BUTTER & DRY INGREDIENTS iN A STAND MIXER
Using the pastry beater attachment, mix the flour, sugar, salt and cold butter in the bowl of a stand mixer on low speed until the mixture resembles cornmeal and pieces of butter are still visible.
STEP 2: ADD WATER
With the mixer still on low, slowly drizzle water, a little at a time, until the dough just comes together. It should be shaggy—not a solid ball—and pieces of butter should still be intact.
STEP 3: FORM DOUGH INTO A SQUARE & CHILL
Transfer the dough—which should hold together easily when you pick it up—to a lightly floured work surface. Roll the dough into an 8-inch square. Wrap the square in plastic and refrigerate for 30 minutes.
STEP 4: ROLL DOUGH INTO A RECTANGLE & CREATE A LETTER FOLD
Roll the dough into an 8” x 20” rectangle and fold into thirds, then turn 90º and roll the dough a second time into another 8” x 20” rectangle, using a bench scraper to help create clean edges.
STEP 5: CONTINUE FOLDING & TURNING
Repeat the fold and turn process 3 times. Wrap the dough in plastic wrap and chill for at least 30 minutes before using
ROUGH PUFF VS CLASSIC PUFF PASTRY
Rough puff and classic puff pastry use the same ingredients and many of the same tools to create a flaky pastry. Rough puff pastry typically requires 3 turns and about an hour of chilling time, while classic puff pastry typically requires 6 turns and several hours of chilling between turns. The rough puff method can be more convenient but it may result in pastry that’s slightly less puffy. The classic dough requires patience, but the results can be worth the time and effort. Lean in to the meditative task of rolling and folding as you create something undeniably delicious.
HOW LONG DOES IT TAKE TO MAKE PUFF PASTRY?
Rough puff pastry can be made in under two hours. This method uses grated butter which helps accomplish the lamination process with fewer folds and less resting time. Creating the “paton,” or butter and dough package for classic puff pastry, isn’t difficult—but the folding/rolling/chilling of this dough can take time. Be prepared to spend the better part of a day (much of this is chilling time) for this method. Keep in mind that the time may vary depending on the warmth of your kitchen and how quickly your dough chills after turning.
DO YOU BAKE PUFF PASTRY BEFORE FILLING?
If you’re using a wet filling or a filling that doesn’t need to be cooked, you can blind bake your puff pastry to keep it crisp and to help prevent shrinking. Simply line the pastry shell with parchment paper or foil and fill it with dried beans or pie weights. Bake until the pastry is set. Then remove the liner and weights and bake until the pastry is partially cooked—if you’re filling it with a filling that needs cooking—or until it’s golden brown if the filling doesn’t require cooking.
PUFF PASTRY RECIPES AND IDEAS
Mouth watering when used for both sweet and savory recipes, puff pastry is as versatile as it is delicious. Pair it with apples and brie for a sumptuous appetizer. Or create a crispy take on cinnamon roll bread by rolling a sheet of puff pastry with cinnamon, sugar, butter and pecans. Slice the roll into pinwheels and bake for a craveable guest breakfast. Make a vegan puff pastry by replacing the butter with stick versions of plant-based butter, which are lower in water than vegan butter spreads and more interchangeable with actual butter. Fill your pastry with seasonal fruits or veggies for a fresh, flaky vegan treat.
TIPS FOR MAKING HOMEMADE PUFF PASTRY
If your kitchen is hot or warm, place your mixing bowl and accessories in the freezer before using to help keep everything cold.
Refrigerate your dough after every two turns, or after every turn if your kitchen is warm.
Wrap your dough tightly in plastic wrap before placing it in the fridge.
Use flour for rolling the dough sparingly—incorporating too much flour will lead to tough pastry.
Place your pastry dough in the fridge if it begins to shrink or feel rubbery.
Roll dough with even strokes away from you.
For the rough puff pastry method, freeze your butter for about 10 minutes before grating to make the grating easier and to keep it very cold.
- When using frozen homemade puff pastry dough, let it thaw in the fridge before baking.
EXPLORE KITCHENAID® STAND MIXERS
The iconic KitchenAid® stand mixer is designed to help you discover new recipes and techniques for everything from pastry to pasta. Create a custom mixer by choosing a color, bowl design, attachments and free engraving for a statement-making KitchenAid® tilt-head stand mixer. Or, take on heavy, dense ingredients with KitchenAid® bowl-lift stand mixers—now available in multiple sizes—offering power and control from high to low, and everything in between.
