
How To Make Italian Ice at Home
Chilly, sweet and refreshing, Italian ice is no ordinary frozen treat. Traditionally made by shaving large blocks of ice, its texture is light and fluffy – almost like a sorbet. Unlike snow cones and granita, which have a coarse and crunchy texture, you need a proper ice shaver to create the right consistency for traditional Italian ice. With the help of this guide and the soon-to-launch KitchenAid® Shave Ice Attachment, it's easy to create snow-like shaved ice for the perfect Italian ice dessert. Read on to learn more about the ingredients and steps to make Italian ice, how Italian ice gets its texture and the differences between Italian ice and granita.
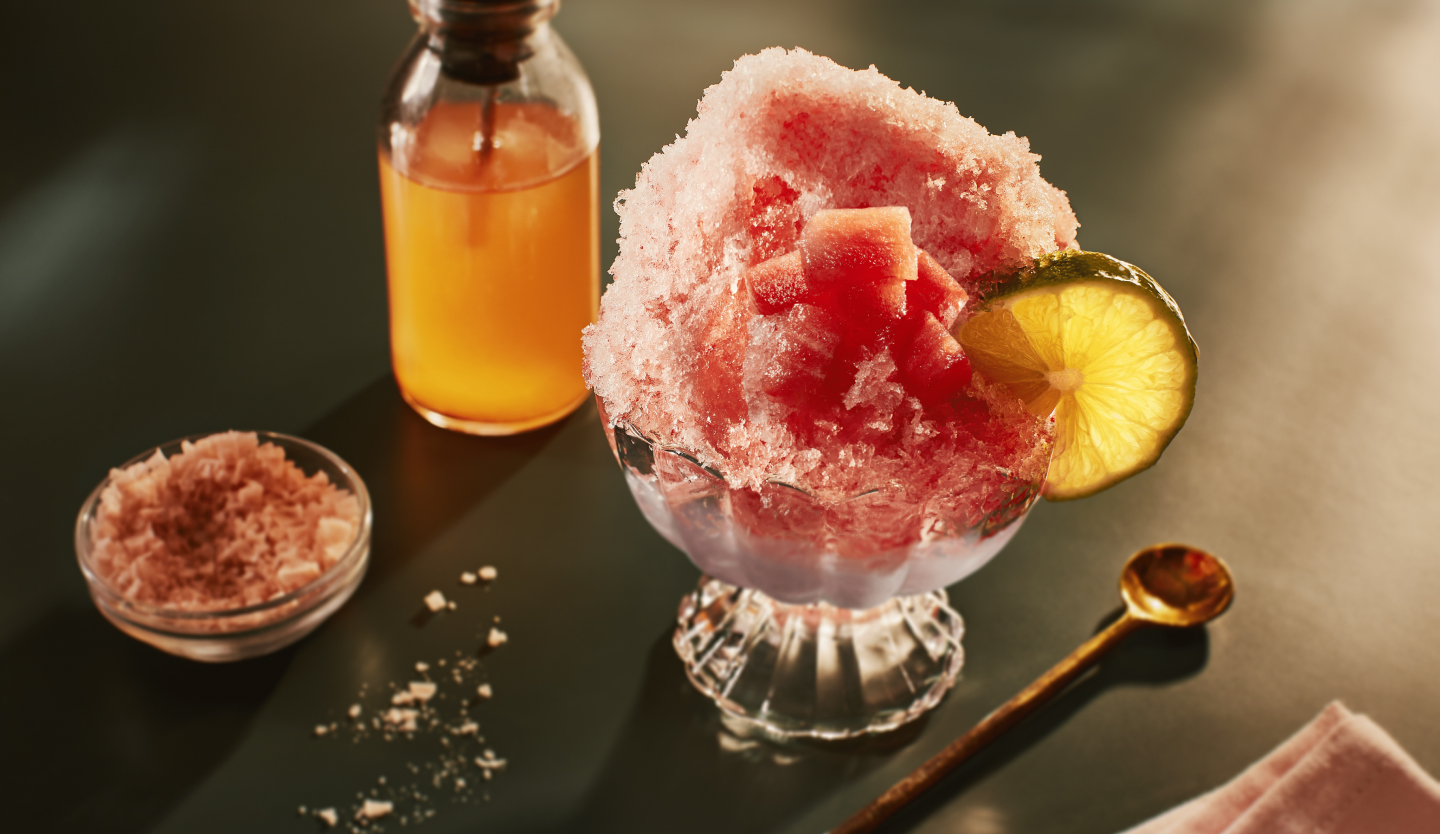

How to make Italian ice instructions
Your KitchenAid® stand mixer can open the door for endless dessert possibilities with the help of mixer attachments and accessories. The Shave Ice Attachment can freeze and shave a fine or coarse texture of water, juice, coffee and milk or dairy, making it the perfect tool for serving up Italian ice.
Ingredients
3 parts water
2 parts sugar
Pinch of kosher salt
10 parts fruit
Juice of 1 lemon or lime unless the primary flavor is citrus
ToolS
KitchenAid® Stand Mixer with Shaved Ice Stand Mixer Attachment
Saucepan
Spoon or ice cream scoop
Microplane or small cheese grater
Citrus press
Strainer (optional)
Ice trays or molds
Cups or bowls for serving
PREP TIME: 3 hours
It will take about three hours to prepare the ingredients for Italian ice, as the sweetened fruit and water mixture will need time to freeze.
MAKE TIME: 2-3 minutes
Once the base for your Italian ice has been prepared, you’re only minutes away from a refreshing summertime treat. The KitchenAid® Shave Ice Attachment lets you easily create over 1 pint of finely shaved ice in just 60 seconds.1
1. Excludes prep time, based on plain ice and using a fine blade.
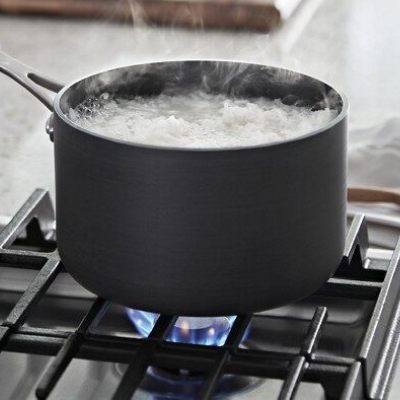
STEP 1. DISSOLVE SUGAR IN WATER
Add water to a saucepan and bring to a boil.
Add sugar and fruit to water and simmer until sugar has dissolved and fruit is soft. Adjust amounts per taste.
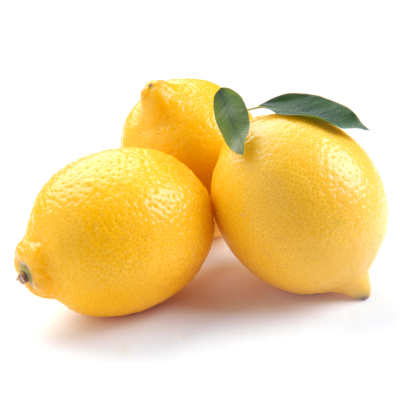
STEP 2. LET MIXTURE COOL AND STIR IN LEMON JUICE
- After sugar has completely dissolved, remove the saucepan from heat.
Using your hands or a citrus press, squeeze lemon juice into the mixture and stir to combine.
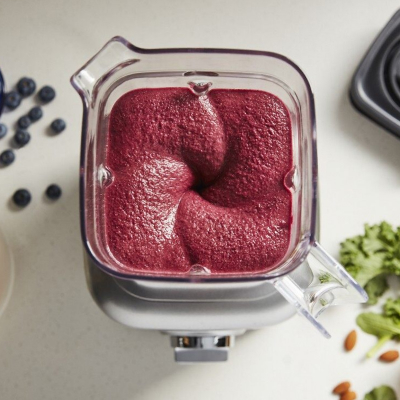
STEP 3. BLEND AND STRAIN MIXTURE
- Puree all ingredients in a blender, be careful not to splash up hot liquid sugar.
Strain mixture for a smooth consistency.
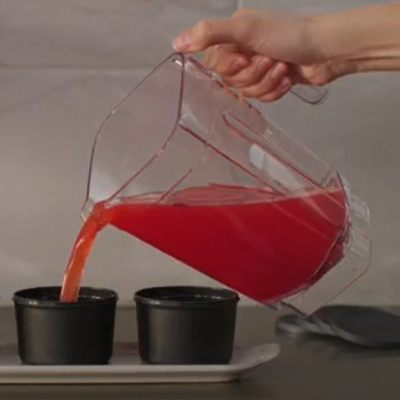
STEP 4. FREEZE MIXTURE
- Pour the mixture into ice molds.
Place the molds in the freezer and let sit until completely frozen through.
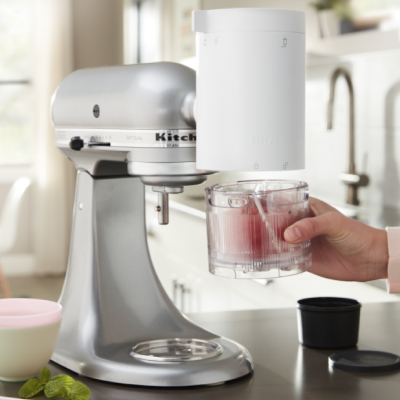
STEP 5: SHAVE ICE AND SERVE
- Once your mixture has completely frozen, add the ice to your KitchenAid® Stand Mixer with Shave Ice Attachment.
Place a serving bowl under the attachment.
Select the “fine” blade and press start.
Using an ice cream scoop or spoon, serve in cups or small bowls.
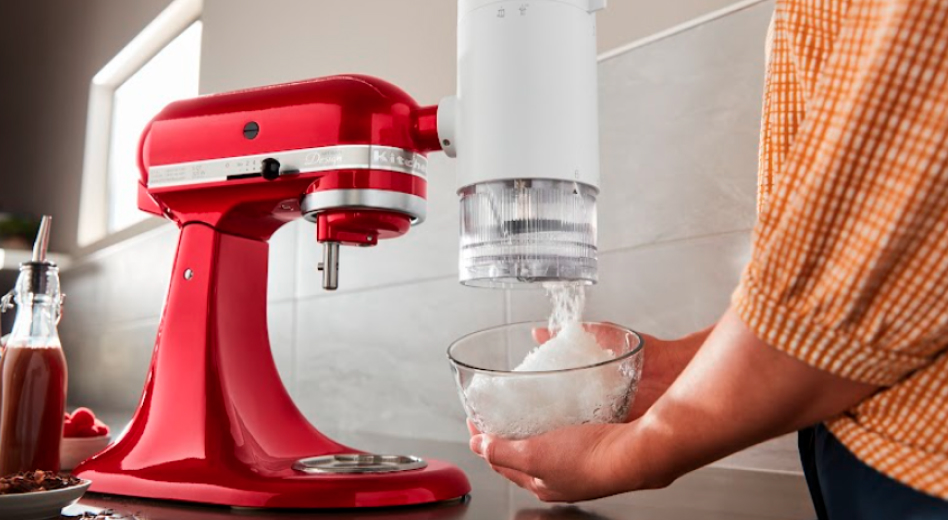

How is Italian ice traditionally made?
Originally, Italian ice was formed by using an ice shaver cranked by hand to create the creamy, snow-like texture and seasonal fruits were zested and juiced for flavor. Italian ice was first created by Italian immigrants in the United States and is derived from the Sicilian frozen treat, granita.
How do I give my Italian ice a smooth texture?
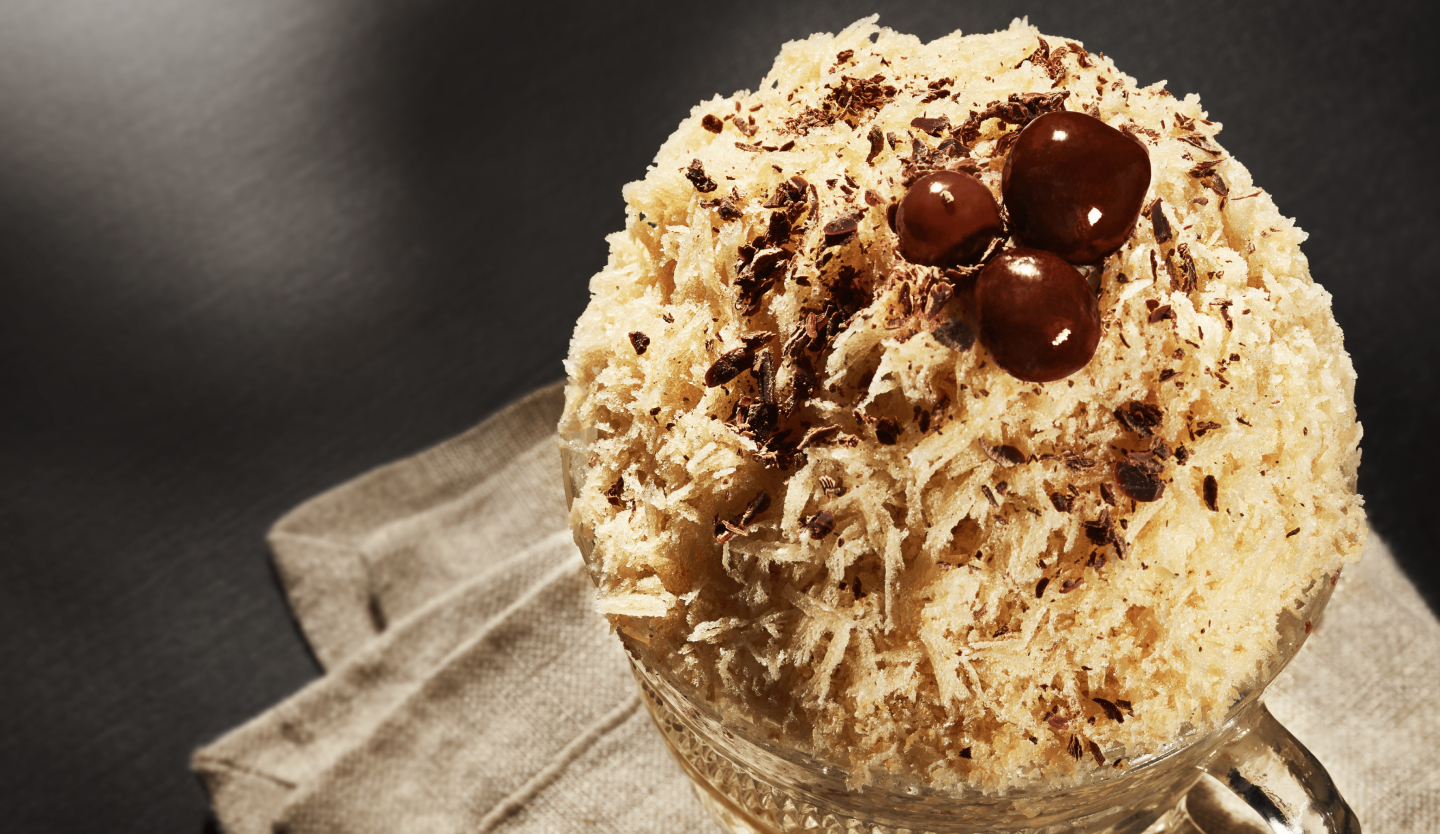
Italian ice gets its smooth texture from the very fine grate used to shave the ice. When the individual ice crystals are smaller, more air is mixed in and creates the smooth and creamy texture that is quintessential to classic Italian ice.
The KitchenAid® Shave Ice Attachment includes different sized blades to shave ice into different textures depending on the dessert you’re creating. The attachment’s fine blade helps you achieve the snow-like texture necessary for the perfect Italian ice.
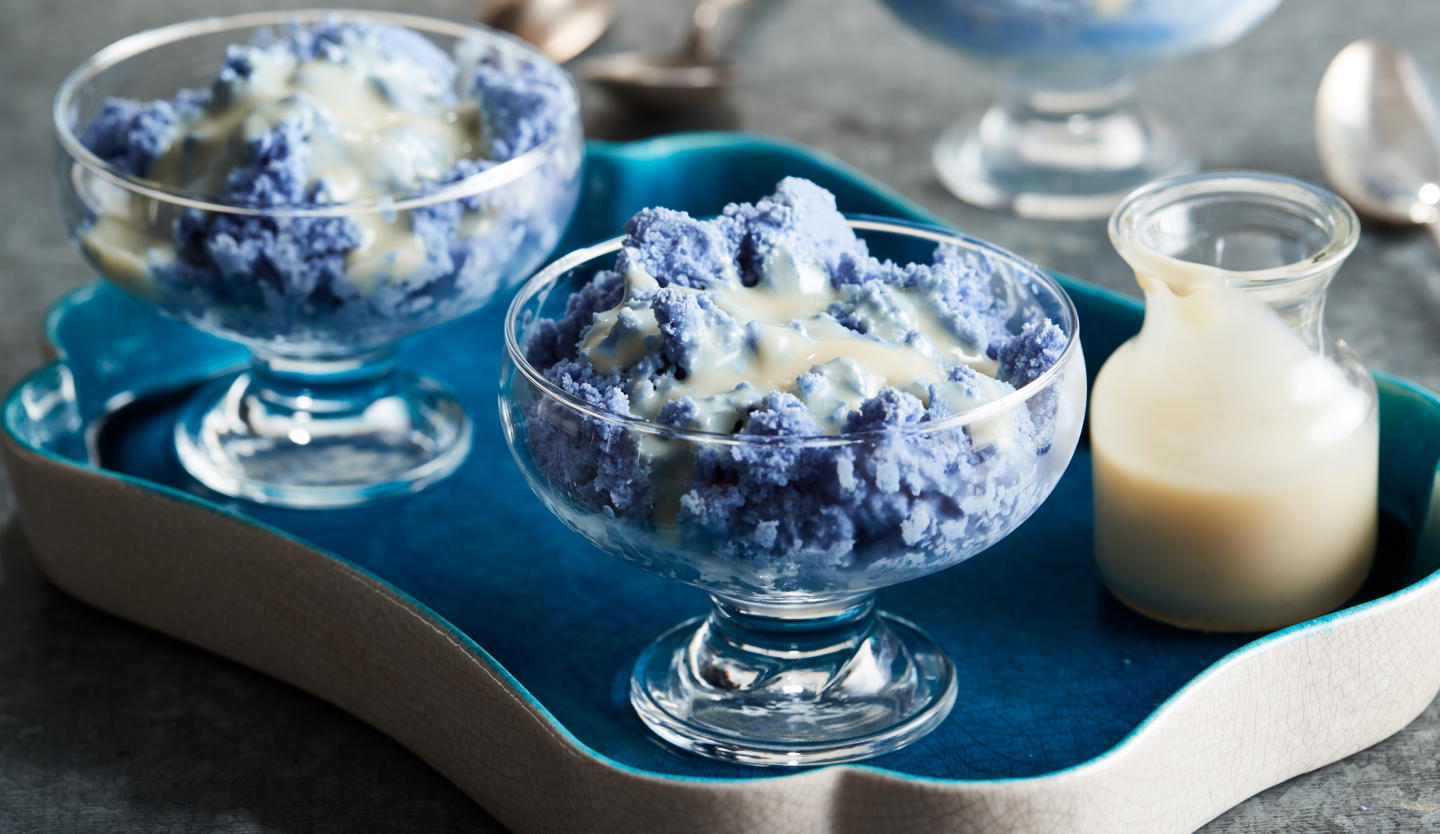

Is Italian ice different from granita?
Both Italian ice and granita use ice, sugar and fruit to create a tasty frozen treat, but the key difference between the two is the texture of the ice. Granita has a more coarse consistency and is often compared to a snow cone vs. shaved ice, while Italian ice is smooth and more closely resembles sorbet or even ice cream.

What flavors are best for Italian ice and granita?
The most common flavors used in Italian ice and granita are lemon and cherry. Traditionally the frozen treats were flavored with whatever fruits were currently in season, but today there are endless flavor combinations to experiment with. You can even customize your Italian ice to your taste with flavors like dulce de leche and watermelon mint.
Shop KitchenAid® Stand mixers and Attachments
You can customize the way you make with a KitchenAid® stand mixer and try the new recipes you’re craving. Shop the entire line of KitchenAid® stand mixer attachments to shake up your cooking and baking routine and keep your creative juices flowing.