
How to Make a Homemade Pie Crust with a Stand Mixer
Buttery, flaky, melt-in-your-mouth classic homemade pie crust is hard to beat. Whether wrapped around savory hand pies or as a fruit-filled pastry, shortcrust pies are something you can master at home with the help of a stand mixer. Learn how to make a variety of shortcrust pie crusts in your kitchen with our tips and tricks, along with your KitchenAid® stand mixer and accessories.
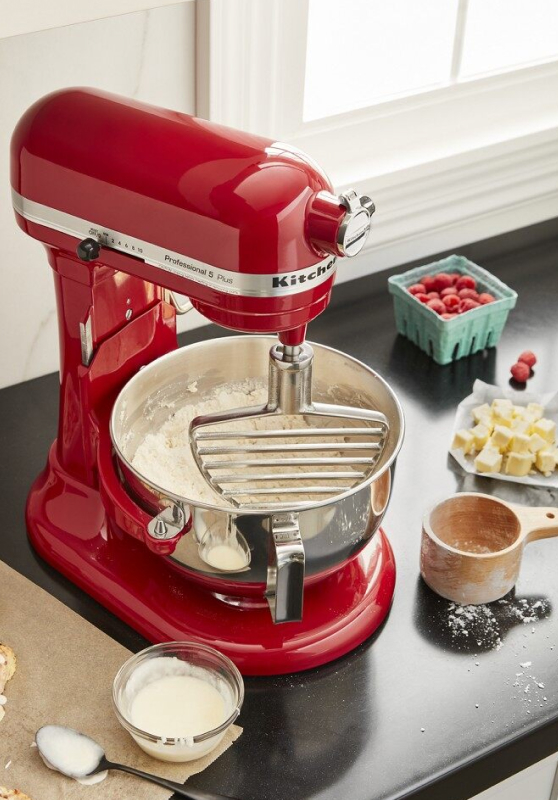

Can You Make Pie Crust in a Stand Mixer?
Yes, you can use your stand mixer to make pie crust using a Flat Beater or Pastry Beater. The KitchenAid® Pastry Beater for select stand mixers1 was specifically designed for the challenging task of cutting cold butter into doughs for light and flaky pastries like pie crusts. With the help of this specialized beater accessory, you can make pie crusts using your stand mixer with less effort.
The pastry beater is an excellent substitute for a hand-held pastry blender or cutter and can be used in place of a food processor to cut butter into flour and form the pie crust dough.
1. Fits all 4.5 and 5 quart KitchenAid® tilt-head stand mixers and select bowl-lift models. Does not fit models KG25, 5KPM5, 5K5, 4KSM5, K5SS, KSM5, KSM50, KSM500, 3KSM5, 9KSM5, and KSM450.
Why Make Homemade Pie Crust over Store Bought?
When you taste a homemade pie crust vs store bought, you’ll understand that it’s absolutely worth the bit of extra time to make it at home. Creating your own pie crusts lets you manage every aspect of the process while adding your own tweaks, substitutions and techniques to suit your taste. From the quality of the ingredients, to the flavor and texture of the crust, you’re free to create pie crusts just the way you like them – whether it’s for your favorite quiche, summertime pie, or a hearty pot pie on a cool day. Once you get started making homemade pie crusts, you’ll see that it’s an easy recipe to learn, and the pie possibilities are endless.
Pie Crust or Pie Dough Ingredients
Many classic pastry pie crust recipes call for a 3-2-1 ratio of flour to fat to liquid with a pinch of salt and sometimes a bit of sugar. The exact ingredients used are up to you and may vary from recipe to recipe. You can use butter, shortening or even lard for your fat, along with a variety of flours including gluten-free options. Here are the commonly found ingredients for pie crust dough:
Flour
Salt
Sugar (if sweet)
Butter (or other fat)
Cold water
Butter or Shortening for Pie Crust
An all butter pie crust vs a shortening crust will be crispier, flakier and packed with flavor. The water content in butter creates more separation in the pastry layers. This is because the water turns to steam in the oven and puffs up your pie crust dough. Shortening is all fat and will create a tender, more crumbly crust that won’t puff up as much. However, if you plan to create designs or cut-out shapes with your dough, shortening pie crust may be a good choice because it will hold its shape better.
Butter can also be more difficult to work with as it has a lower melting point. The butter should be in solid chunks throughout the dough when it begins to bake so it can create pockets of steam required for a flaky crust. If it begins to melt while making your dough, the water can bind to the flour, not only forming unwanted gluten strands, but also resulting in a flatter, greasy dough.
Because of this, it’s important to work quickly with an all-butter crust. This is where a tool like a food processor or the pastry beater is especially helpful. Either tool can quickly cut cold butter into your flour, allowing you to move on to the next step while the butter is still solid. If you’re looking for that mouth-watering buttery flavor from your pie crust, make sure to use one of these kitchen tools to prepare your pie dough recipe.

Pie Crust Equipment
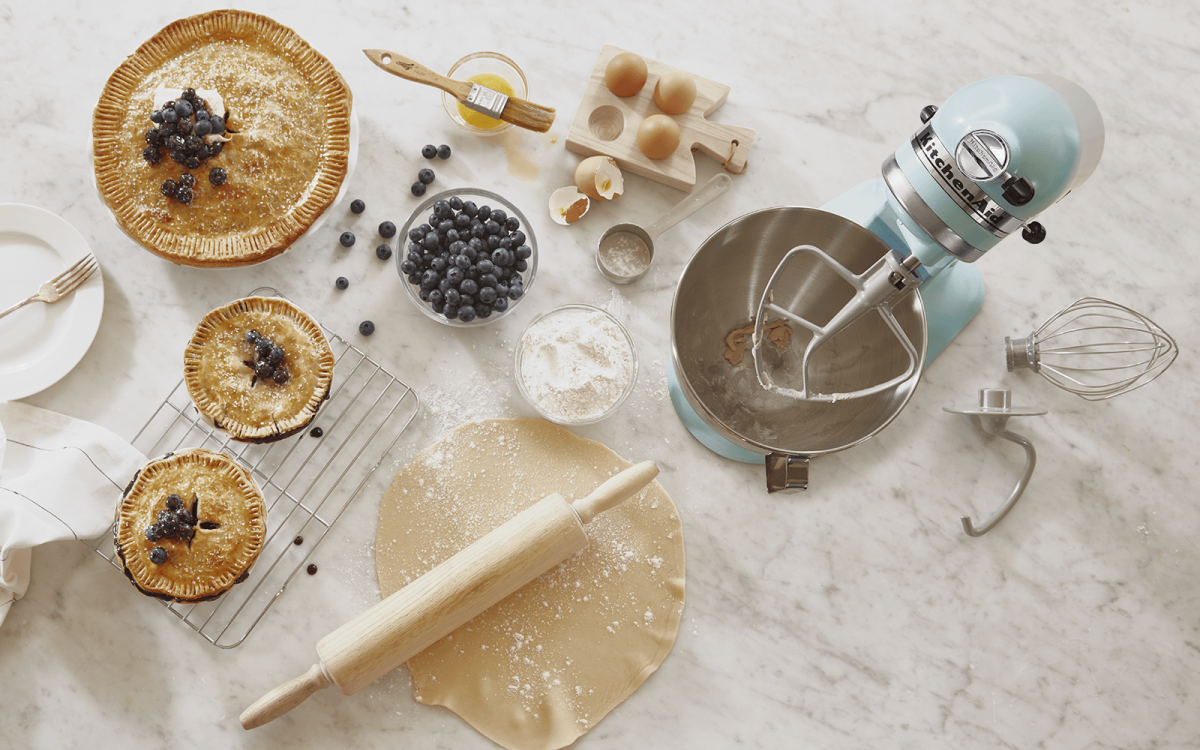
Besides your stand mixer, there are a few other pieces of equipment or supplies needed to make a basic, easy pie crust from scratch. Before getting started, gather all of your equipment and ingredients, except the butter which should remain in the refrigerator. Because you’ll need to work quickly, it’s best to have everything at your fingertips. Here are the items you’re most likely to need for blind baking homemade pie crust:
Stand mixer with mixing bowl
Flat Beater or Pastry Beater
Knife to cube butter
Spatula
Plastic wrap
Rolling pin
Pie pan
Recommended Tools for Making a Pie Crust at Home
While not required to make pie dough in your stand mixer, the KitchenAid® Pastry Beater is specially designed for the task. If you don’t already have one, it’s a great accessory for not only pie crust, but other recipes like empanada dough, choux pastries, flaky biscuits and crumble pie toppings. In addition to cutting cold butter, it’s also excellent for shredding meats and mashing fruits or vegetables for your pie filling. Make a savory shredded chicken empanada–from crust to fillings–using the KitchenAid® Pastry Beater accessory.
What Kind of Stand Mixer Should You Use to Make Pie Crust?
You can use any kind of KitchenAid® stand mixer to make pie crust as long as you have a KitchenAid® flat beater or pastry beater accessory. KitchenAid® Pastry Beater accessories are designed to fit either 4.5 or 5 quart KitchenAid® tilt-head stand mixers1 or select bowl-lift models2. A flat beater comes standard with all KitchenAid® stand mixers.
A KitchenAid® bowl-lift stand mixer has the extra capacity and power for big batch making if you plan on preparing multiple, double crust pies at once. On the other hand, the mini stand mixer saves countertop space and is the right size for a few pie crusts at a time. The 4 or 5 quart tilt-head models are the perfect in-between size for everyday making. Get more help choosing the best stand mixer for you with this guide.
Shop KitchenAid® Stand Mixers for your Pie Recipes and More
1. Sold separately.
2. Does not fit models KG25, 5KPM5, 5K5, 4KSM5, K5SS, KSM5, KSM50, KSM500, 3KSM5, 9KSM5, and KSM450.
How to Make Butter Pie Crust in a Stand Mixer
Making stand mixer pie crust is a simple, easy process that allows you to mix pie crust ingredients, cut in butter and form the dough all with one appliance. While your pie crust recipe may vary, use these tips as a general guide for how to make pie crust in a stand mixer from KitchenAid using the KitchenAid® Pastry Beater.
Step 1: Cube Butter
Remove the butter from your refrigerator and cut into 1 inch cubes. When you’ve finished, place the butter cubes back into the refrigerator to keep them chilled.
Step 2: Add Dry Pie Crust Ingredients
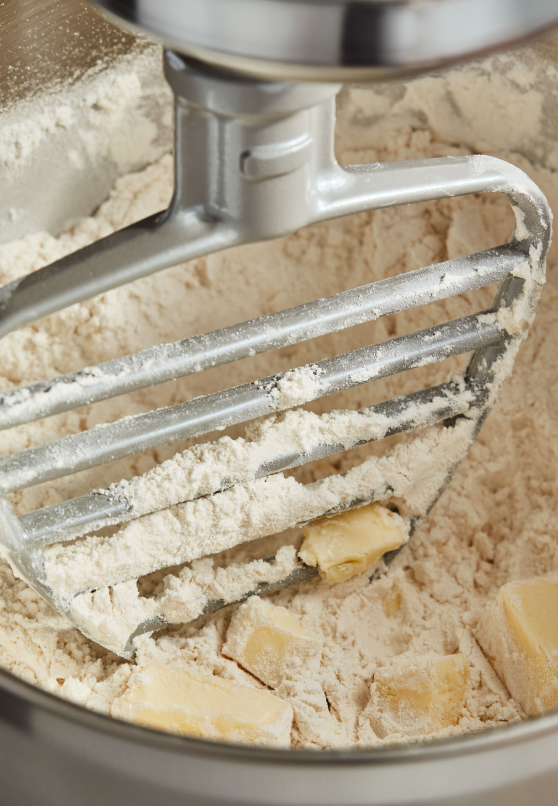
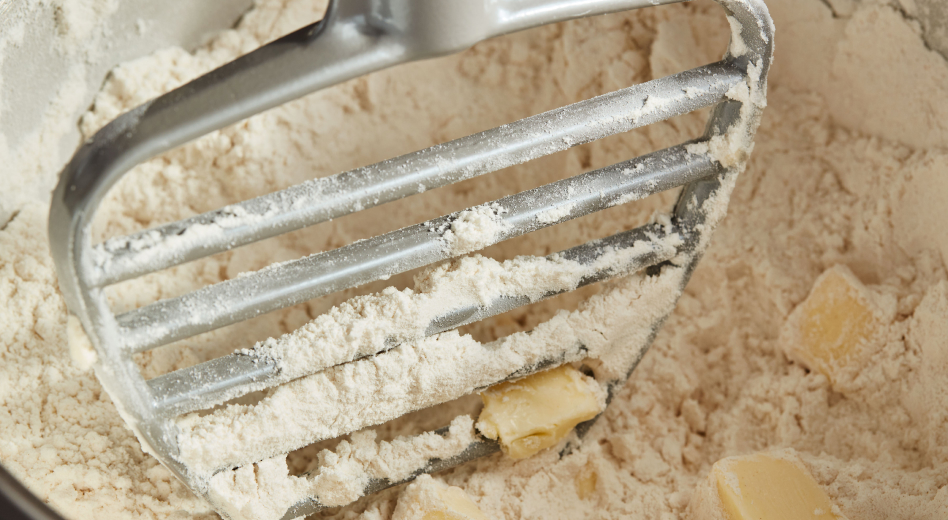
Add flour, sugar and salt into the work bowl of your stand mixer and turn to ”Stir for about 10 seconds. This step helps evenly distribute your dry ingredients for a consistent base.
STEP 3: ADD COLD BUTTER
With the mixer still running, add cold butter cubes to the mixer bowl. Increase the speed to 2 for around one minute or until the mixture has formed pea-sized chunks of butter coated in flour.
Step 4: Add Ice Water
Lower the stand mixer speed to Stir. Then, slowly drizzle in ice water a little at a time in two second increments. Keep a close eye on your mixture and stop adding water when the mixture begins to stick to the beater and there are streaks of flour around the bowl.
Step 5: Gather the Dough
Once mixed, gather the dough in your hands. You should be able to shape the dough into a ball and then flatten into a smooth disc. If the dough crumbles in your hands, you may need to add a bit more water. If making a multi-crust batch, divide the dough as needed before forming into separate discs.
Step 6: Wrap and Chill the Pie Dough
Securely wrap the disc(s) in plastic wrap and place in the refrigerator to chill for a minimum of an hour. While the dough rests, make sure to fully prepare your pie fillings and then set aside or refrigerate if needed. Preheat your oven to 400°F, or according to your recipe instructions. It’s a good idea to have the oven ready soon after you remove your dough from the fridge. This will prevent the butter in the dough from warming while waiting for its turn in the oven.
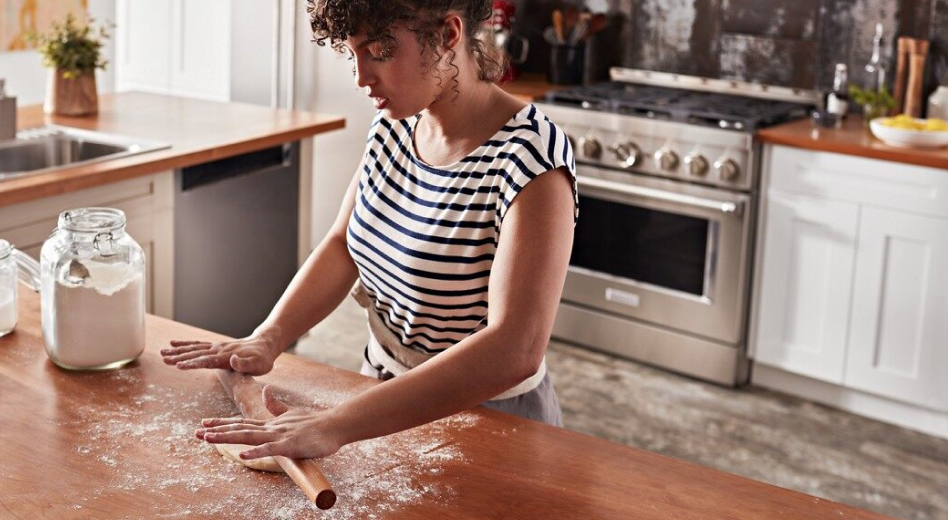

Step 7: Roll Out Your Pie Crust Dough
Lightly flour your countertop or a rolling mat. Remove the pie crust dough one disc at a time from the refrigerator and take off the plastic wrap. Place the disc in the center of the floured surface and roll into a circle about ¼” - ⅛” thick.
Step 8: Place Dough in Baking Dish
You will typically grease your pie pan before adding the dough, but check your recipe first. Drape the rolled crust over your pie plate and fit inside, lightly pressing it into the bottom and sides of the pan and trim as needed. If you are making a double crust, leave about 1” of dough hanging over the side of the dish. If not, leave about a half inch and press or crimp per your preference. You can place the entire dish back in the refrigerator while you roll out the top crust (if using).
Step 9: Add Pie Fillings and Top Crust
Pour your fillings into the pie crust and top or finish off according to your recipe. If making a double crust, drape it over your fillings and trim to match the bottom crust, or slightly overhang it. Press the two crusts together using the tines of a fork, your fingers, or according to your recipe. You can also create a beautiful lattice pie by cutting the dough into strips and weaving them on top. Bake according to your recipe instructions.
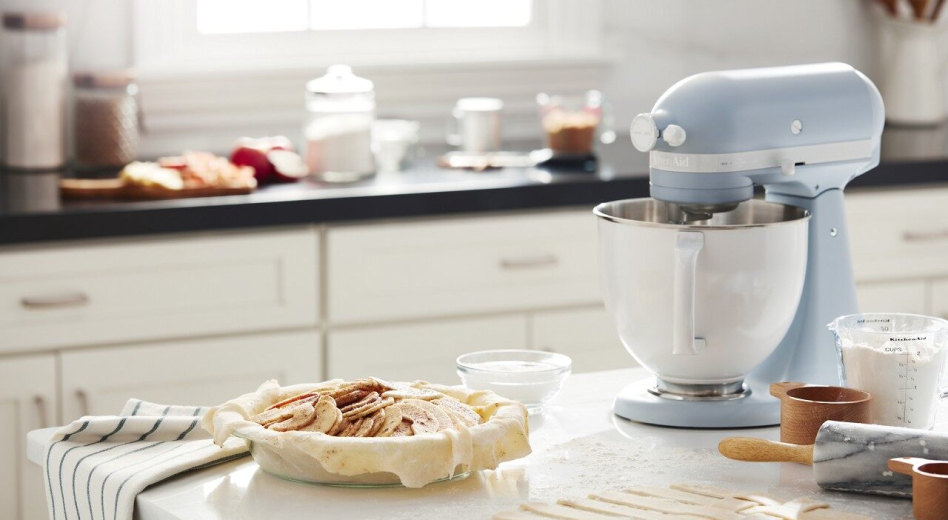

Pie Crust Tips
Making pie crust in a stand mixer is a simple and easy way to instantly elevate your homemade pies. If making a butter pie crust, the most important tip is to keep your butter and dough chilled when not actively working with it. You’ll also want to move fairly quickly when bringing your dough together. A stand mixer fitted with a pastry beater can help you keep pace for a flaky, golden butter pie crust or tender shortening crust. Use these pie crust tips to get your best results every time.
How to Roll Your Pie Crust
Roll outward from the center of your pie dough disc, rotating as needed to ensure an even thickness. For most recipes, stop when the dough is ¼” thick. If you go too thin, you can gather the dough into a disc and start again. You may need to chill the reformed disc for 10-15 minutes before your next try to make sure the butter is firm. If you simply have a tear or crack, you can patch it with a bit of extra dough once it’s in the pie pan.
When transferring rolled out pie crust to your pan, you can partially roll it onto your rolling pin and gently lift it into your pan, unrolling as you go. This helps prevent cracks, holes or stretching in your pie crust dough.
Chill the Lined Pan
Rest your dough in the refrigerator for another 10-15 minutes after fitting it to your pie plate. This ensures the fat is solid right before going in the oven to help the crust maintain its shape and create flaky pastry layers. This also helps the gluten strands relax so they don’t seize up in the oven and cause the pie crust to shrink or become tough.
Try Vodka in Your Pie Crust Instead
Substituting vodka for some of the water in your recipe is a recent trend that can help make a flakier, crispier crust. Adding vodka to pie crust dough can make the dough easier to handle and roll out without causing excessive gluten formation. When the pie crust bakes, the alcohol evaporates, leaving more flaky layers.
Understand Your Flour
There are many kinds of flour that all yield different tastes and textures. While most pie recipes call for all-purpose flour, you can easily experiment with different types. You may want to try gluten-free varieties such as nut flours or experiment with rye flour that helps to ground tart flavors like cherry or blueberry. Keep in mind that flour types can react with your ingredients differently such as absorbing more or less of the liquids you add. Get to know the different types of flour and when to use them so you can reinvent your recipes whenever you like.
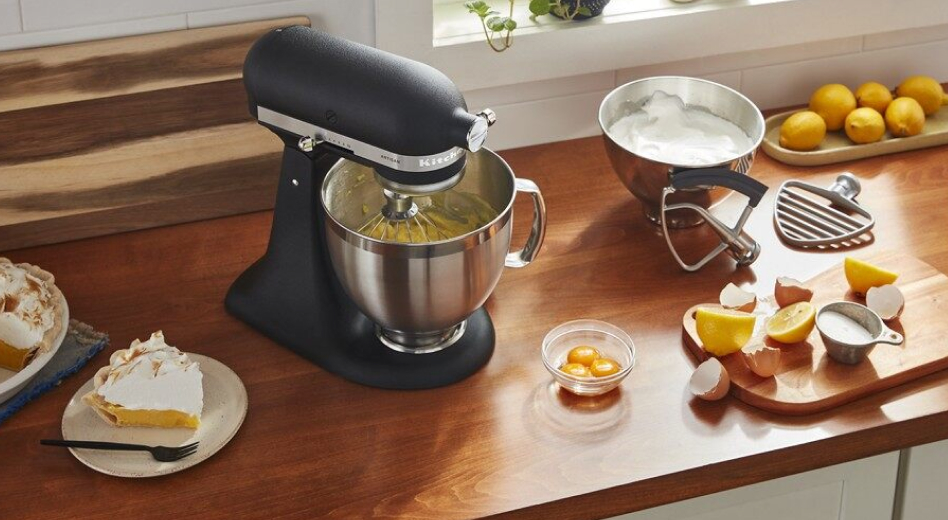

Par-Bake to Avoid a Soggy Bottom on Your Pie Crust
Par-baking, sometimes called blind baking, is a method of pre-baking the pie crust either partially or fully before adding fillings. This can be done for no-bake fillings like custard, for fillings that require a shorter bake time than the crust, or when you have very wet fillings like a quiche, pumpkin pie or a saucy fruit pie.
To par-bake or blind bake your pie crust, cover the uncooked dough in the pie pan with parchment paper, then add about 1 ½ lbs of pie weights, dry beans or even rice. This prevents the bottom from puffing up and the sides from shrinking down. Cook per your recipe instructions or until the edges begin to turn a golden-brown. If you need to fully bake the crust, remove the paper and weights, then keep baking until the bottom also turns golden-brown.
If your recipe calls for par-baking, you should definitely use this method. However, you can also par-bake your pie crust if you are concerned about a soggy bottom based on how your fillings turn out or if you simply prefer a crispier crust.
TIP: Traditional methods call for “docking” the pie crust dough, which is poking holes in the bottom before par-baking. This helps the steam release without raising the dough. However, it can also lead to leaks if your filling is especially wet. Using pie weights should be enough in most cases to prevent the bottom from puffing up.
How to Store Your Pie Crust
You can store pie crust dough in wrapped discs for a few days in the refrigerator if needed. If you make a large batch to have extra pie crust dough on hand, you can freeze the discs for up to two months. Make sure to tightly wrap the dough in plastic wrap, then cover with a layer of aluminum foil and place in an airtight container. Thaw dough in the refrigerator for a few hours before using. Do not leave dough out to thaw at room temperature as the butter could warm up too much and begin to melt.
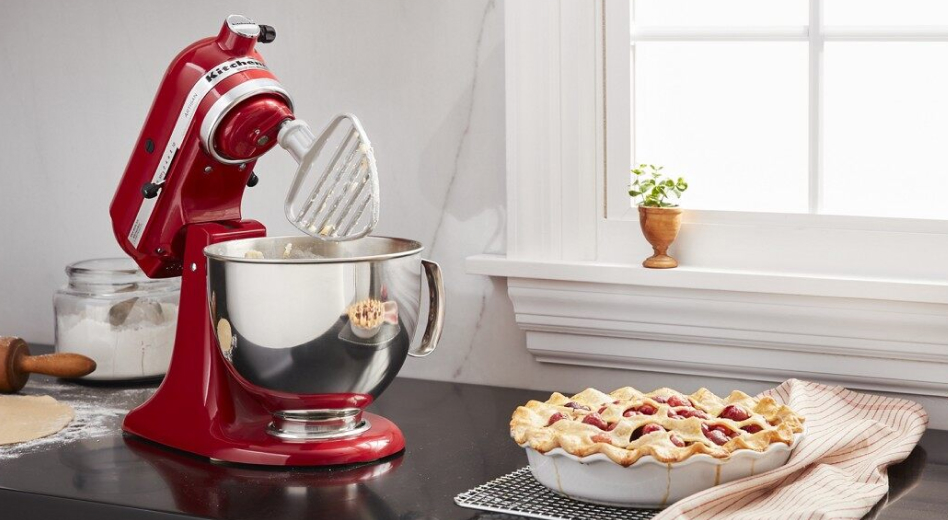

Easily Make Homemade Pie Crust with a KitchenAid® Stand Mixer
Make homemade pie crust dough with confidence when you use the KitchenAid® Pastry Beater for your stand mixer1. Get handmade-quality results with less effort. Simply attach the pastry beater accessory, secure your bowl, and you're ready to mix, cut in butter, shred, mash and more. Available for select KitchenAid® tilt-head2 and bowl-lift stand mixers3. Shop other essential pie-making tools from KitchenAid such as the Spiralizer with Peel, Core and Slice attachment that makes quick work of pie fillings, or explore all stand mixer attachments.
1. Sold separately.
2. Fits all 4.5 and 5 quart KitchenAid® tilt-head stand mixers and select bowl-lift models.
3. Does not fit models KG25, 5KPM5, 5K5, 4KSM5, K5SS, KSM5, KSM50, KSM500, 3KSM5, 9KSM5, and KSM450