
KitchenAid Chocolate Chip Cookies Recipe
With their crisp edges and chewy centers, homemade chocolate chip cookies are a delicious, classic staple in countless cookbooks. Using your KitchenAid® stand mixer and Flat Beater Attachment, you can learn how to make your own version of easy chocolate chip cookies to gift to friends or share with family. Get creative with your recipe by experimenting with additions like nuts, candy or different types of chocolate that will leave friends and family members alike asking for your recipe and hungering for more.
KITCHENAID® STAND MIXER CHOCOLATE CHIP COOKIE RECIPE
With the help of your KitchenAid® stand mixer and Flat Beater Attachment, you can make this basic homemade cookie recipe with ease. Satisfy your craving for a delicious bite of sweetness by learning how to make soft and chewy chocolate chip cookies.
YIELDS
Approximately 5 to 9 dozen cookies per batch, depending on stand mixer capacity.
INGREDIENTS
This recipe will outline ideas and tips for classic, easy chocolate chip cookies. However, you can experiment with different mix-ins and chocolate chips to achieve the specific texture or flavor you like.
Unsalted butter or fat alternative, like coconut oil
Light brown sugar
Granulated sugar
Eggs or protein substitute, like mashed fruit puree or flax seed
Flavored extract
Flour
Salt to taste
Baking soda
Rolled oats (optional)
Chocolate chips
Assorted nuts or candies (optional)
TOOLS
KitchenAid® stand mixer
Flat Beater Attachment
Large cookie sheet
Parchment paper
Spoon or cookie scoop
Preparation bowls
PREP TIME
- 15 minutes
BAKE TIME
- 10 minutes
TOTAL TIME
- 25 minutes
STEP 1: PREPARE FOR BAKING
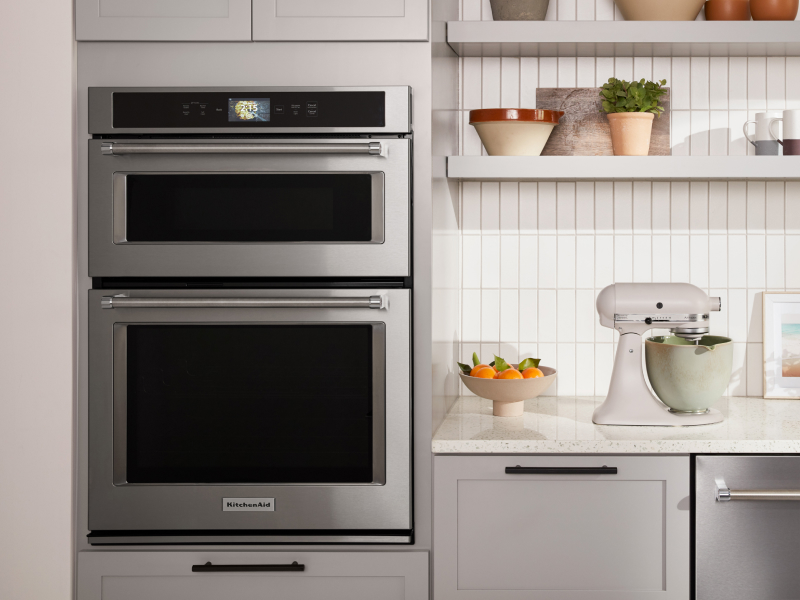
Before placing your dough in the oven to bake, it’s important to start by preheating the oven, which will help you ensure an accurate cook time and no raw batter. For quick and easy cleanup, you can use parchment paper to line a large cookie sheet.
STEP 2: MAKE THE COOKIE DOUGH
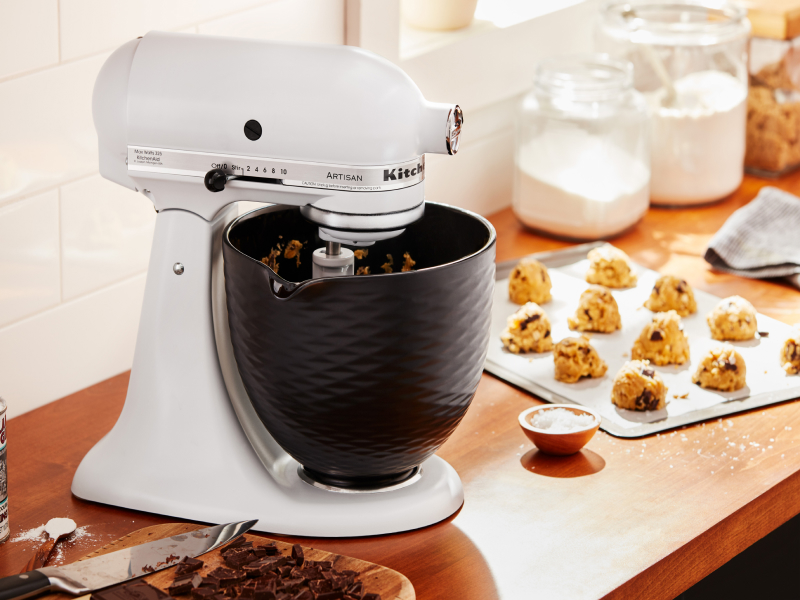
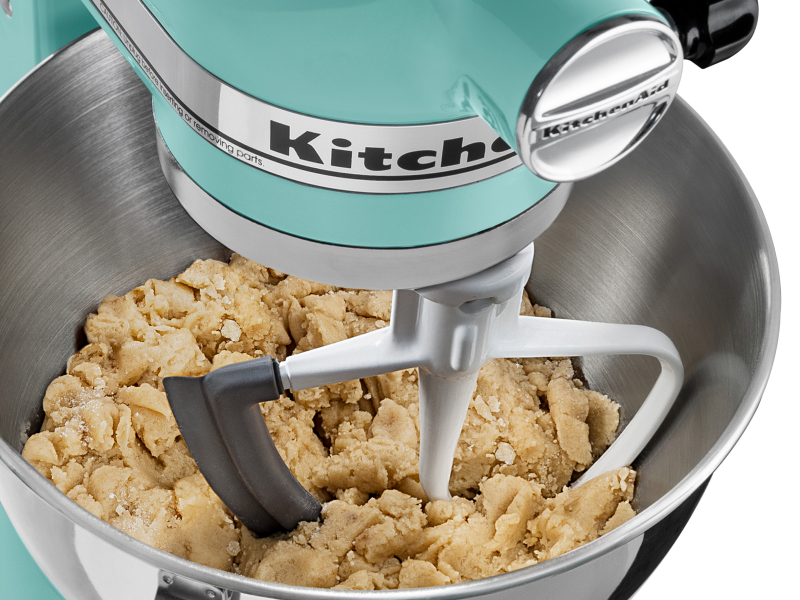
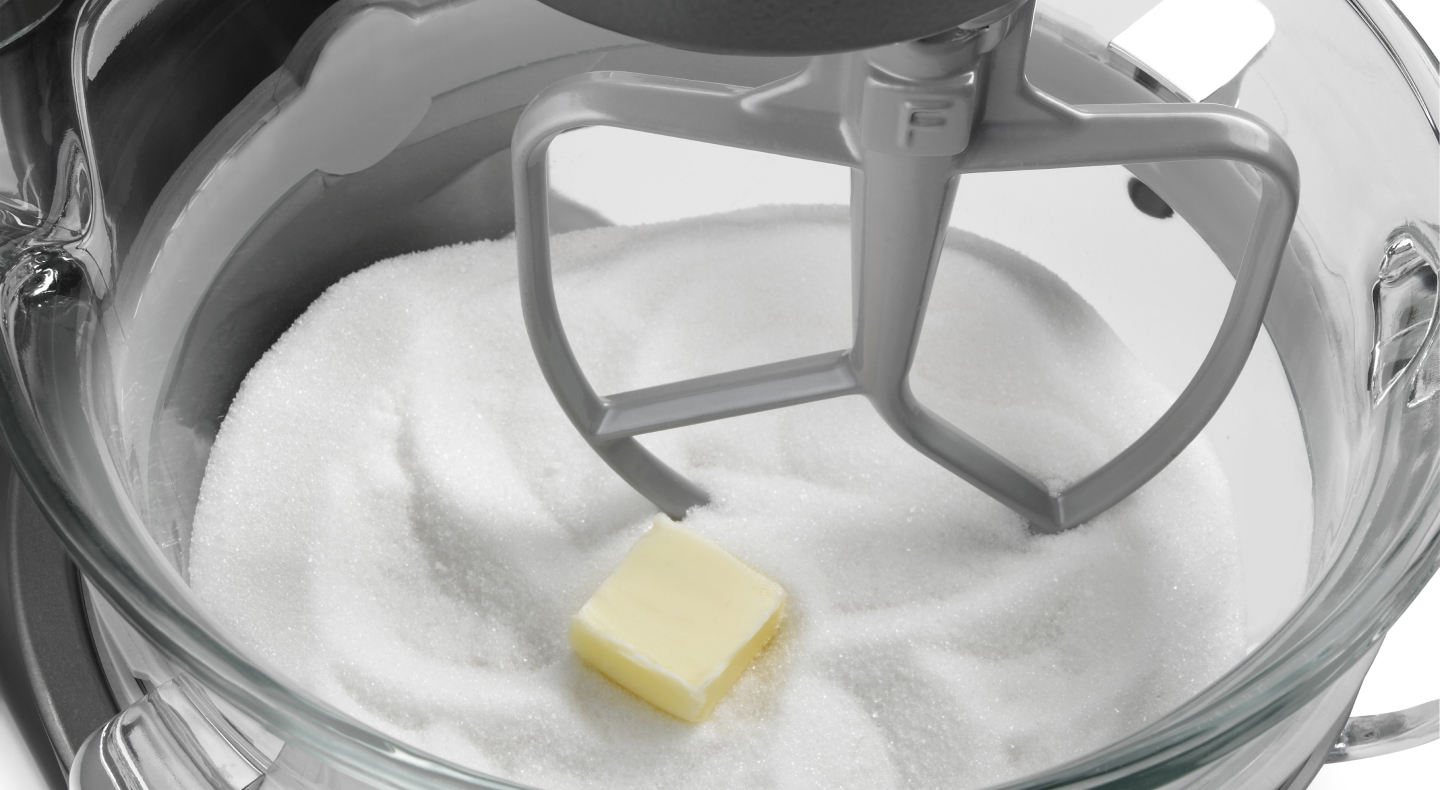
With the Flat Beater Attachment securely fastened to your KitchenAid® stand mixer, it’s time to start making the cookie batter. Add your fat and sugars to the bowl and mix for about one minute on Stir speed. Gradually increase the mixer speed to 4 for approximately one to two additional minutes.
Avoid overmixing the cookie dough, which should remain cold to the touch. After mixing, scrape any of the batter that has accumulated on the sides of the bowl down before adding the eggs or an egg replacement suitable for baking, such as mashed fruit puree, flax seed or nut butter. Also incorporate any flavor extracts like vanilla or almond to the bowl. Then, mix on speed 4 until the ingredients are well incorporated—about one minute.
STEP 3: ADD FINAL INGREDIENTS
Using a separate mixing bowl, combine the rest of your dry ingredients such as flour, baking soda and any additions like rolled oats. As you make your batter, remember to add dry ingredients to the mixing bowl gradually—the mixture should look uniform, with no large chunks. To ensure your dry ingredients are thoroughly combined, consider using a sifter.
Once combined, add the mixture to the ingredients in the stand mixer bowl. Then, mix on Stir speed until the flour mixture is well incorporated into the batter. If desired, you can experiment with the texture of your homemade cookies by adding ingredients like peanut butter or chocolate spread. Then, add your choice of chocolate chips along with any other additions like chopped walnuts, candy pieces or sprinkles to the batter. Gently incorporate the final ingredients, mixing on Stir speed until combined.
STEP 4: BAKE THE COOKIES
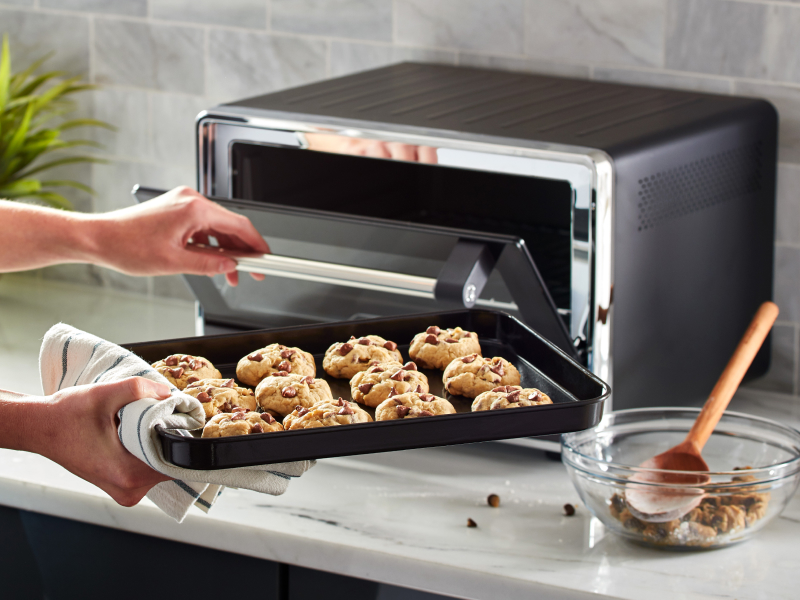
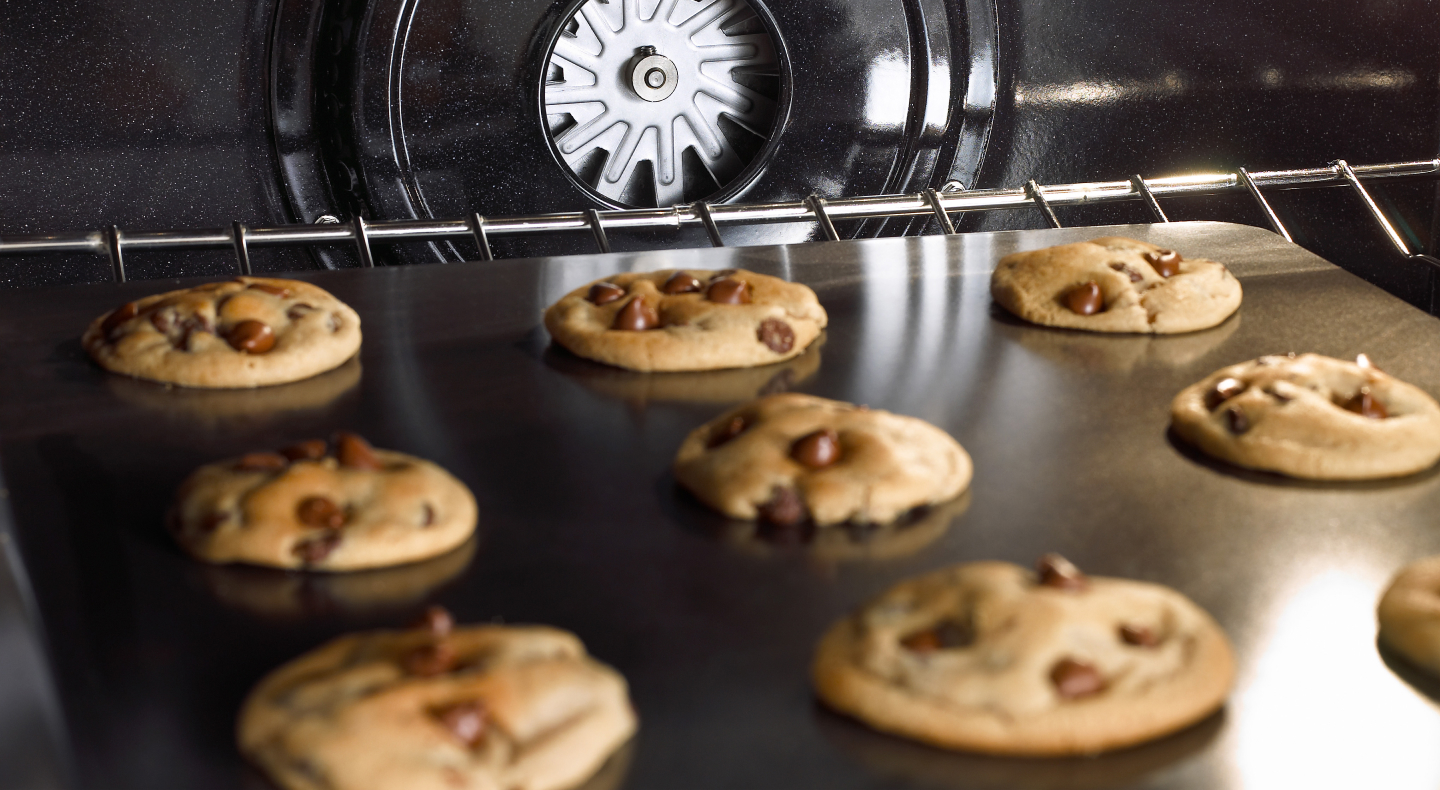
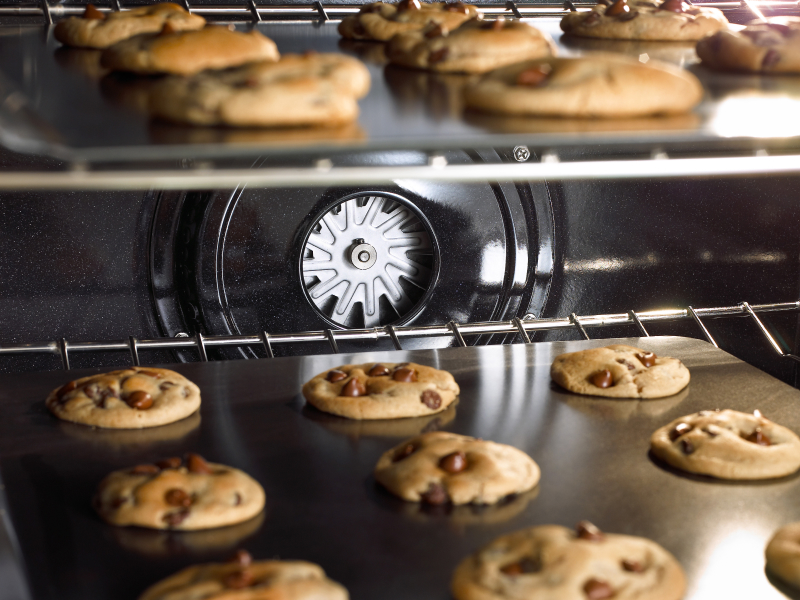
On your lined cookie sheet, drop rounded scoops of dough using a spoon or cookie scoop, making sure to place them about two inches apart. Bake the cookies until the bottoms become golden brown—approximately 10 to 12 minutes. To help your cookies bake more evenly, you can try rotating the sheet halfway through the baking time.

STEP 5: COOL AND REPEAT
Once the cookies have finished baking, it’s important to allow them to rest for about three to five minutes before removing them from the oven. Attempting to move your freshly baked cookies too quickly can cause them to lose their rounded shape.
To make more room around your cooking area, transfer the cookies to a wire cooling rack after resting. Allowing the baking sheets to completely cool before cooking any additional batches can help you achieve evenly cooked desserts that look and taste just right.
SHOP KITCHENAID® STAND MIXERS AND ACCESSORIES
WHICH KITCHENAID® STAND MIXER ATTACHMENTS AND ACCESSORIES SHOULD I USE FOR COOKIES?
When making cookies using your KitchenAid® stand mixer, the Flat Beater accessory works best. Use this accessory when you need to mix as part of a recipe for cookies, cakes or brownies.
There are several other useful Attachments and accessories you can use with your KitchenAid® stand mixer when experimenting with homemade cookie recipes, such as the Food Processor Attachment for chopping up candy pieces or nuts or the All Metal Grain Mill Attachment for processing flour. Try decadent homemade chocolate chip cookie ice cream sandwiches using the Ice Cream Maker Attachment.
Learn more about the many stand mixer attachment and accessory options to begin making beautifully crafted baked goods with textures as appealing as their taste.
CAN I ADAPT THE STAND MIXER CHOCOLATE CHIP COOKIE RECIPE TO INCLUDE NUTS OR CANDIES?
You can use the above instructions for easy chocolate chip cookies as a base recipe for creating delicious cookies with tasty alternatives to chocolate like chopped nuts or candies. You can also experiment with the cookie dough by adding miso or festive ingredients, such as peppermints, to make Christmas cookies.
Adapt this KitchenAid chocolate chip cookie recipe by using a food processor to chop up larger nuts or candies into smaller pieces. You can also try breaking up the ingredients by hand. Then, simply incorporate the nuts or candy pieces into the cookie batter instead of the chocolate chips, following the remainder of the recipe as instructed.
CAN I ADAPT THE KITCHENAID CHOCOLATE CHIP COOKIE RECIPE TO BE VEGAN OR GLUTEN FREE?
You can easily adapt this KitchenAid cookie recipe to suit a vegan or gluten-free diet by making substitutions for several of the ingredients referenced above, including butter, milk, eggs and flour. Before making any recipe, be sure to check product labels for specific nutrition information.
To adapt this KitchenAid chocolate chip cookie recipe, keep in mind the following tips for substituting ingredients with vegan and gluten-free options:
Butter: Both vegan and gluten-free, coconut oil mimics all of the qualities of regular butter, making it the best all-around butter substitute.
Milk: When your cookie recipe calls for milk, it’s important to consider the characteristics of each alternative before making a substitute, as these factors can impact the outcome of your recipe. For baked goods, soy or almond milk are suitable options for a neutral taste and creamy texture.
Eggs: As with milk, carefully consider the characteristics of each substitution option before replacing ingredients. For cookies and other baked recipes, look for store-bought egg replacers that contain bases of tapioca or potato starch, both of which are vegan and gluten-free.
- Flour: Gluten can be present in all-purpose flour at levels between 8 and 11%, making it unsuitable for those following a gluten-free diet. To substitute AP flour, use a store-bought all-purpose gluten-free flour at a 1:1 ratio.
Learn more about vegan baking with these vegan baking recipes and tips.
KITCHENAID CHOCOLATE CHIP COOKIES: ADDITIONAL TIPS
By experimenting with baked goods and dessert recipes, you can explore how different techniques, tools and ingredients contribute to elements like taste and texture. Keep these additional tips in mind as you’re making cookies with a KitchenAid® stand mixer:
Achieve a texture that’s deliciously soft and chewy by taking care not to overbake your homemade chocolate chip cookies. Learn more tips on how to avoid cookies spreading too much to ensure they come out fluffy instead of flat.
Allow the freshly baked cookies to rest before transferring to a cooling rack to maintain the desired rounded shape.
Consider using a cookie scoop instead of a spoon to drop batter on the cookie sheet, which will help you achieve a consistent shape across the batch.
Experiment with different types of chocolate chips, such as milk or dark, to find a flavor you like best.
EXPLORE KITCHENAID® STAND MIXERS, ATTACHMENTS AND ACCESSORIES
Whether you’re making a decadent red velvet cake or traditional chocolate chip cookies, you can achieve your culinary goals with KitchenAid® stand mixers, attachments and accessories. Achieve delicious results for homemade cupcakes with the Pastry Beater accessory, using the Wire Whip accessory to create tasty frostings.