
How To Make Challah Bread: Recipe and Tips
Challah bread has a rich history in Jewish cuisine, and throughout time, it has evolved into the sweet, braided bread it is today. You can make challah at home in just a few hours, and with its soft, light interior and its glistening exterior, it is sure to look beautiful on your table and be enjoyed by your guests. Read this guide for an overview of how to make challah bread for your next gathering or just because.
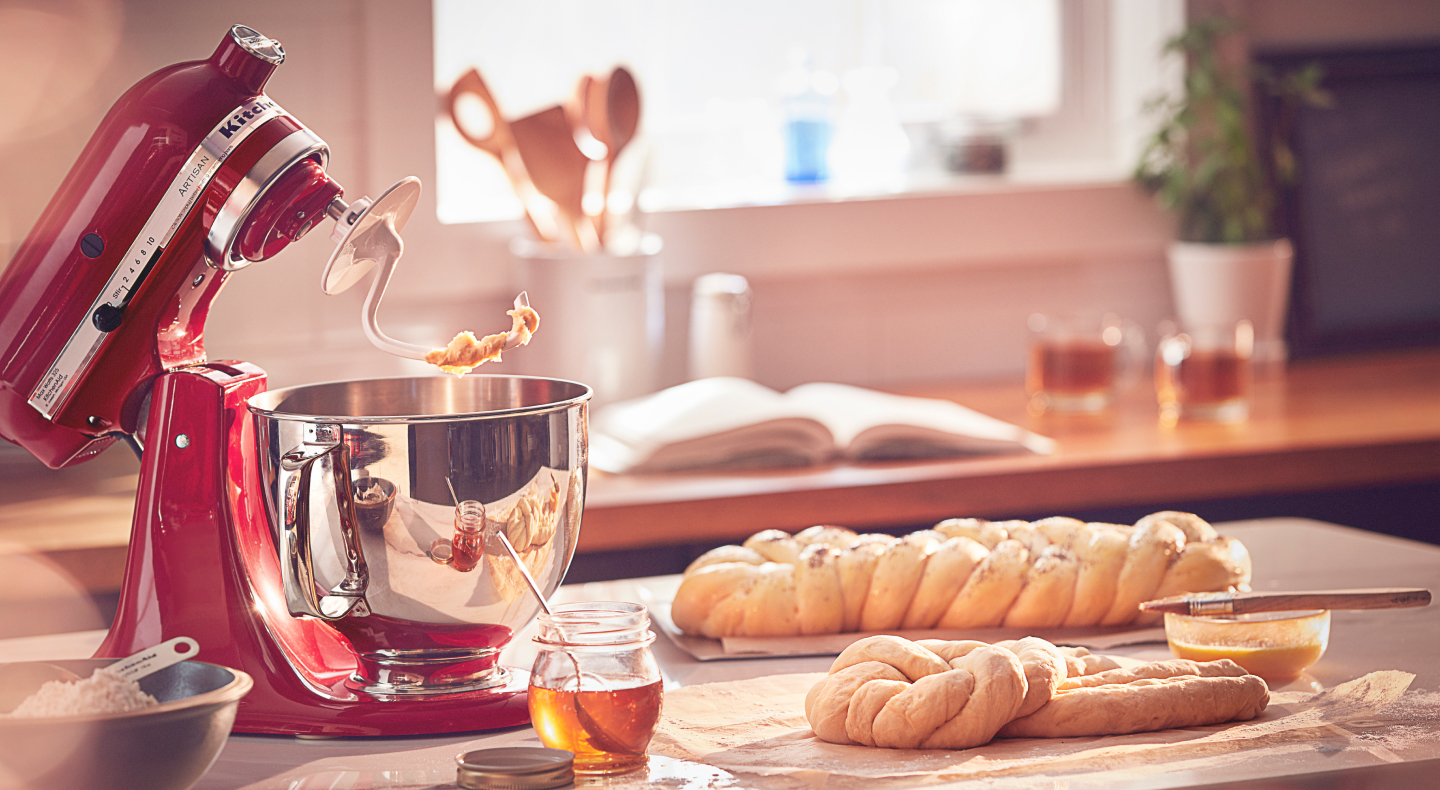
What is challah bread?
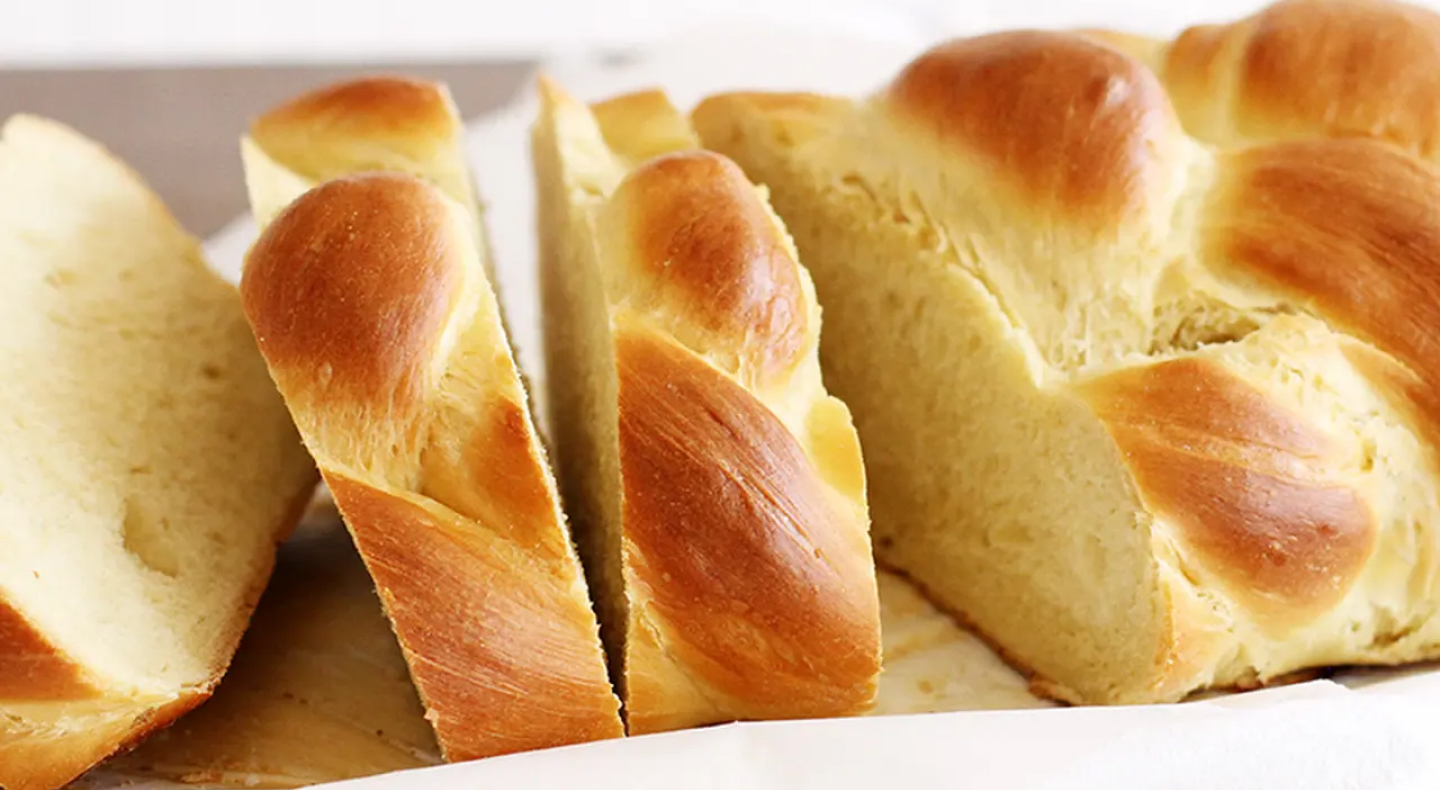
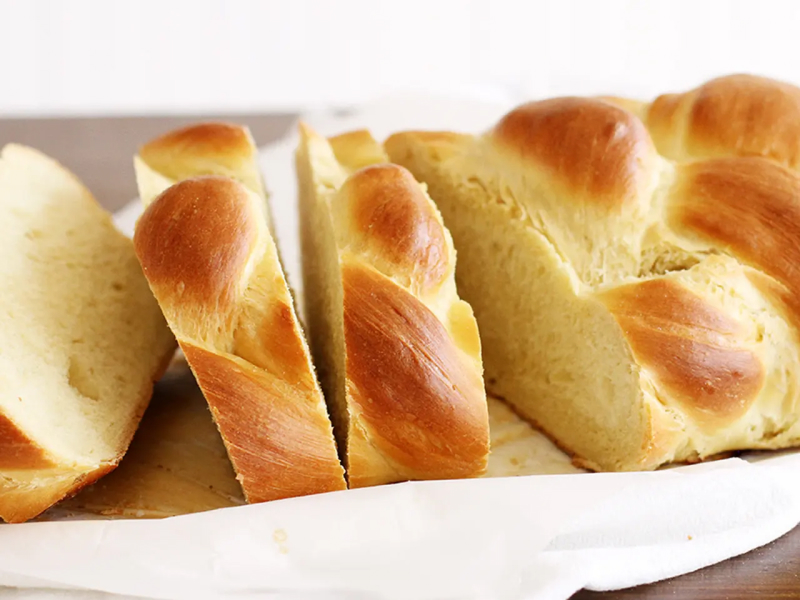
Challah is a braided bread made with eggs, water, flour, yeast and salt. It has a pale yellow color and depending on the occasion it might be made with raisins, honey or seeds.
Challah is traditionally served during the Sabbath and on other holy days. Straight loaves of challah are made and enjoyed throughout the year, while round loaves are most often reserved for Jewish holidays such as Rosh Hashanah and Yom Kippur.
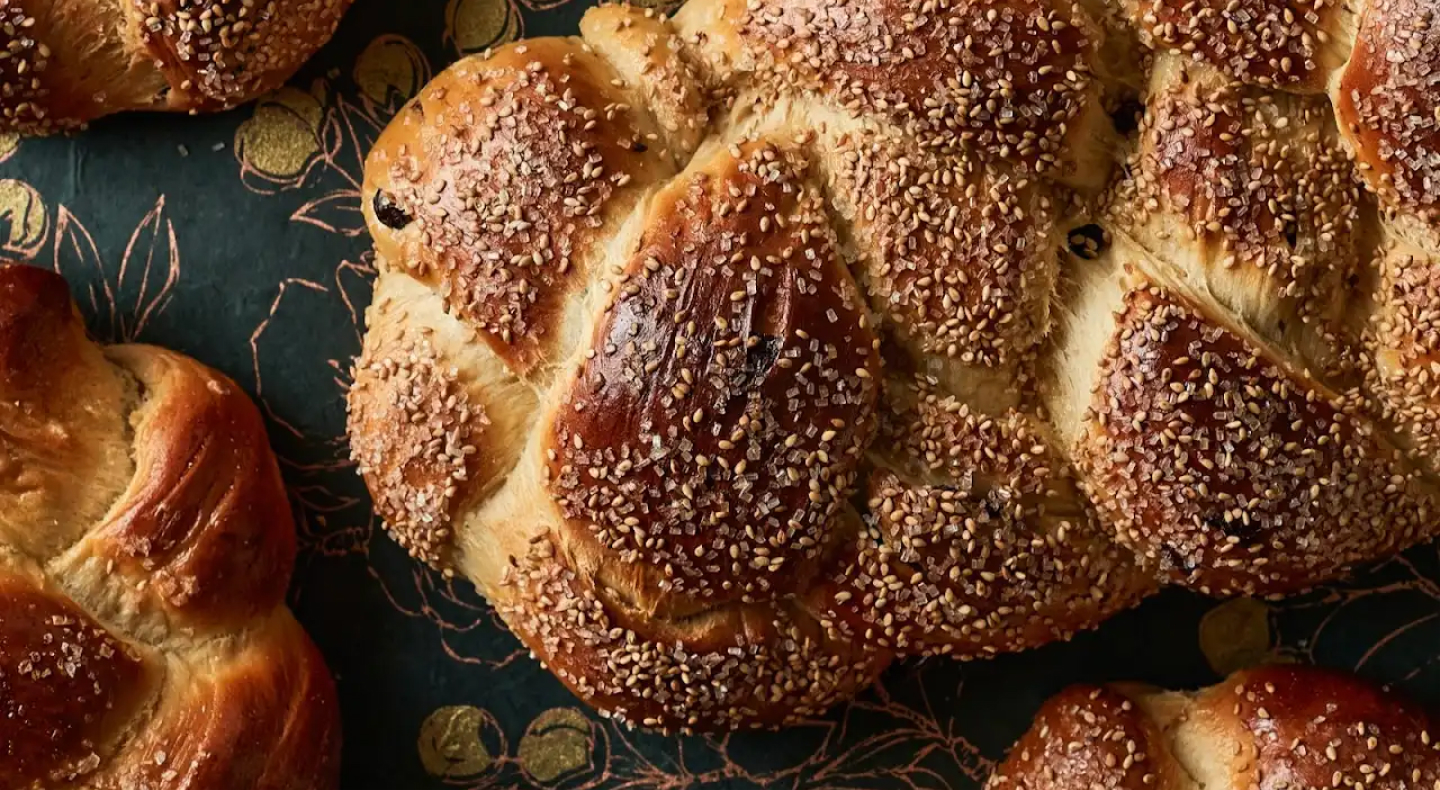
Easy challah recipe
The recipe overview below will help you learn the basics of making challah bread. Elevate the basic recipe by experimenting with flavors like Cranberry Sesame Challah, challah bread stuffed with savory cheeses, and variations created with seasonal additions like butternut squash. With the help of your KitchenAid® stand mixer and dough hook accessory, you can create your own soft, glistening challah at home.
Yields
2 challah
Ingredients
Lukewarm water
Active dry yeast
Sugar
Vegetable oil
Eggs
Salt
Flour
Seeds (optional)
Honey (optional)
Raisins (optional)
Other seasonings and additions, as desired
Tools
Large bowl
Plastic wrap
Cooling rack
Prep Time
70 minutes
Bake Time
35 minutes
Total Time
105 minutes
Step 1: Proof the yeast
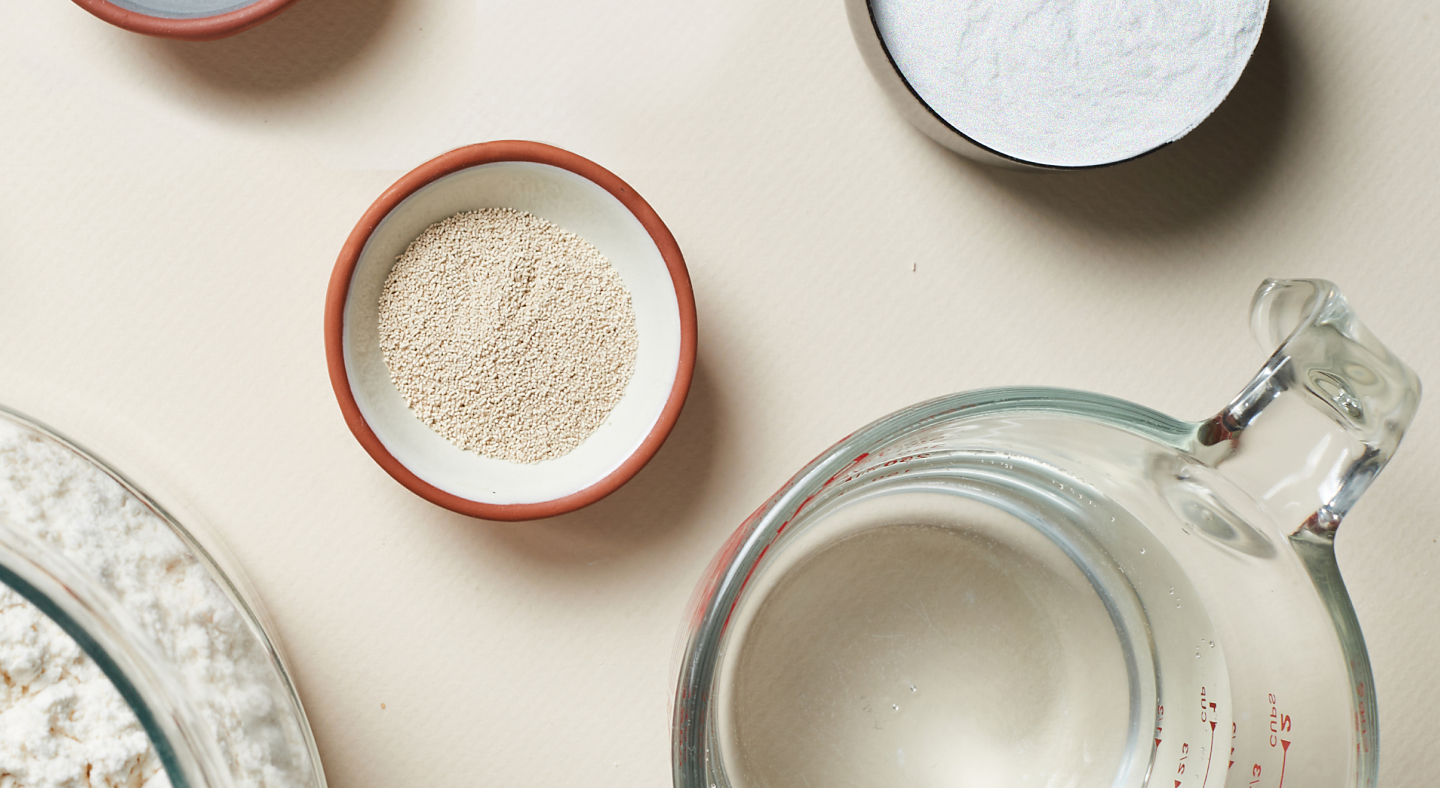
Proofing the yeast involves dissolving it with sugar in lukewarm water in a large mixing bowl. Be sure the water is not hot, as this can kill the yeast. When the yeast becomes foamy, you are ready to move on to the next step.
Step 2: Make dough
To make the dough, whisk the oil into the yeast mixture. Then beat in the eggs one at a time with the salt and the remaining sugar. Finally, add the flour gradually, continuing to mix.
Step 3: Knead dough
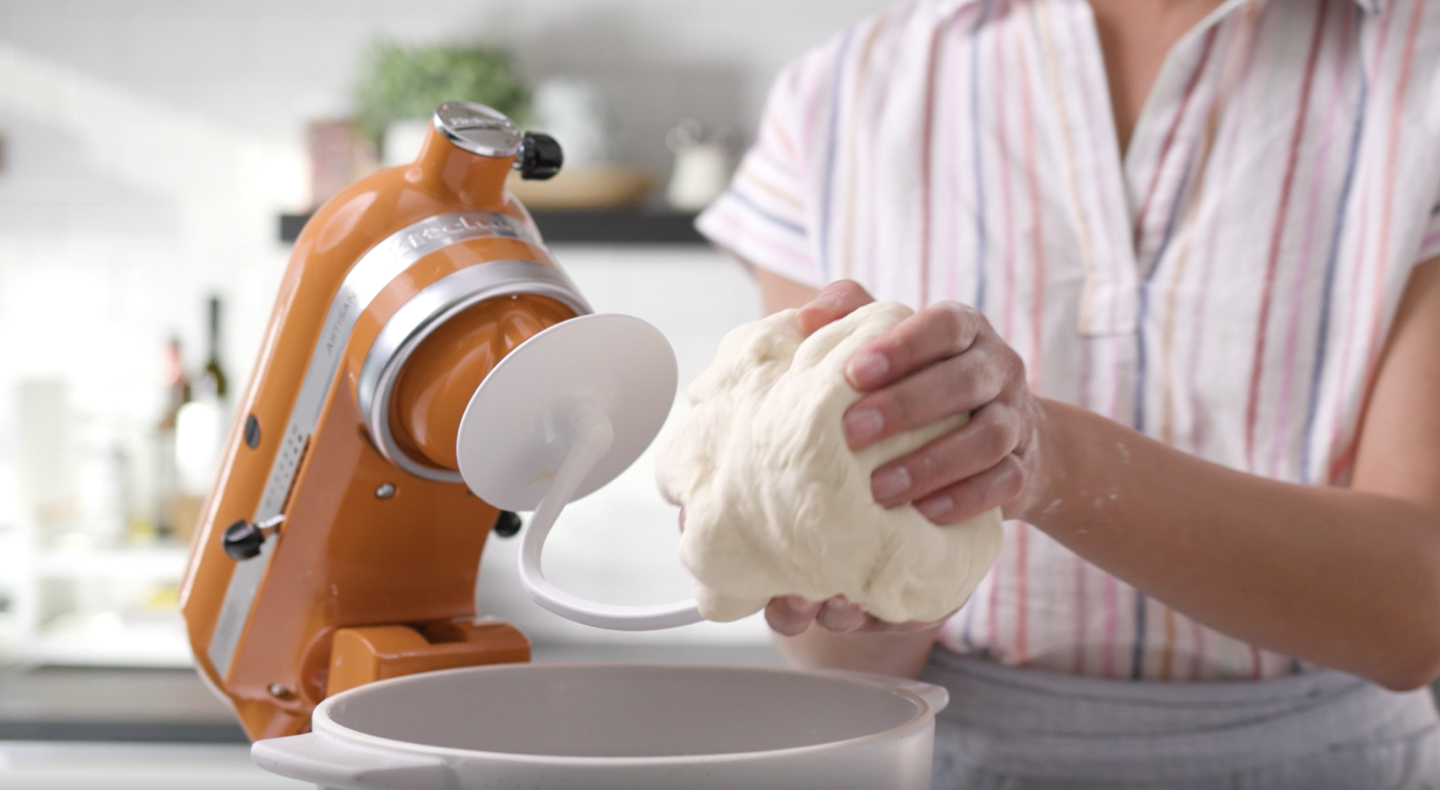
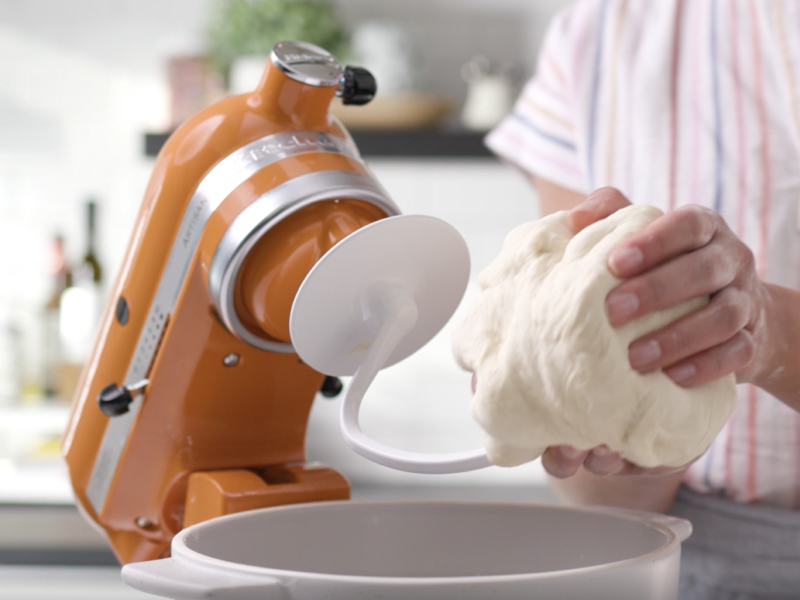
Using the dough hook with your KitchenAid® stand mixer, knead the dough until it’s smooth. When you are done kneading, remove the dough from the bowl, clean the bowl, grease it and return the dough. If you plan to add raisins, chocolate chips or other additions, you can do that during this step.
Step 4: Allow dough to rise
Cover the dough with plastic wrap and allow it to rise in a warm place for up to an hour or until it has doubled in size. You can use the Proof function on your oven, if it has one. Otherwise, if your kitchen’s temperature is lower than 75° F, you can proof your dough in the oven with the oven light on. Next, punch the dough down to remove any air pockets, cover it again, and allow it to rise again for another half hour.
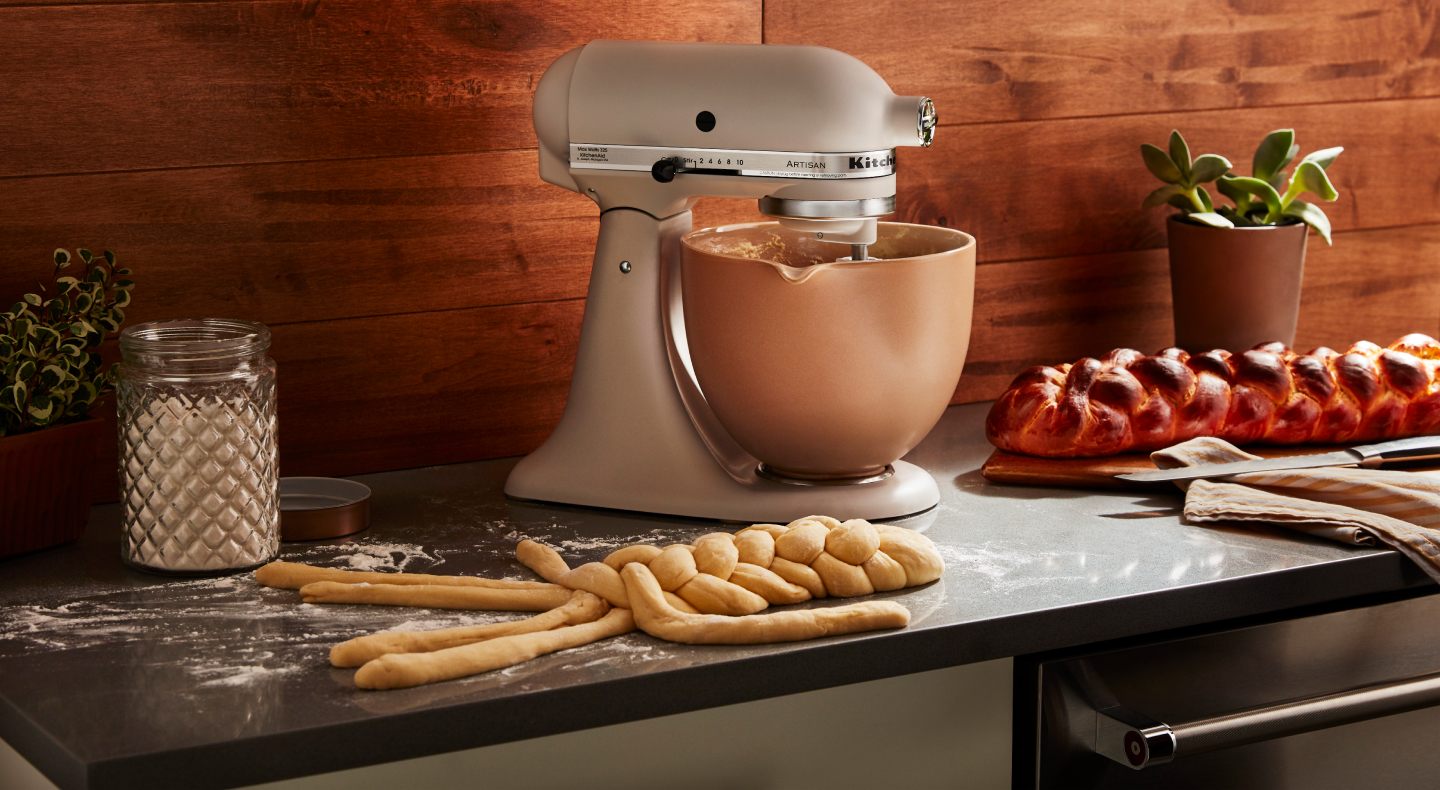
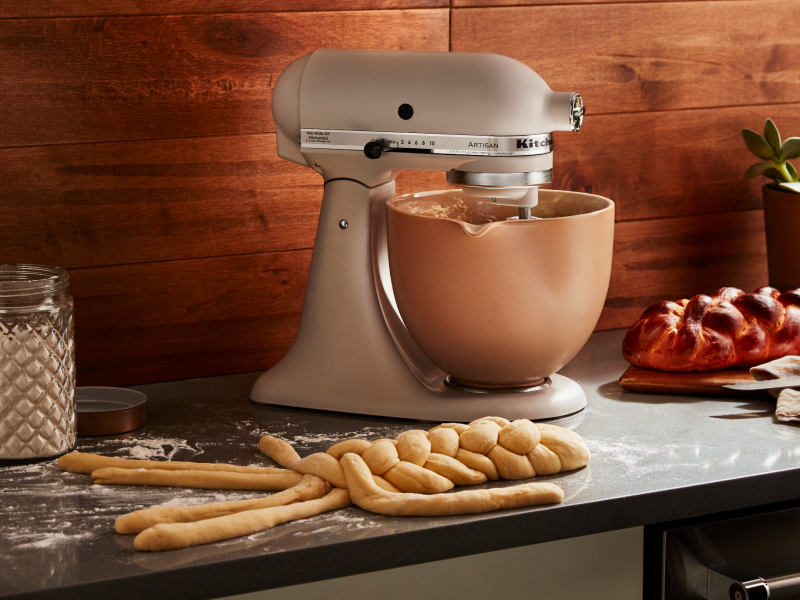
Step 5: Braid challah
Form half the dough into six balls or three balls, depending on the type of braid you’d like. Roll each ball into a strand about twelve inches long and one-and-a-half inches long. Line the strands up parallel to one another, pinching the ends together. Place the outside right strand over the center strands. Then take the left strand and do the same. Repeat the process starting over with the outside right strand. Continue this until you have a fully braided loaf. Keep your braiding loose as you go. The strands will need a little room to expand as they bake.
If you are making a circular loaf, twist your braids into a circle and pinch the ends together. With the second half of your dough, make another loaf the same way. Place your loaves on a greased baking sheet, leaving space in between.
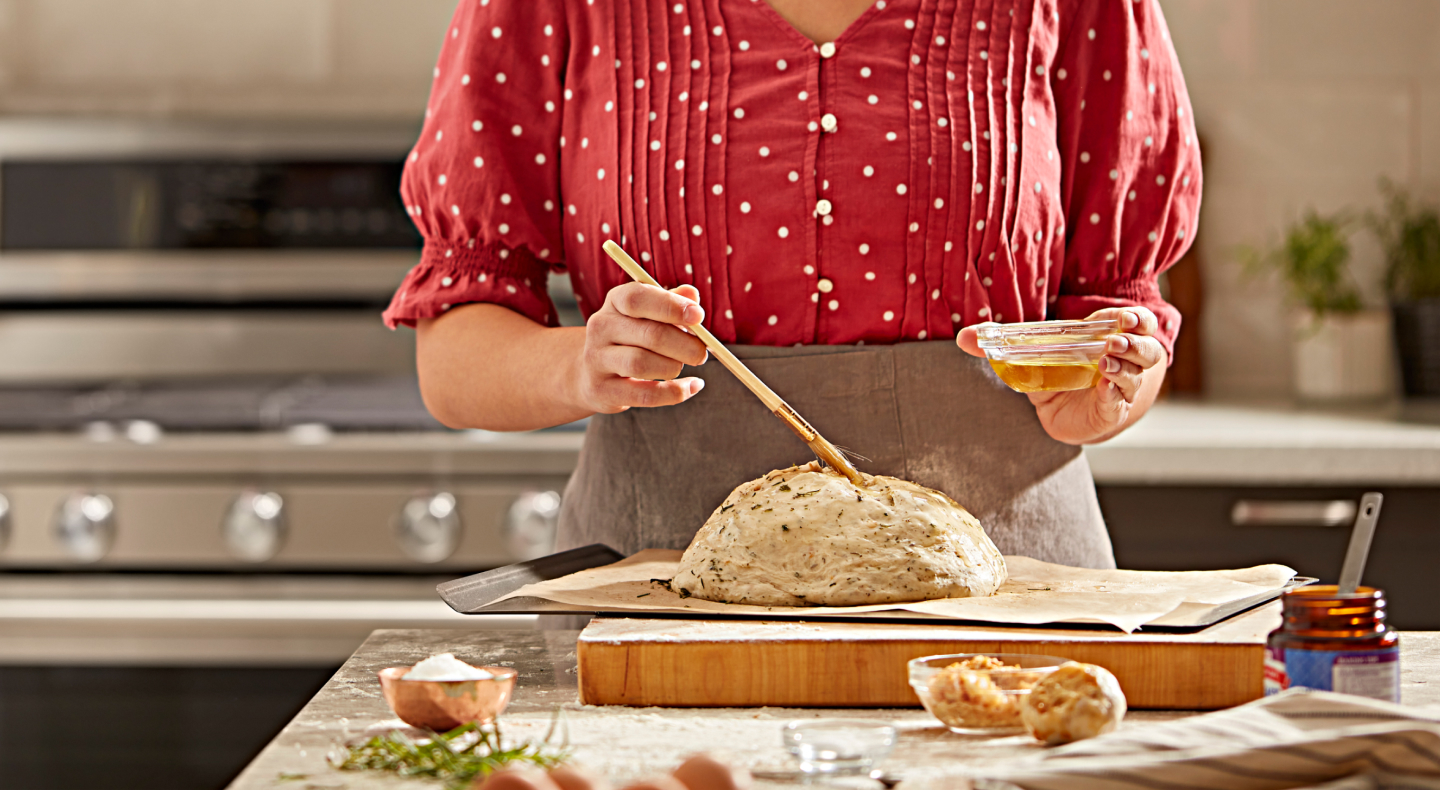
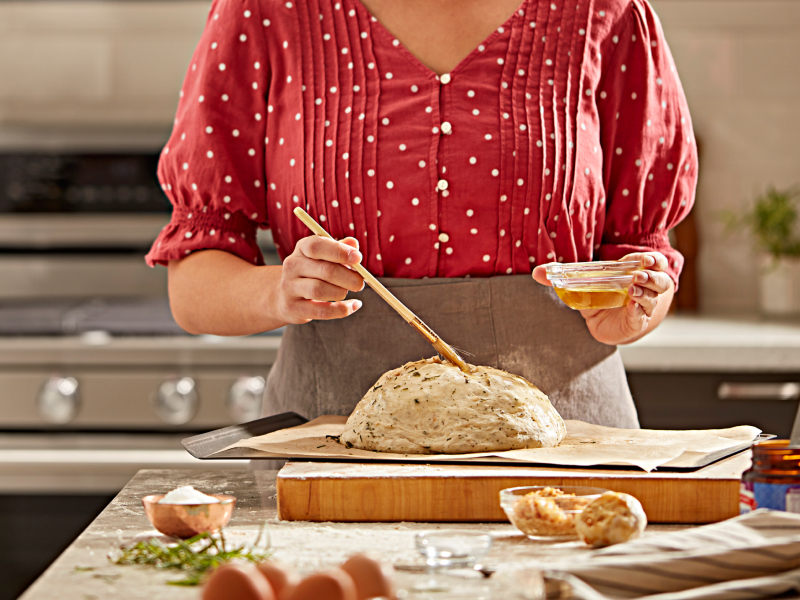
Step 6: Brush with egg
Beat the remaining egg and brush it on your loaves. Allow them to rise for another hour or place them in the freezer, covered, if you will not be baking them right away. After brushing the egg wash on, you can sprinkle your dough with sesame seeds or other toppings, if desired.
Step 7: Preheat and bake
If you are baking your loaves now, preheat the oven to 375° F. Bake the loaves for 30 to 35 minutes or until golden brown. You can review our guide to test if your bread is done baking. Allow the loaves to cool on a rack. If your dough was previously frozen, be sure to remove it from the freezer about five hours before you plan to bake it.
Shop KitchenAid® Stand Mixers For Making Challah
What type of bread is challah?
Challah is an enriched bread, which means it includes eggs and a source of fat, similar to brioche bread and even has a similar taste. Challah uses oil, though, while brioche calls for butter. It is braided and has a slightly yellow tint due to the many eggs included in the recipe.
Can I make challah dough in advance?
Challah dough can be made in advance and stored in the freezer. Yeast bread dough stored in an airtight container can remain in the freezer for up to four weeks. However, with the help of your stand mixer, challah bread dough can easily be made just before baking so it’s ultra fresh.
Does challah bread have to be braided?
Challah does not have to be braided to achieve the same taste and texture, but for it to be considered traditional challah, it typically is braided.
What can I do with leftover challah?
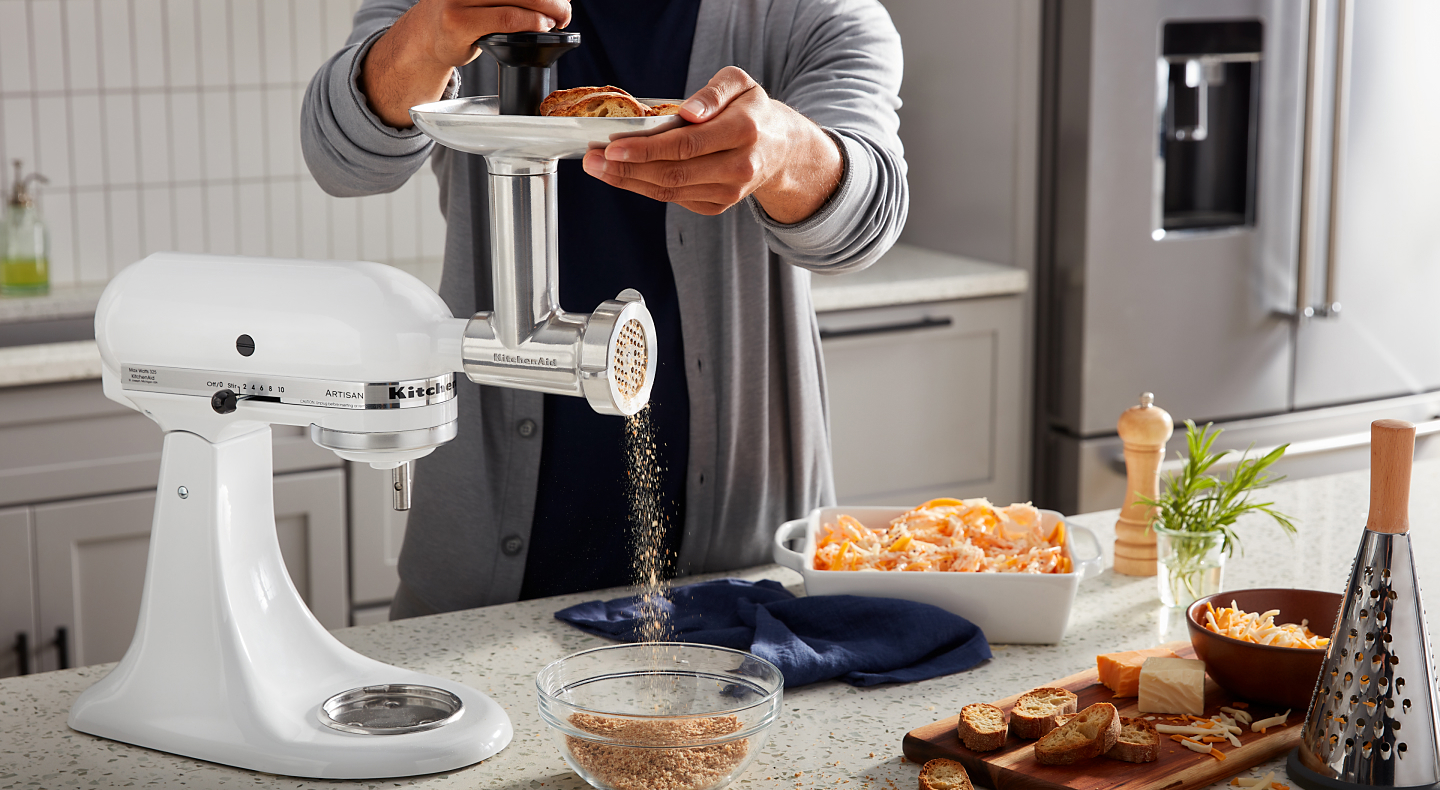
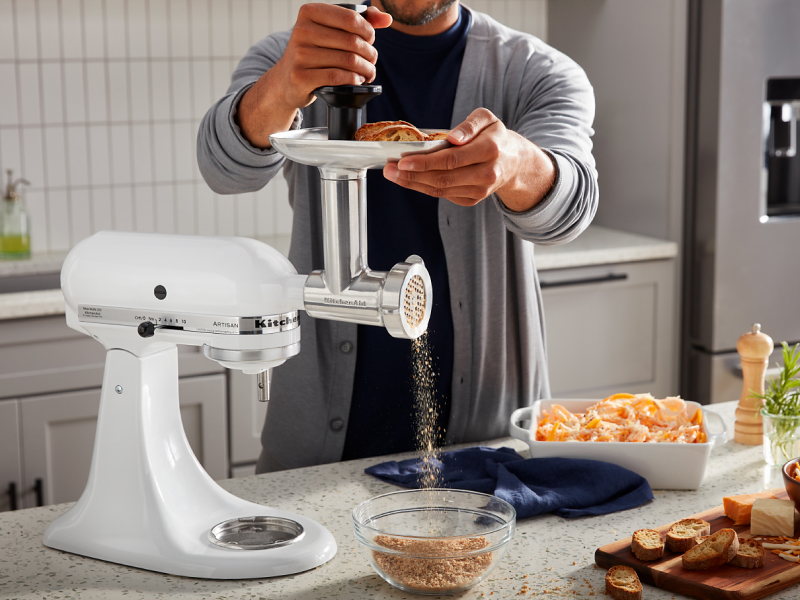
Leftover challah makes great French toast, like in this Apple Caramel French Toast. Many people also use leftover challah for making homemade bread crumbs, croutons and even bread pudding.
Can I freeze challah?
Challah can be frozen sliced or by the loaf. If you freeze it by the loaf, be sure to use the loaf in one sitting. Frozen bread is best used within six months. Learn how to store bread, including the best way to revive frozen bread.
What can I serve with challah?
Aside from traditional uses of challah bread, it is delicious served alongside your favorite meals or on a special occasion. It can be used to make French toast and bread pudding, sliced and passed around the table in a bread basket and served alongside savory dips like Baba Ganoush and Artichoke Thyme Hummus.
Explore KitchenAid® Stand Mixers
Designed to unlock culinary possibilities, a KitchenAid® stand mixer is the perfect companion for making challah. Use the dough hook to knead your challah dough and your wire whip accessory to create a smooth egg wash that will leave your challah glistening in the bread basket.