
HOW TO MAKE BLUEBERRY MUFFINS: EASY STAND MIXER RECIPE
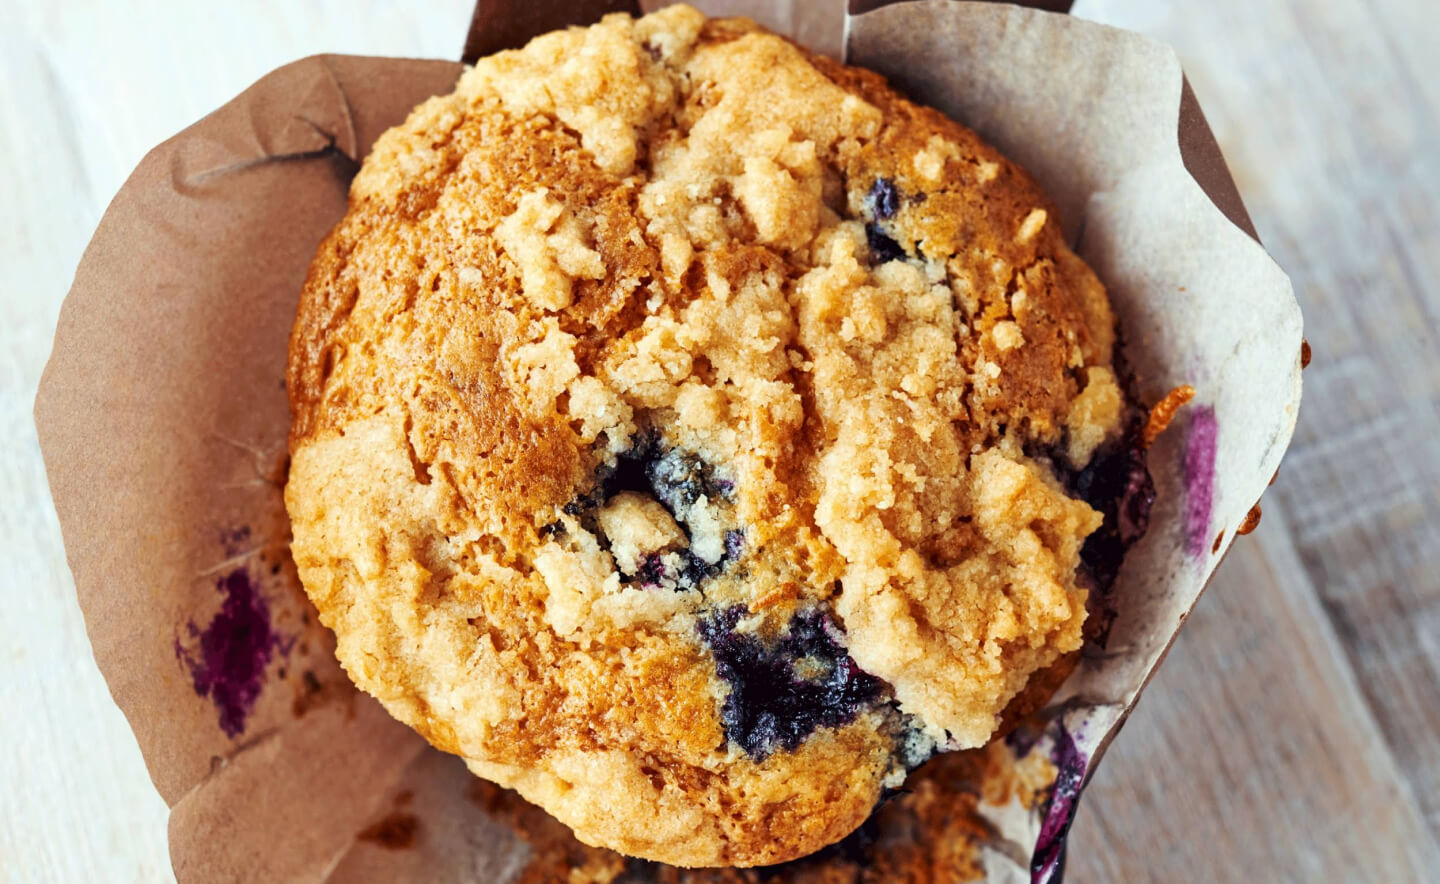
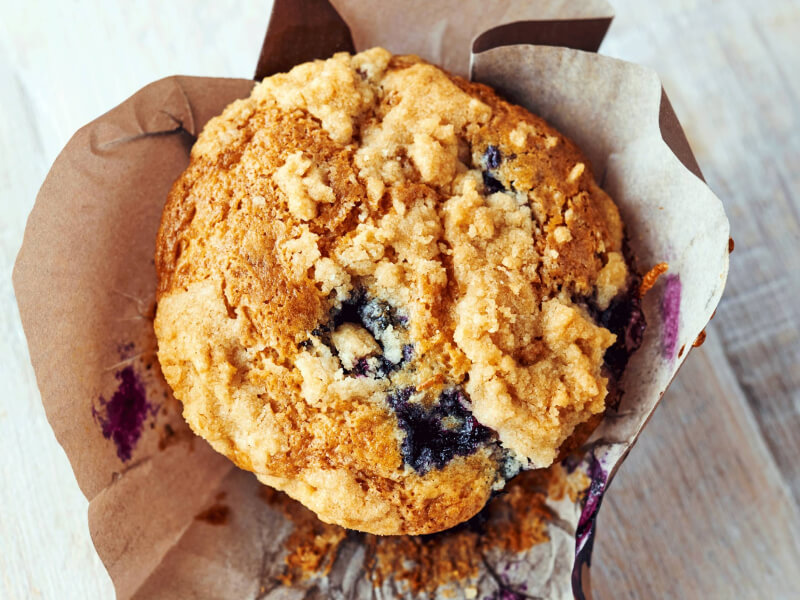
Tender and moist blueberry muffins are a satisfying treat at any time of day, and luckily, they’re easy to make from scratch. KitchenAid® stand mixers add even more simplicity to the process as they evenly incorporate every ingredient. Use the basic blueberry muffin recipe below as a foundation while you explore new flavors, mix-ins and topping variations.
WHAT FLOUR IS BEST FOR MUFFINS?
Standard recipes typically call for all-purpose flour, but you can swap it out for self-rising, white whole wheat or even gluten-free flour alternatives to customize muffins to your taste or dietary needs.
If you choose self-rising flour, you won’t need to add leavening agents like baking soda or baking powder. You can substitute half of the all-purpose flour called for in the original recipe with white whole wheat flour, or use a 1:1 ratio when substituting with gluten-free all-purpose flour. For light and delicate muffins, try substituting in pastry flour at a 1:1 ratio. You can create tender, flavorful muffins with a handful of flour varieties, but choosing certain flours may require you to alter your blueberry muffin recipe for optimized results.
IS OIL OR BUTTER BETTER FOR MUFFINS?
Baking with butter may contribute to a richer flavor in muffins, while baking with oil can produce muffins that are slightly more moist. Unlike butter, oil is liquid at room temperature and may help muffins retain their moisture a little longer.
Both oil and butter have benefits and drawbacks, so which one you choose ultimately comes down to personal preference.
HOMEMADE BLUEBERRY MUFFIN RECIPE
You can whip up a batch of blueberry muffin batter in minutes with a KitchenAid® stand mixer by your side. Follow the recipe below to create fluffy, tender muffins with the help of your stand mixer and attachments designed to mix and sift with ease.
TOOLS
- KitchenAid® Sifter + Scale Attachment (optional)
PREP TIME
- 15 minutes
BAKE TIME
- 20 minutes
TOTAL TIME
- 35 minutes
YIELDS
- 12 muffins
INGREDIENTS
Flour
Baking powder
Sugar
Salt
Eggs
Whole milk
Melted butter
Fresh blueberries

STEP 1: PREHEAT OVEN & PREP TINS
Preheat the oven according to your recipe’s instructions and prepare the muffin tins to resist sticking. Insert muffin liners or, if greasing the tin, try using a pastry brush dipped in melted butter to ensure even coating.
STEP 2: COMBINE FLOUR, BAKING POWDER, SUGAR & SALT
Add flour, baking powder, sugar, salt and any other spices you choose to a small bowl and stir to combine, then set the bowl aside.
STEP 3: ADD EGGS, MILK AND BUTTER OR OIL
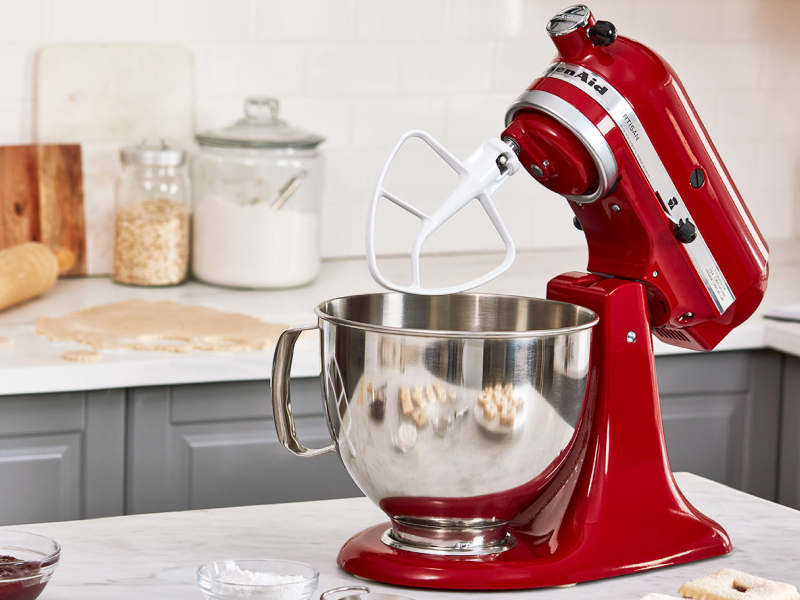
Add eggs, milk and butter or oil, depending on your preference, to the bowl of your stand mixer. Attach the KitchenAid® Flat Beater accessory to your stand mixer and then turn the mixer to speed setting 2 for one to two minutes until all ingredients are well blended. If desired, attach the stand mixer pouring shield to the bowl of the mixer to help prevent countertop messes.
STEP 4: COMBINE WET AND DRY MIXTURES
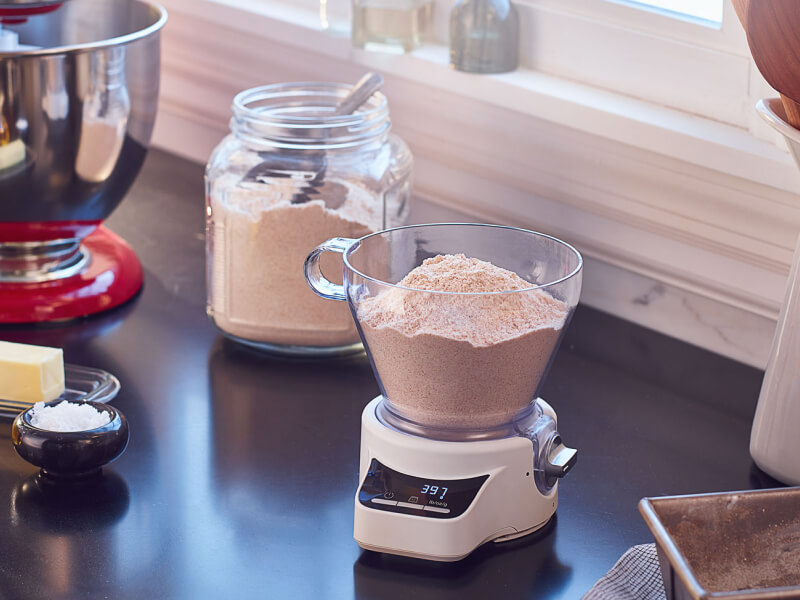
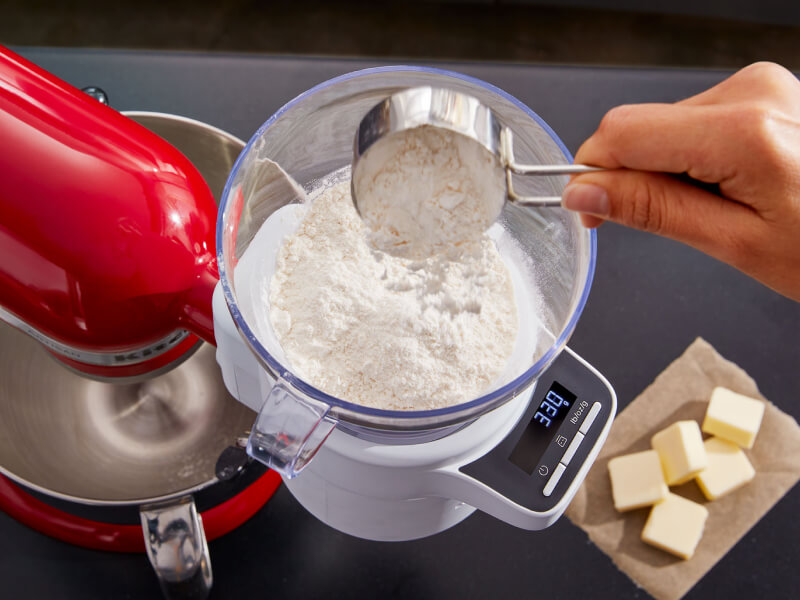
Gradually add the flour mixture to the bowl of your stand mixer. For consistent fluffy results, use the KitchenAid® Sifter + Scale Attachment to add dry ingredients. Mix on speed setting 2 for 10 to 15 seconds, or until ingredients are just barely blended. The batter should look slightly lumpy. Be careful not to overmix, as overworked batter can produce tough muffins.
STEP 5: PREP & ADD BLUEBERRIES
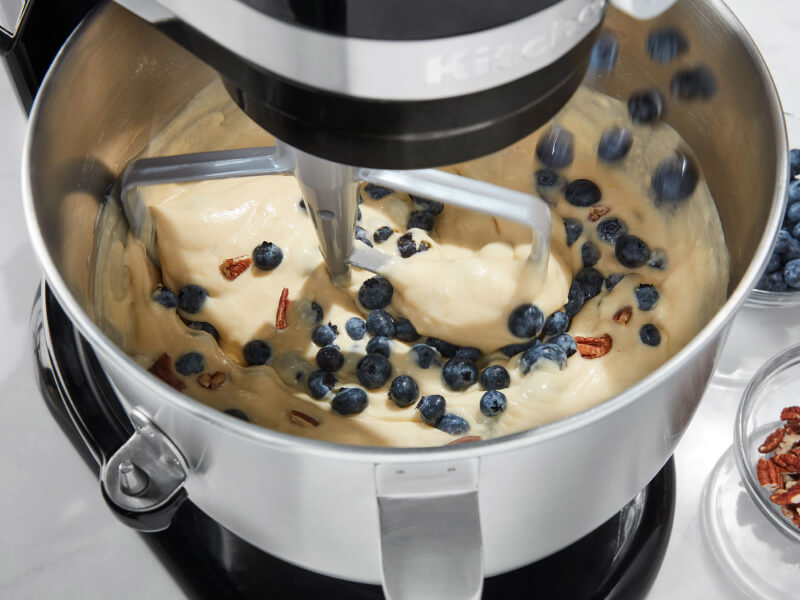
Add fresh blueberries to the bowl of your stand mixer and mix on the lowest speed setting until just combined. You can help stop blueberries from sinking into the batter by tossing them in a tablespoon or two of flour to absorb some moisture prior to adding, just be sure to subtract the amount of flour used from the amount called for in your recipe.
STEP 6: SPOON BATTER
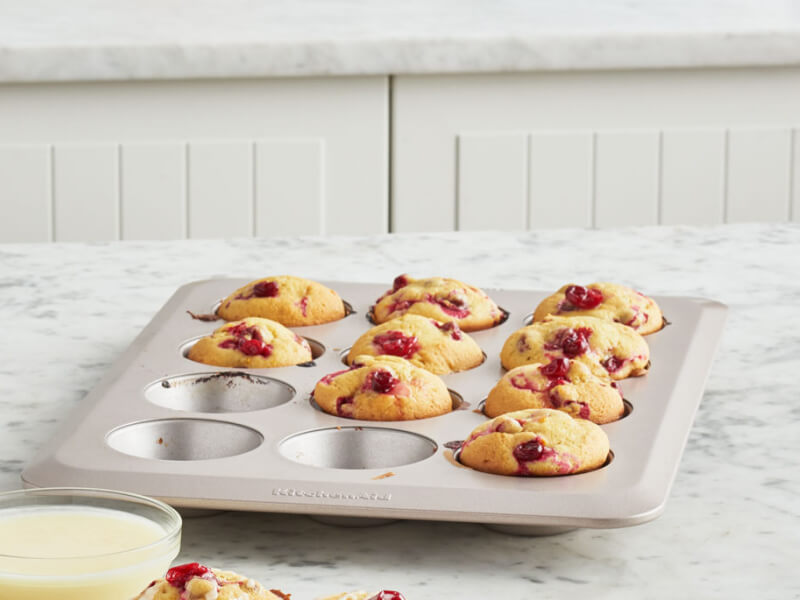
Use a measuring cup or cookie scoop to fill each muffin tin about ⅔ full. Uniform muffins will bake more evenly, so consider leveling the top of the measuring cup or scoop before adding batter to the tins. If you don’t have enough batter for each muffin cup, add a small amount of water to the empty cups to help muffins bake evenly.
STEP 7: BAKE
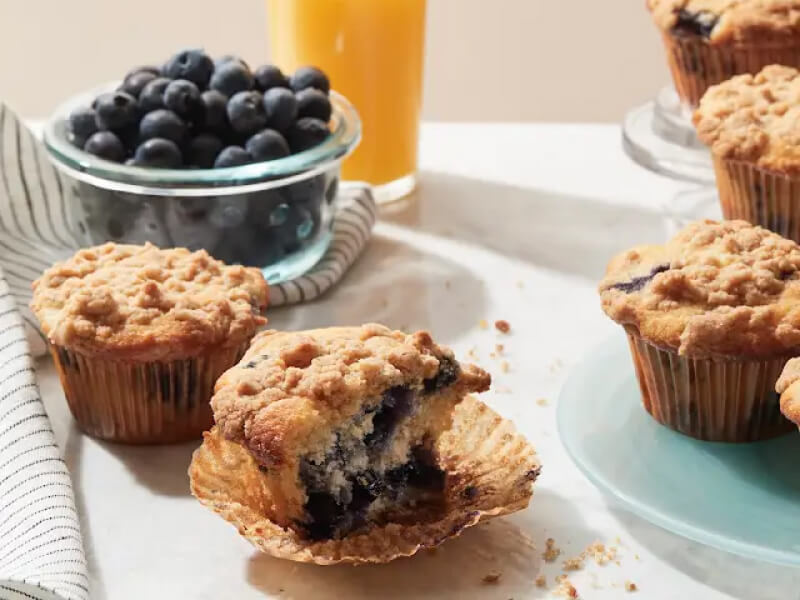
Bake the muffins per your recipe’s instructions, then check for doneness by inserting a toothpick into the center of a muffin. The toothpick should come out clean and the muffins should be golden brown on top once they’re finished. Serve immediately or store for later.
SHOP KITCHENAID® STAND MIXERS FOR MAKING BLUEBERRY MUFFINS
HOW DO I KEEP BLUEBERRIES FROM SINKING TO THE BOTTOM
You can help keep blueberries from sinking by coating them in a small amount of flour. Prior to adding them to the batter, toss blueberries with one or two tablespoons of flour to help absorb excess liquid before you mix them in.
Coating in flour can help them stay evenly spread throughout muffin batter. Just be sure to subtract the amount of flour you use from the amount called for in the recipe to avoid alterations to the muffins’ texture. This is particularly helpful with thin, fluid batters, as thick batters tend to do better at cradling mix-ins as they bake.
TIPS TO MAKE HOMEMADE BLUEBERRY MUFFINS MOIST
Attention to detail during the baking process can be the difference between dry and crumbly muffins or moist, fluffy confections. Discover 8 tips below for trapping moisture inside every bite.
Prepare wet and dry ingredients separately: Overmixing batter can quickly lead to muffins with a tough texture, but preparing wet and dry ingredients separately makes it easier to thoroughly incorporate every ingredient without the need to overmix.
Add mix-ins last: Extras like fruit, nuts and cream cheese can alter the texture of the batter if they’re added too early on. Combine wet and dry ingredients first to prevent the moisture content or textures of mix-ins from interfering with an even blending process, then gently fold in mix-ins while being careful not to overwork the batter.
Use paper liners: Paper liners can help prevent muffins from sticking to the tin as well as help keep moisture inside of your muffins so they stay fresh longer. Store any leftover muffins in their paper liners for the best results.
Adjust baking time and temperature for substitute ingredients: Gluten-free, dairy-free and vegan muffins can be moist and tender, but you’ll usually need to make adjustments to cook time and temperature if you’re using a standard recipe and substituting ingredients. Reference a recipe reflective of the ingredients you use to find the right time and temperature to optimize moisture.
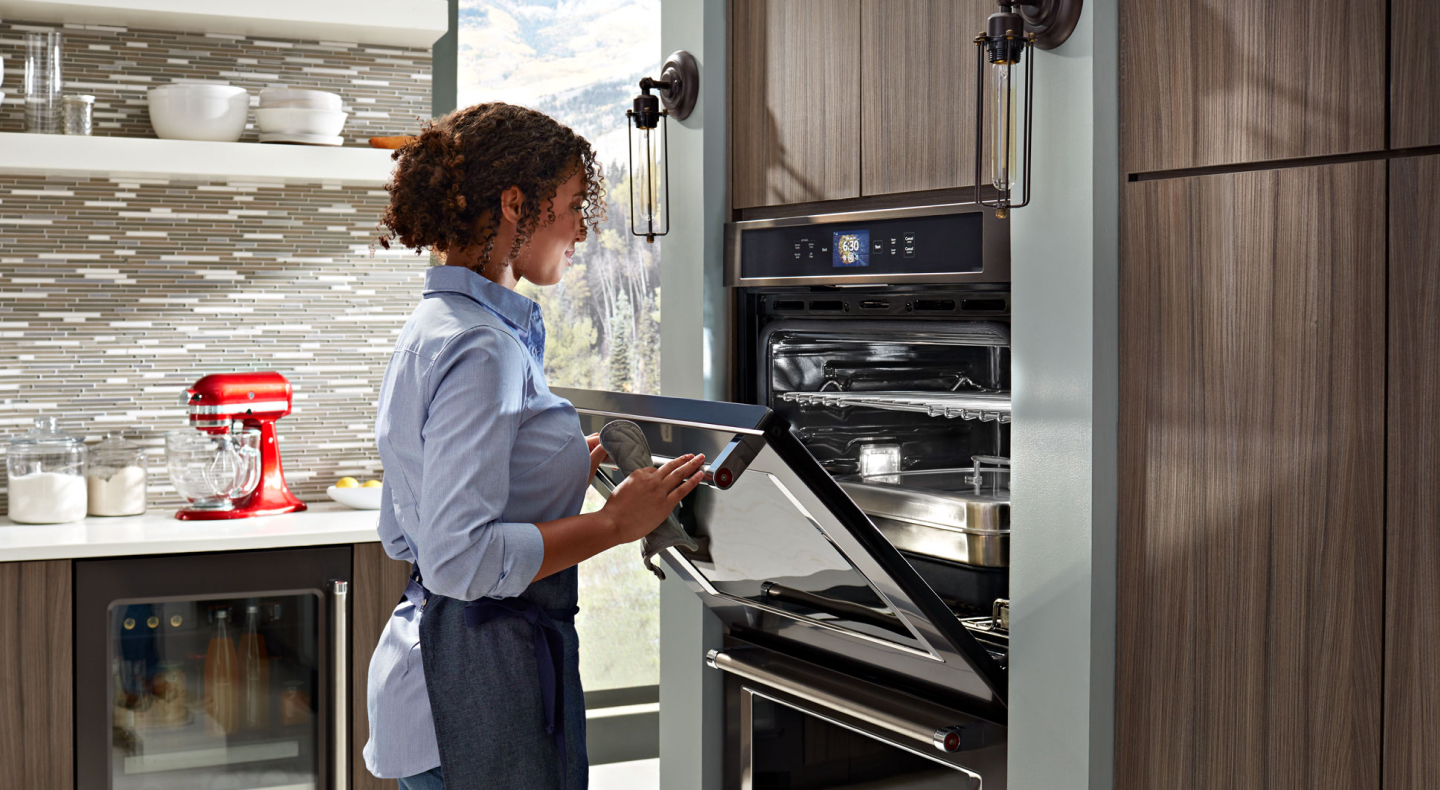
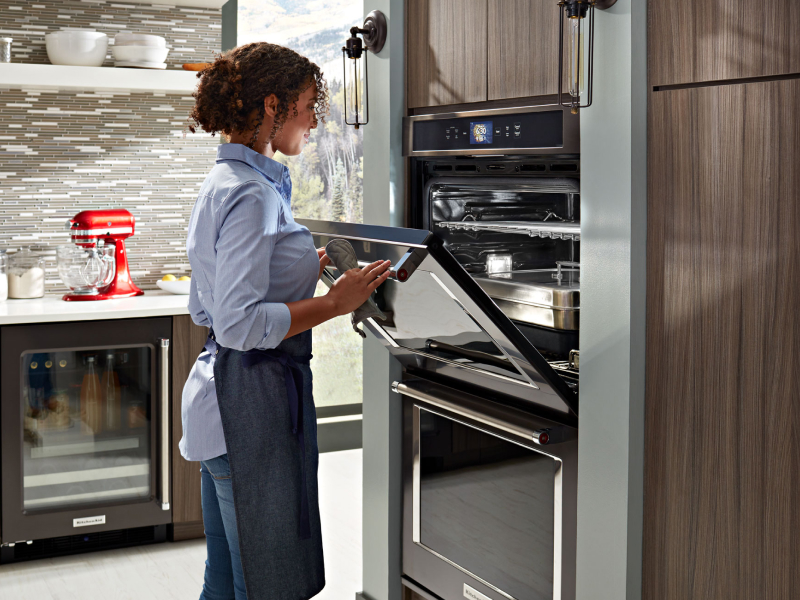
Calibrate your oven’s temperature: Calibrating your oven can help you achieve more consistent results and help prevent overbaking that may dry out your muffins.
Sprinkle extra mix-ins on top: Add flavor and avoid the threat of overmixing by first filling your muffin tins or liners, then sprinkling add-ins like nuts, fruit or streusel on top. Toppings shouldn’t prevent your muffins from rising and will help infuse muffins with even more flavor.
Fill empty muffin cups: You don’t need to bake a full batch of muffins to get moist results, but it’s best not to leave any muffin cups empty. Try filling any empty muffin cups half full with water. This can promote even baking and creates steam in the oven that helps prevent muffins from drying out.
Bake batter quickly: Leavening agents like baking soda and baking powder activate when they’re mixed with liquid and may lose potency the longer they sit, so be sure to get muffins in the oven quickly once you’ve finished whipping up the batter.
HOW DO YOU STORE BLUEBERRY MUFFINS?
You can usually store blueberry muffins for up to four days. Let the muffins cool completely, then line the bottom of an airtight container or bag with a paper towel. Place cooled muffins inside, then place another paper towel on top of the muffins and seal the container or bag.
The paper towels help prevent excessive moisture from building up inside of the container that could lead to soggy baked goods. Store the muffins at room temperature, since refrigerated muffins may dry out faster.
CAN YOU FREEZE BLUEBERRY MUFFINS?
Muffins can typically last up to three months in the freezer. Although blueberry muffins are best served fresh and warm out of the oven, you can freeze them to enjoy later in a few simple steps.
First, allow the muffins to cool completely, then arrange them in a single layer on a baking sheet and chill them in the freezer until they’re frozen solid, or about 30 minutes. This prevents stored muffins from steaming up a storage bag in the freezer, which may lead to frost formation. Next, place frozen muffins in a freezer bag, remove all of the air and label each bag with the freezing date. When you’re ready to indulge, allow muffins to thaw at room temperature or put them in the microwave for a few seconds before serving.
EXPLORE KITCHENAID® STAND MIXERS
KitchenAid® tilt-head and bowl-lift stand mixers feature the functionality, capacity and attachment compatibility you need to explore new techniques in the kitchen.
Ten speed settings let you gently incorporate delicate mix-ins or seamlessly whip a light and fluffy cream while select models feature 5, 6 or 7-quart capacity for extra large batches. Plus, attachments like the 7 Blade Spiralizer Plus with Peel, Core and Slice make it easy to prep fresh apples, pears and other fruits or vegetables for sweet and savory dishes.