
HOW TO MAKE A CAKE WITH A KITCHENAID® STAND MIXER
With layers of spongy sweetness and creamy icing, nothing feels as decadent and celebratory as cake, and there’s a whole world of cakes to experiment with and be inspired by. The KitchenAid® stand mixer is an ideal tool for mixing, beating and whipping up your favorite recipes or new creations. Use this guide to learn a basic stand mixer cake recipe, then go on to more adventurous recipes like a Salted Caramel Mocha Cake, Double Chocolate Beetroot Cake and Angel Food Cake with Marsala Whipped Cream. Read on for step-by-step instructions and tips on how to make cake with a KitchenAid® stand mixer so you can start your cake-baking journey.
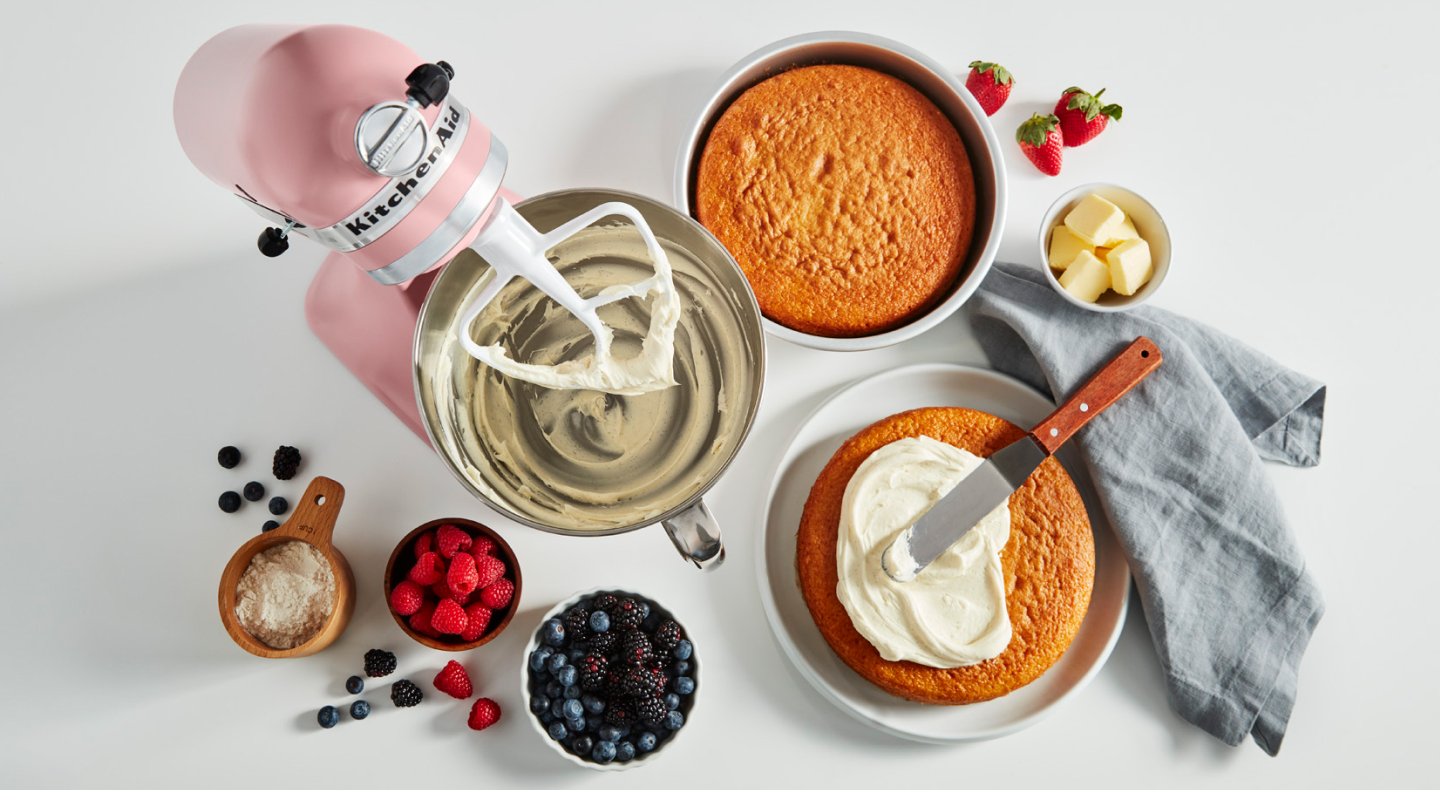
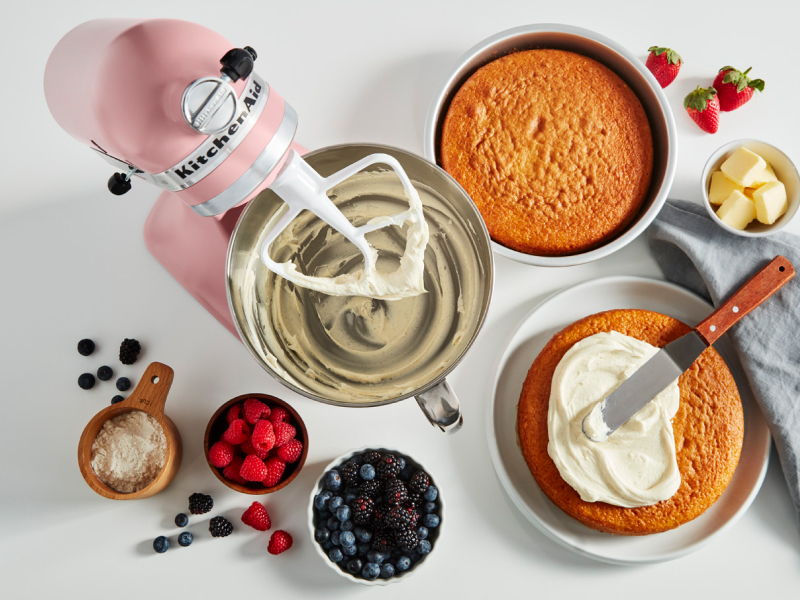
WHITE Cake Recipe
Get an idea of what goes into a basic 2-layer white cake with this recipe overview. Review the common ingredients and modify it to your tastes or the occasion. Add sprinkles and make it a birthday cake. Add vanilla or chocolate depending on your tastes. The possibilities are endless.
Yields
12 servings
ingredients
Cake:
- Cake flour
- Milk
- Egg whites
- Granulated sugar
- Baking powder
- Salt
- Unsalted butter
- Vanilla or melted chocolate
Frosting:
- Unsalted butter
- Powdered sugar
- Milk
- Salt
supplies:
- KitchenAid® stand mixer
- Flat beater or flex edge beater accessories
- Nonstick round pans
- Parchment paper
Total time:
About 75 minutes
Step 1: Prep the pans
Preheat the oven per your recipe, usually 350°F. To help remove the cakes once baked, you can spray two round pans with baking spray and line bottoms with parchment paper. Then, spray the paper and dust with flour. If you’re cooking a sheet cake, you can skip the parchment paper step.
Step 2: Combine DRY ingredients
In a large bowl, stir dry ingredients such as cake flour, sugar, baking powder and salt until combined. This helps ensure dry ingredients will be evenly distributed throughout your batter when you mix them in later.
Step 3: CREAM THE BUTTER
In a bowl of a KitchenAid® stand mixer with a flat beater or flex edge beater accessory, beat the butter and sugar until it has a pale yellow color and light, fluffy texture. This step helps aerate the butter and is crucial for that classic spongy cake texture. Finally, add egg whites and beat until combined.
Step 4: ADD REMAINING INGREDIENTS
Add a third of the dry ingredients and mix until combined. Then add a third of the milk and vanilla or melted chocolate and continue to mix. Repeat three times until all the ingredients are gone. Your batter should be smooth and slightly fluffy.
Step 5: Bake layers
Divide batter between prepared cake pans. Bake on the center rack until a toothpick or cake tester comes out clean. It’s important to either bake your pans on the same rack, or rotate halfway through to help ensure both cakes bake at similar rates. Briefly cool cakes in the pans, then carefully invert cakes and transfer, flat-side down, to a cooling rack to cool completely.
Step 6: Make frosting
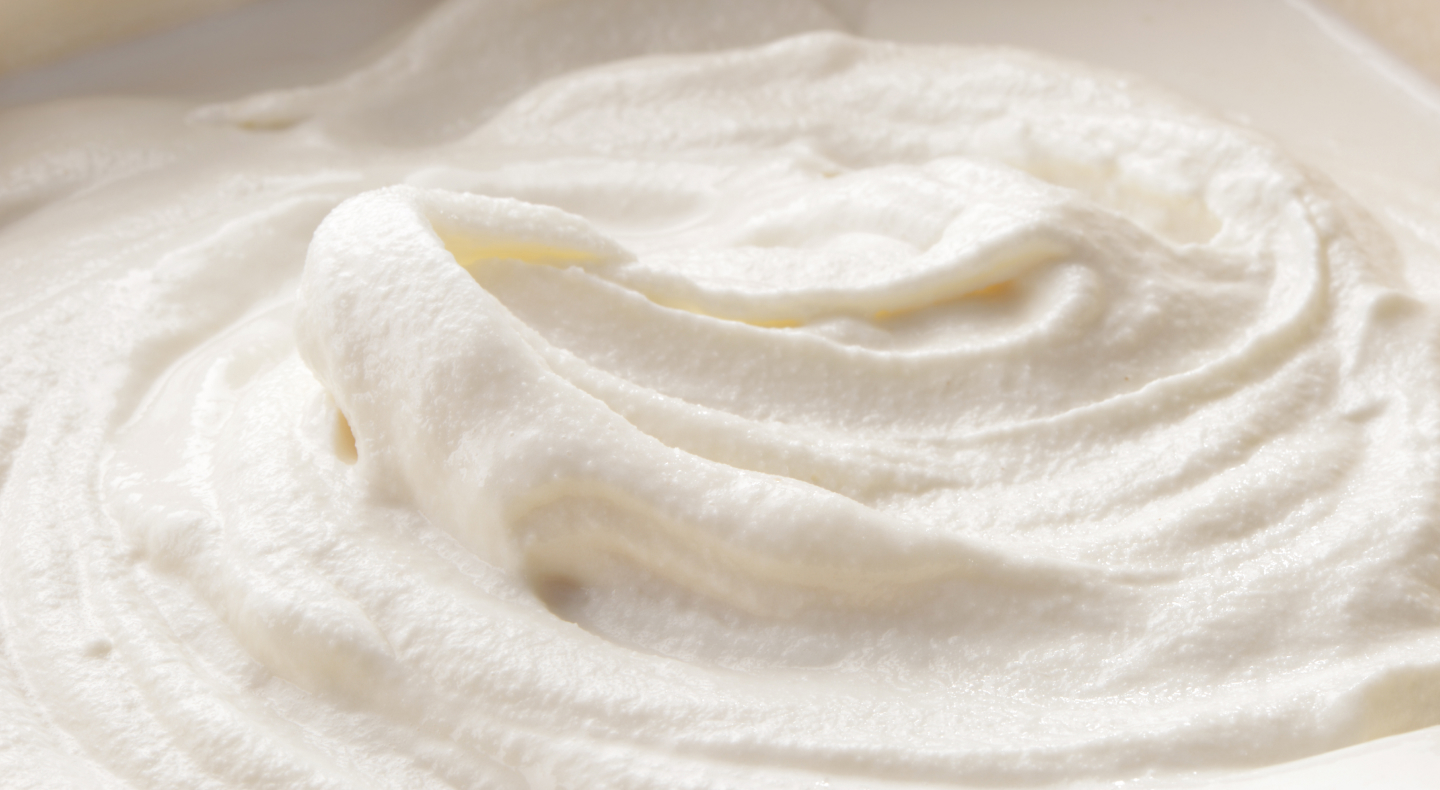
In a clean bowl of a KitchenAid® stand mixer with the flat beater accessory, beat the butter until it’s soft, light and fluffy. Add powdered sugar in increments, beating on high speed after each addition until just combined. This will help the sugar fully dissolve in your mixture. Add milk and salt last and stir until combined.
Step 7: Combine cake
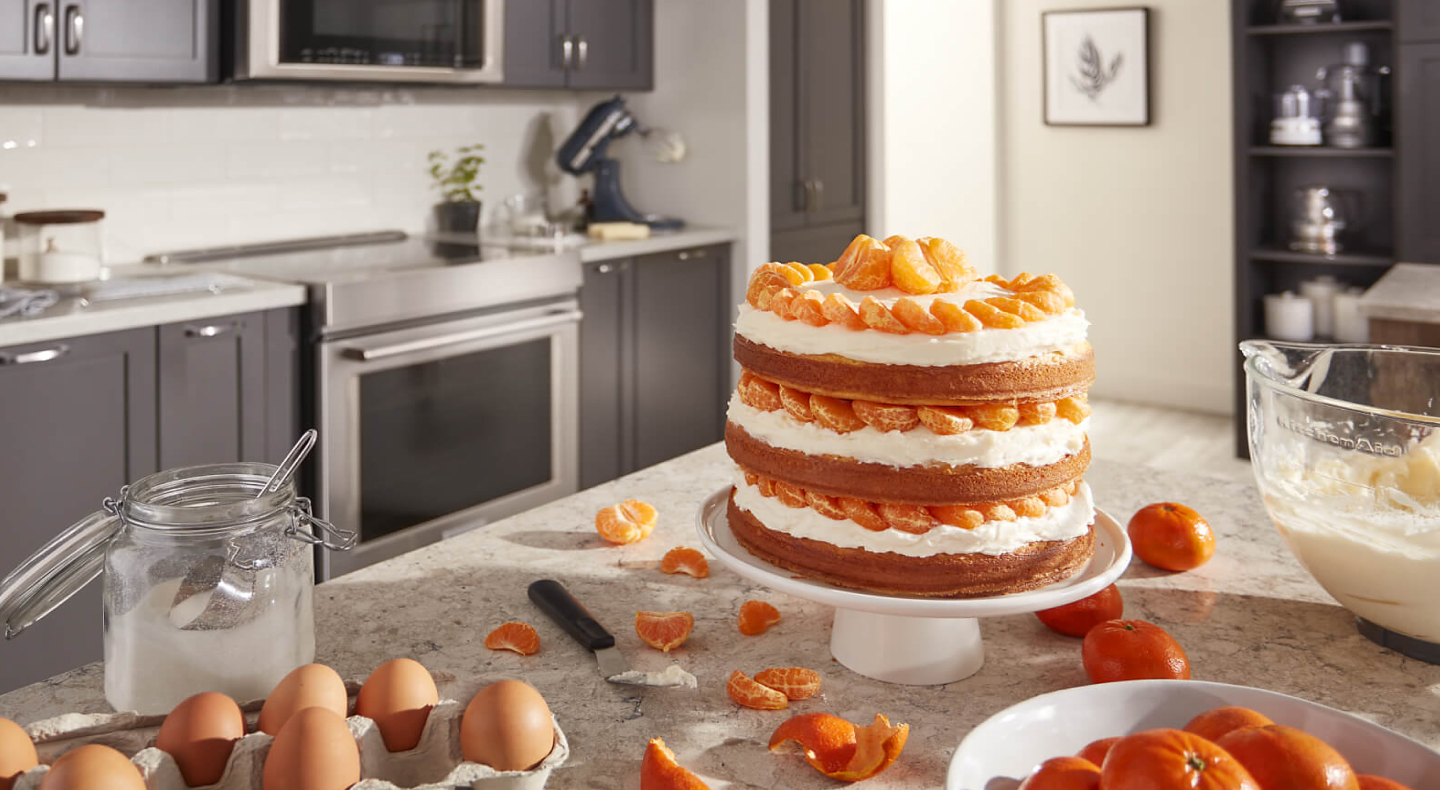
Use a serrated knife to trim the domed tops of fully cooled cakes to create a flat surface. If you try to frost a warm cake, the frosting will slide off so patience is key. Place one cake, cut-side up, on a cake stand or serving plate. Use an offset spatula to frost the top of the cake. Top with second cake, cut-side down. Frost sides and top of cakes. Decorate with sprinkles, fresh fruit, coconut or whatever you can dream up.
Shop KitchenAid® Stand Mixers
Discover a kitchen favorite designed to inspire something new in everything you make, from cupcakes to zoodles in a variety of sizes and colors to match your creativity and style.
Can I Use a Stand Mixer to Make Other Cake Recipes?
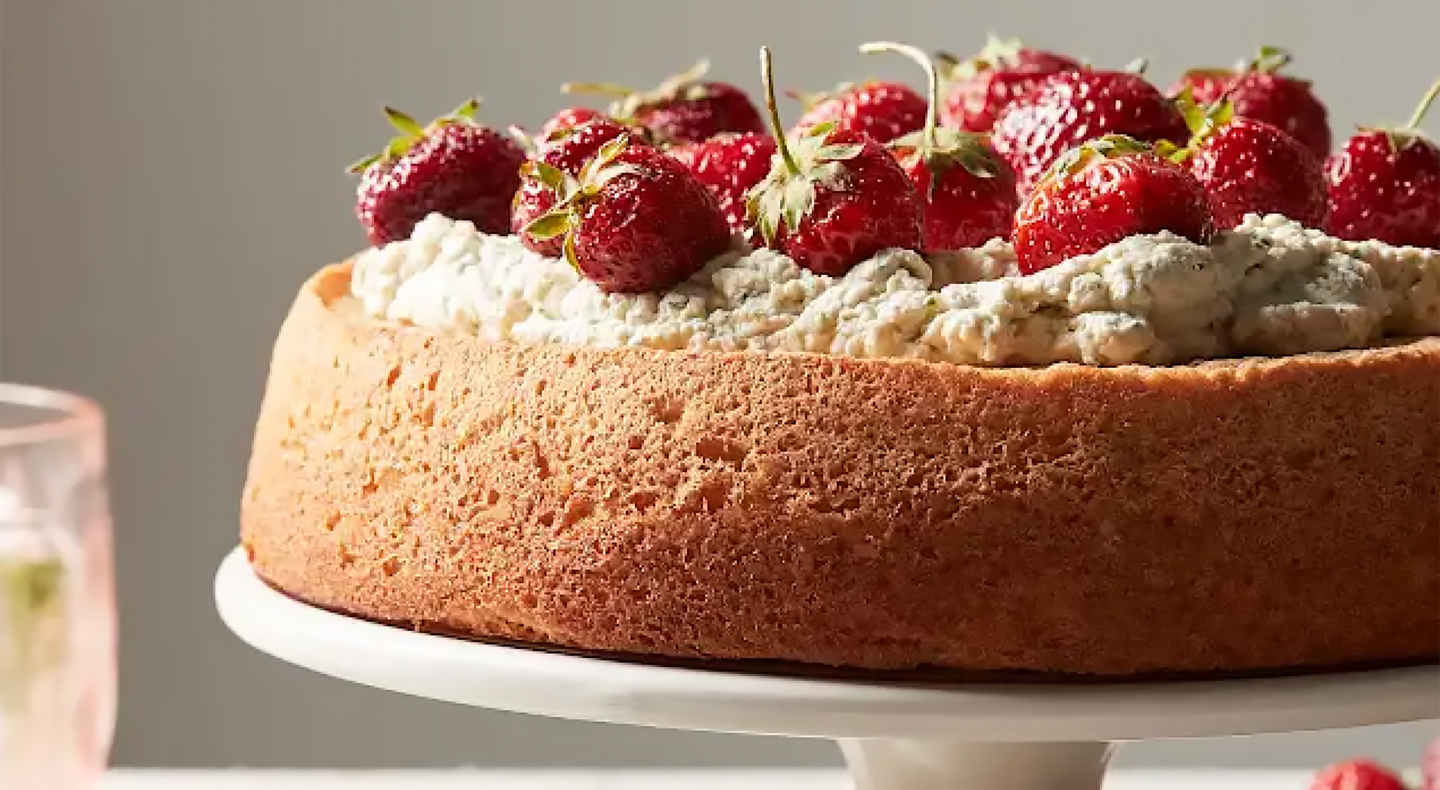
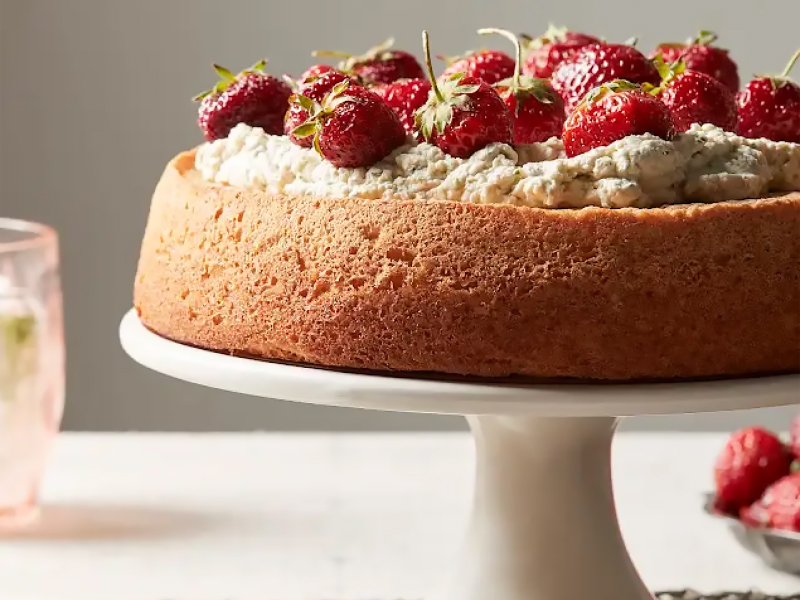
Yes. You can make nearly any kind of cake in a KitchenAid® stand mixer. All cake recipes will require you to mix and possibly beat ingredients, which can be done in a stand mixer. With a variety of models and attachments* available, KitchenAid® stand mixers the ideal appliance for exploring different types of cakes, from coffee cake to chiffon cake and even ice cream cake.
*Sold separately.
Which KitchenAid® Stand Mixer Attachments Are For Making Cake?
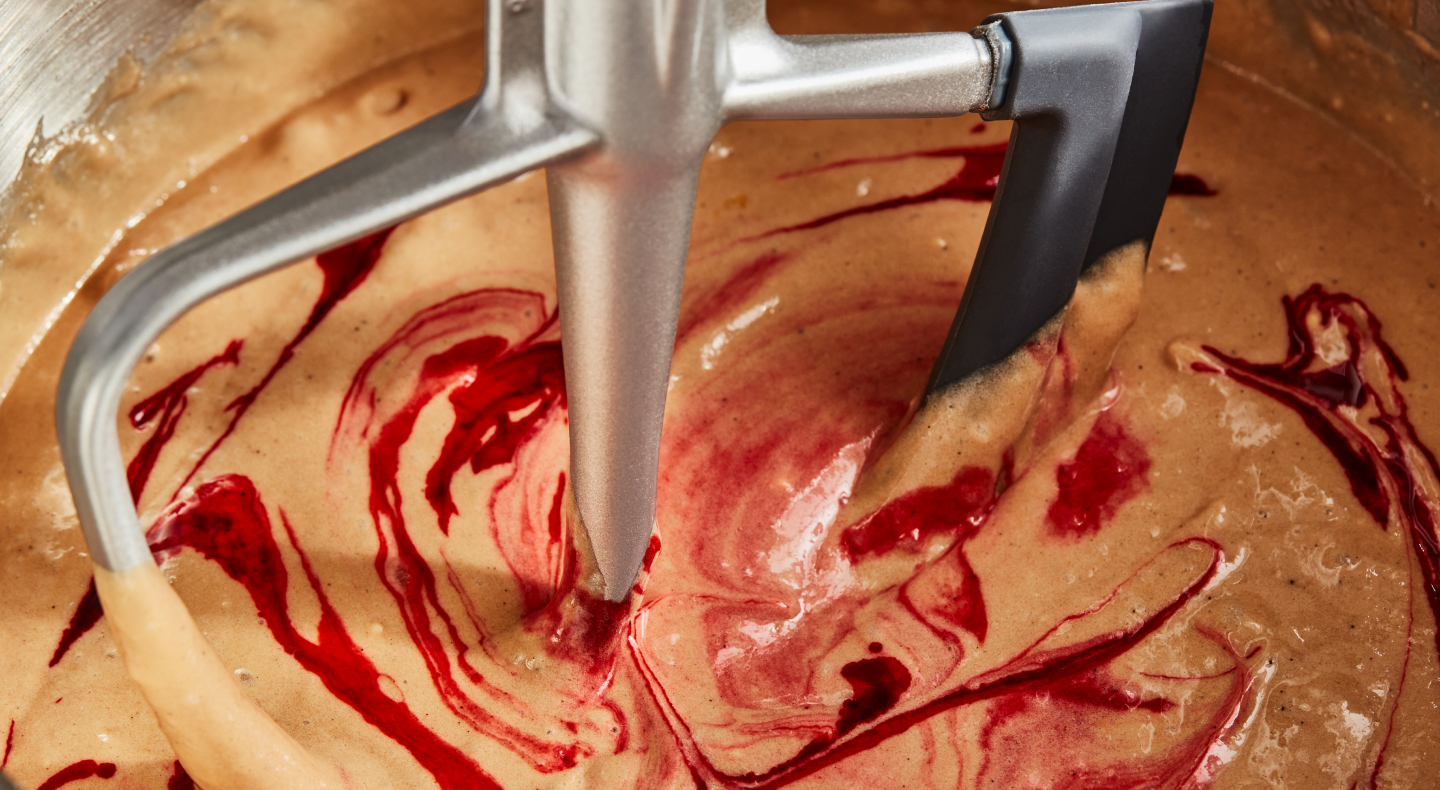
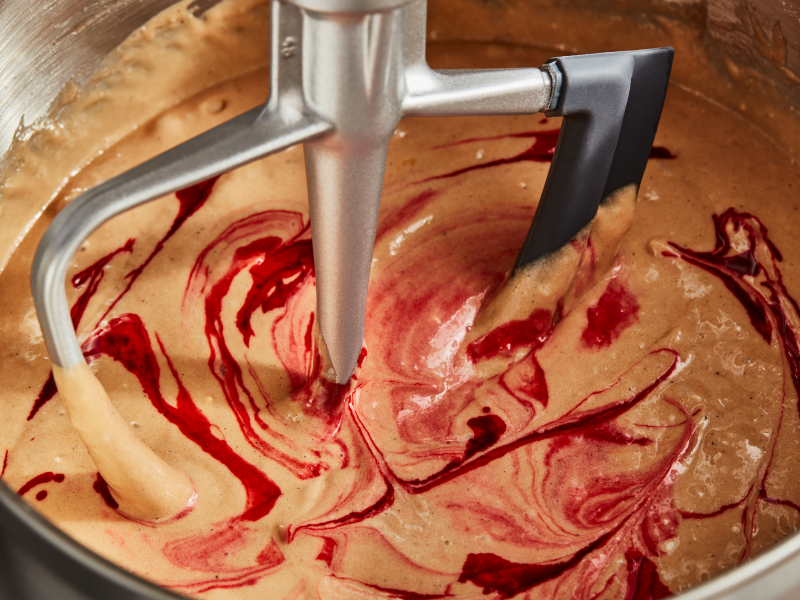
Every stand mixer comes with a mixing bowl, dough hook, wire whip and flat or flex edge beater. You’ll likely need all of these, other than the dough hook, for making cakes. Expand your baking horizons with additional accessories* like the elliptical whip, Flex Edge Beater, Sifter + Scale attachment and Ice Cream Maker Attachment. Learn more in this stand mixer attachment guide.
*Sold separately.
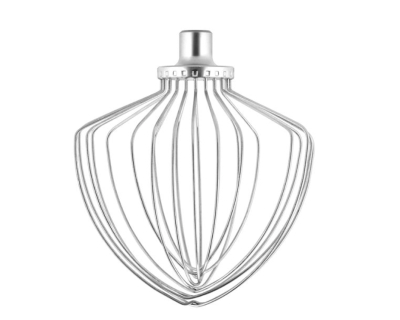
Whisks are used to aerate ingredients and make them light and fluffy, like meringue, mousse and whipped cream. Your stand mixer will come with a standard whisk, but you can also upgrade. The KitchenAid® 11-Wire Elliptical Whisk available for select models, for example, is shaped to maximize bowl coverage and allow ultimate aeration.
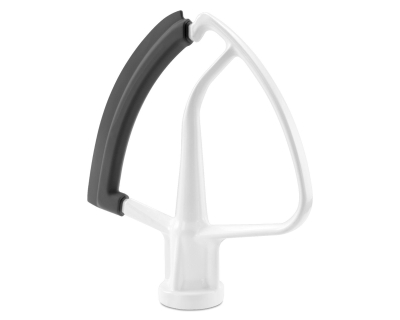
Beaters. A flat beater is also standard and comes with your stand mixer. It is a pro at mixing and beating butter and sugar together. The KitchenAid® Tilt-Head Flex Edge Beater is a great option for cake-bakers since it’s equipped with a soft rubber edge that scrapes ingredients down the side of the bowl.
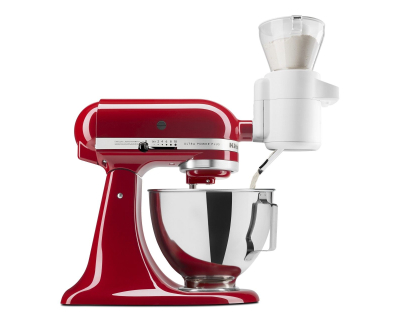
KitchenAid® Sifter + Scale Attachment. This all-in-one baking tool accurately measures, thoroughly sifts and automatically adds ingredients directly to your mixer bowl in just one step.
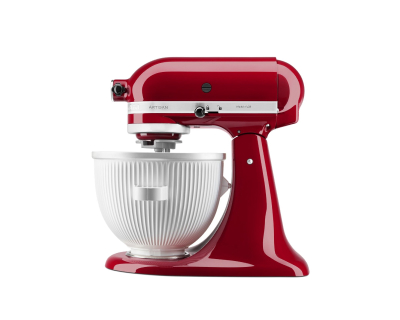
KitchenAid® Ice Cream Maker Attachment. Ice cream and cake are better together. Make up to 2 quarts of your favorite frozen treats at home by simply attaching this ice cream maker to the base of your stand mixer.*
*Sold separately
Tips For Making Cakes With a Stand Mixer
Keep these tips in mind when working with different stand mixer cake recipes.
Bring ingredients to room temperature
Before you begin your baking sesion, make sure all your ingredients are at room temperature, including flour, milk, eggs and butter. This helps them emulsify and incorporate air more easily, which results in fluffy cakes.
Start slow
When you’re mixing your cake’s ingredients for the first time, start slowly and up the speed over time. If you turn it immediately to High, flour will fly all over the counter.
Adjust icing as needed
Icing is an important part of how many cakes come together. And consistency is key. Frosting should be a firm, yet smooth and spreadable. If too soft, stir in extra powdered sugar in small increments. If too firm, stir in more milk 1 tablespoon at a time until soft.
Explore KitchenAid® Stand Mixers, Attachments and Accessories
No matter how big your cake-baking dreams are, KitchenAid brand is here to help you make them a reality. If you don’t have a stand mixer already, or would like to upgrade, browse all the available KitchenAid® stand mixer models. Then expand your culinary imagination with accessories and attachments designed to take your making to new heights.