
How to use a pizza stone in your oven
If you’re looking forward to creating an authentic, oven-baked pizza recipe at home, one of the best tools to help you do it is a pizza stone or baking stone.
A baking stone is a single oven accessory that allows you to cook restaurant-style pizzas with crispy crusts at home. The KitchenAid® Smart Oven+ Baking Stone Attachment is a glazed ceramic surface that integrates with your oven to provide even heat for baking pizzas, breads, pastries and more. With its large size and ability to quickly preheat, a baking stone can help expand your recipe repertoire and hone your cooking techniques.
If you’re excited to learn how to use a pizza stone or baking stone, follow the steps below to get started.
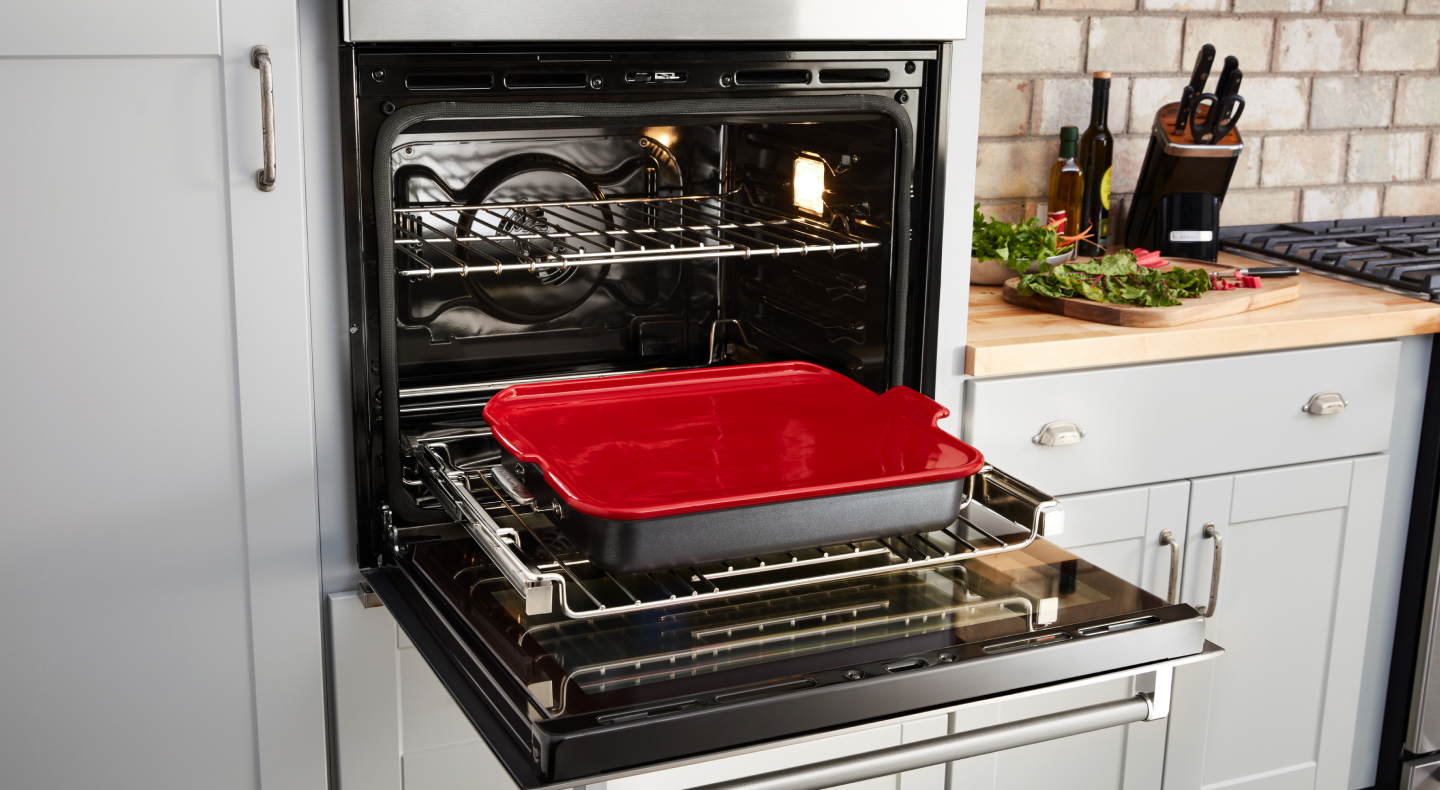
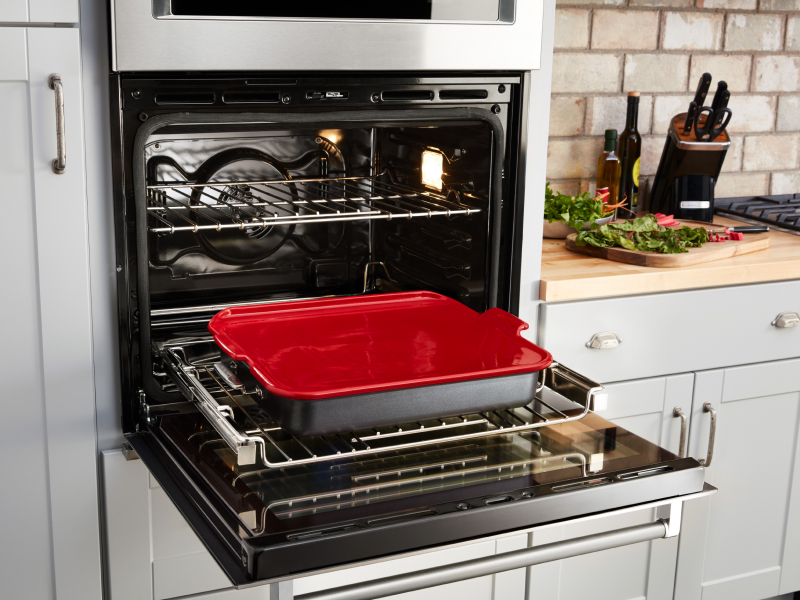
How to bake pizza with a pizza stone
Understanding how to cook pizza on a pizza stone is the first step to making crispy, authentic recipes at home. With the help of a KitchenAid® Pizza Baking Stone and the KitchenAid® Smart Oven+ Baking Stone Attachment you will be on your way to new culinary creations and to making restaurant-style pizza.
What you'll need
KitchenAid® Smart Oven+ Baking Stone Attachment or Pizza Baking Stone
Pizza dough with toppings ready to be baked
Pizza peel, to assist with placing pizza on top of baking stone
If you don’t have a pizza peel, use a rimless cookie sheet and parchment paper to transfer dough onto pizza stone
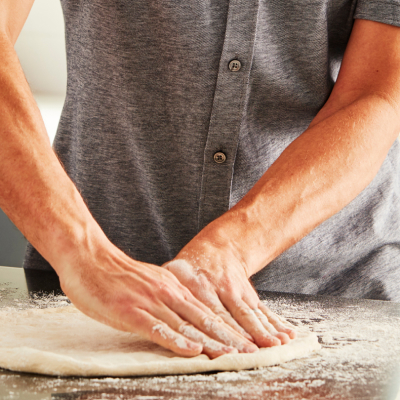
Step 1: Prepare your pizza
If using the KitchenAid® Smart Oven+ Baking Stone Attachment, roll out your dough on parchment paper cut to fit the baking stone surface. The parchment paper will prevent food from sticking to the attachment and will allow for easy clean up.
If using the Pizza Stone, your pizza is not likely to stick during baking because, unlike a metal sheet pan, the porous surface of a pizza stone allows for steam to evaporate more efficiently and helps to create a crispy crust.
Add your sauce, toppings and cheese, then set aside.
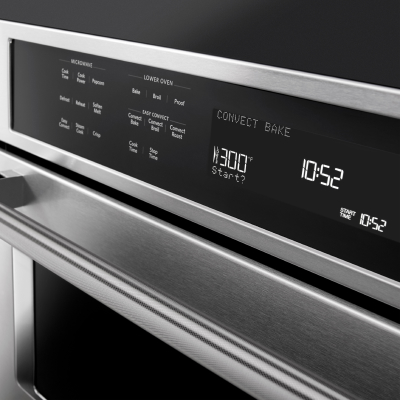
Step 2: Put pizza stone in oven and preheat
Place the pizza baking stone into a cold oven and then preheat the oven to 500°F, or whichever temperature your recipe requires. The pizza stone will heat up as the oven preheats. If using the KitchenAid® Smart Oven+ Baking Stone Attachment, start by pulling the roll out rack into the lowest rack position and place the base pan and heating element on the roll out rack. For best results, do not place the rack under the broiler. Then, push the base pan in to lock into place.
Put the baking stone on to the heating element and push the roll out rack fully into the oven. You’ll hear a tone and see an icon pop up on the display.
Preheat the Baking Stone Attachment before placing food on it. Preheat time may vary depending on the oven temperature called for in your recipe.
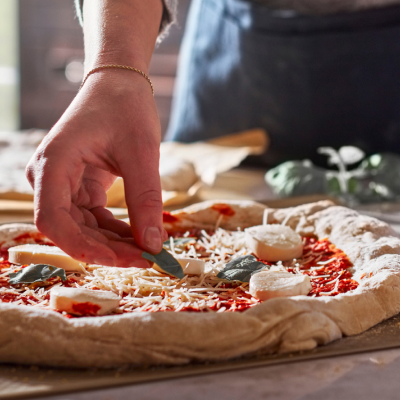
Step 3: Place pizza on stone
Once the oven and the baking or pizza stone are fully heated, carefully use a pizza peel (or a rimless cookie sheet with parchment paper) to transfer the dough directly onto the pizza stone or move the pizza on your pre-cut piece of parchment paper to the baking stone attachment.
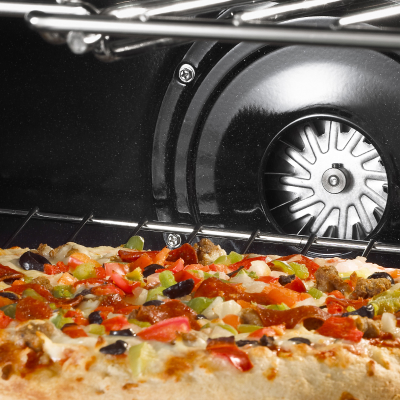
Step 4: Bake
Refer to your recipe’s instructions for bake time. A good rule of thumb for pizza stones is to bake until the cheese on top becomes golden brown.
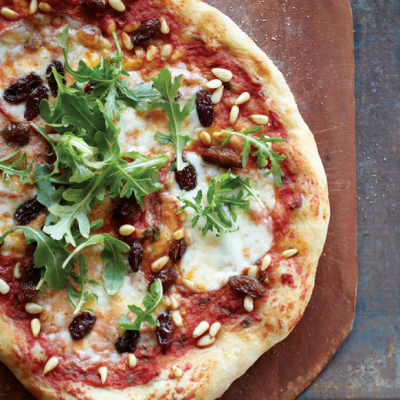
Step 5: Cool, brush and store
Allow your oven and pizza or baking stone to cool fully before removing the pizza. Then, brush off any crumbs or food bits as necessary and store the baking or pizza stone in the oven for future use. Avoid rinsing a hot pizza stone in cool water to prevent thermal shock that could cause it to crack.
Unlike a porous pizza stone, the Baking Stone Attachment can be washed with soap and water.
How to take care of a pizza or baking stone
Caring for a pizza stone only requires brushing off the surface of dried crumbs or food particles after baking. There is no water, soap or scrubbing required. Wait until your oven and pizza stone have completely cooled, then carefully take the pizza stone out of the oven. The pizza stone is heavy, so be careful lifting it and brushing off excess food particles over your sink. Then return it to storage in your oven or kitchen cabinet.
Keep in mind that over time your pizza stone will likely develop some blotches of discoloration–this is a result of normal usage and you don’t need to clean it.
To best care for the KitchenAid® Smart Oven+ Baking Stone Attachment, let it cool before cleaning. You can hand wash it with soap, water and a soft cloth or sponge. Use baking soda to clean up stubborn messes and a scraper to remove baked-on foods.
Do you have to season a pizza stone?
It is not necessary to season a pizza stone. The purpose of a pizza stone is to provide an evenly heated, flat, porous surface that creates an ideal baking environment for crispy crusts of any kind, from pizzas and breads to pastries and tortillas. Because it’s a different process for cooking food than sauteing on a cast iron skillet, you don’t need to add oil to your pizza stone.
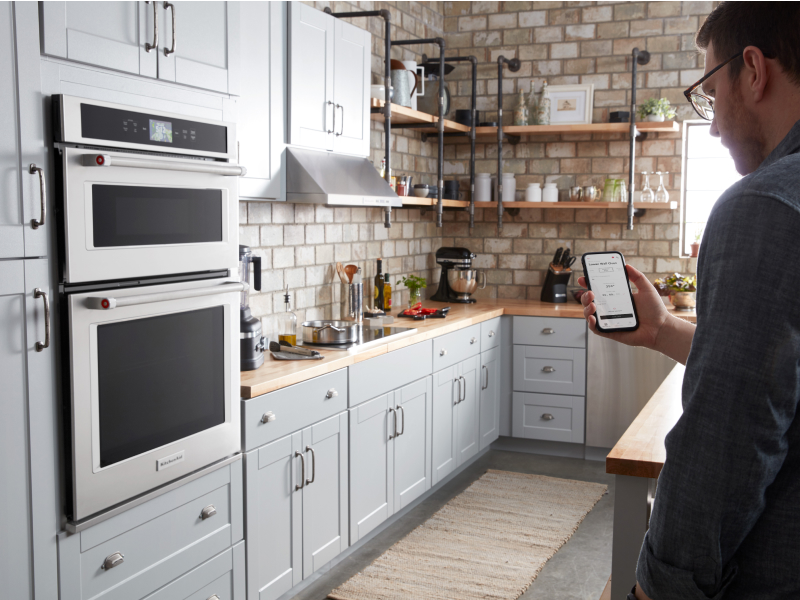
Baking stone vs. pizza stone: What's the difference?
There is no significant difference between a baking stone and a pizza stone in terms of purpose or usage. The major differences are in material and shape–pizza stones tend to be circular and made from a porous material while the KitchenAid® Smart Oven+ Baking Stone Attachment is rectangular in shape and has a smooth, glazed, ceramic non-stick surface. You can most certainly use a baking stone to create a pizza, and you can also use a traditional circular pizza stone for baking pita bread, quesadillas, crackers, English muffins and more.
Discover ways to bake with pizza stones & baking stones
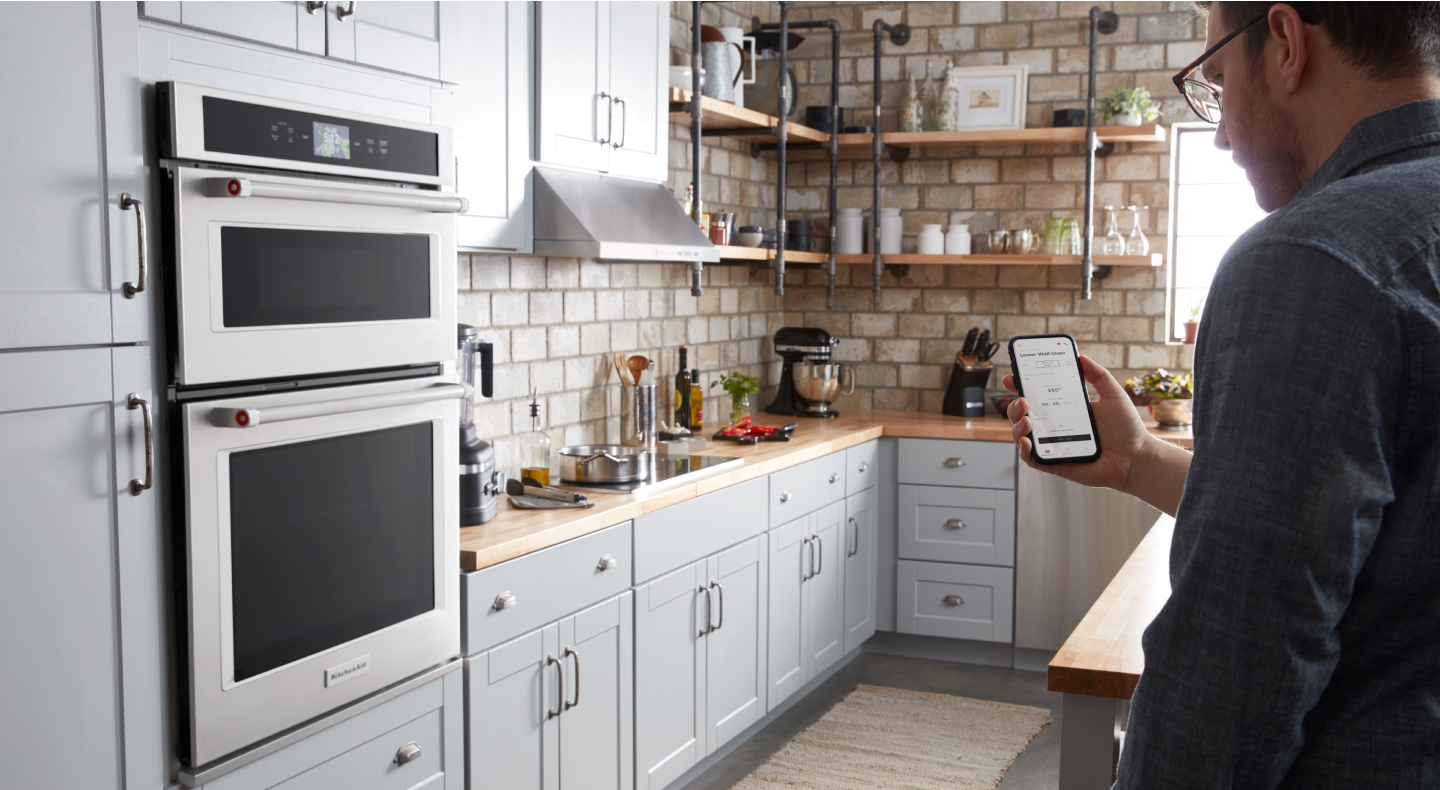
The best way to use a pizza stone or baking stone is to experiment with recipes that feature crispy, baked crusts and savory or sweet flavors. With the “Stone Bake Mode” option on a select KitchenAid® Smart Oven+, you can use the Baking Stone Attachment to create these delicious recipes listed below. You can use the Baking Stone Attachment in place of a traditional baking pan or loaf pan to create baked goods with crispy crusts.

Empanadas
With crisp exteriors and a spicy, beef filling, these empanadas are an ideal recipe for a pizza stone or baking stone.

Beet burgers
If you’re in search of a delicious vegetarian alternative to the traditional hamburger patty, try baking these beet burgers.
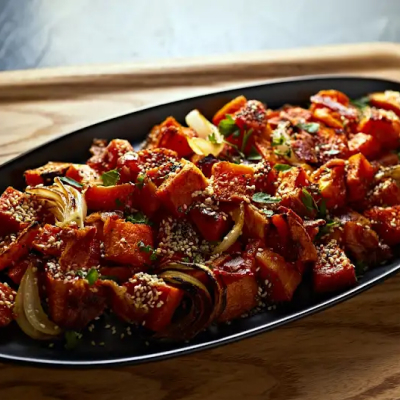
Sesame and chia roasted butternut squash
With only 9 ingredients, this sesame and chia roasted butternut squash recipe is ideal as an appetizer or main dish.
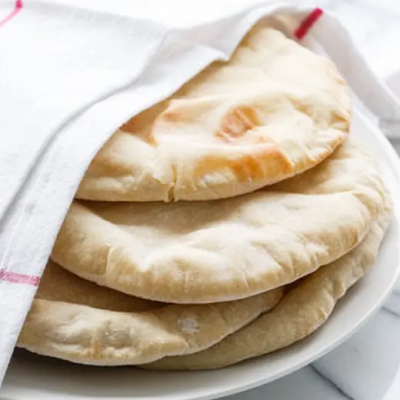
Pita bread
Use a pizza stone or baking stone to get delicious results with this traditional pita bread recipe.
Explore KitchenAid® ovens and attachments for more baking possibilities
Select ovens and ranges from KitchenAid brand, like the Smart Oven+ with Powered Attachments can help you expand your culinary skills to grill, bake and steam with one appliance. The KitchenAid® Pizza Baking Stone Accessory delivers crisp, restaurant-style breads, pizzas, pastries and more.