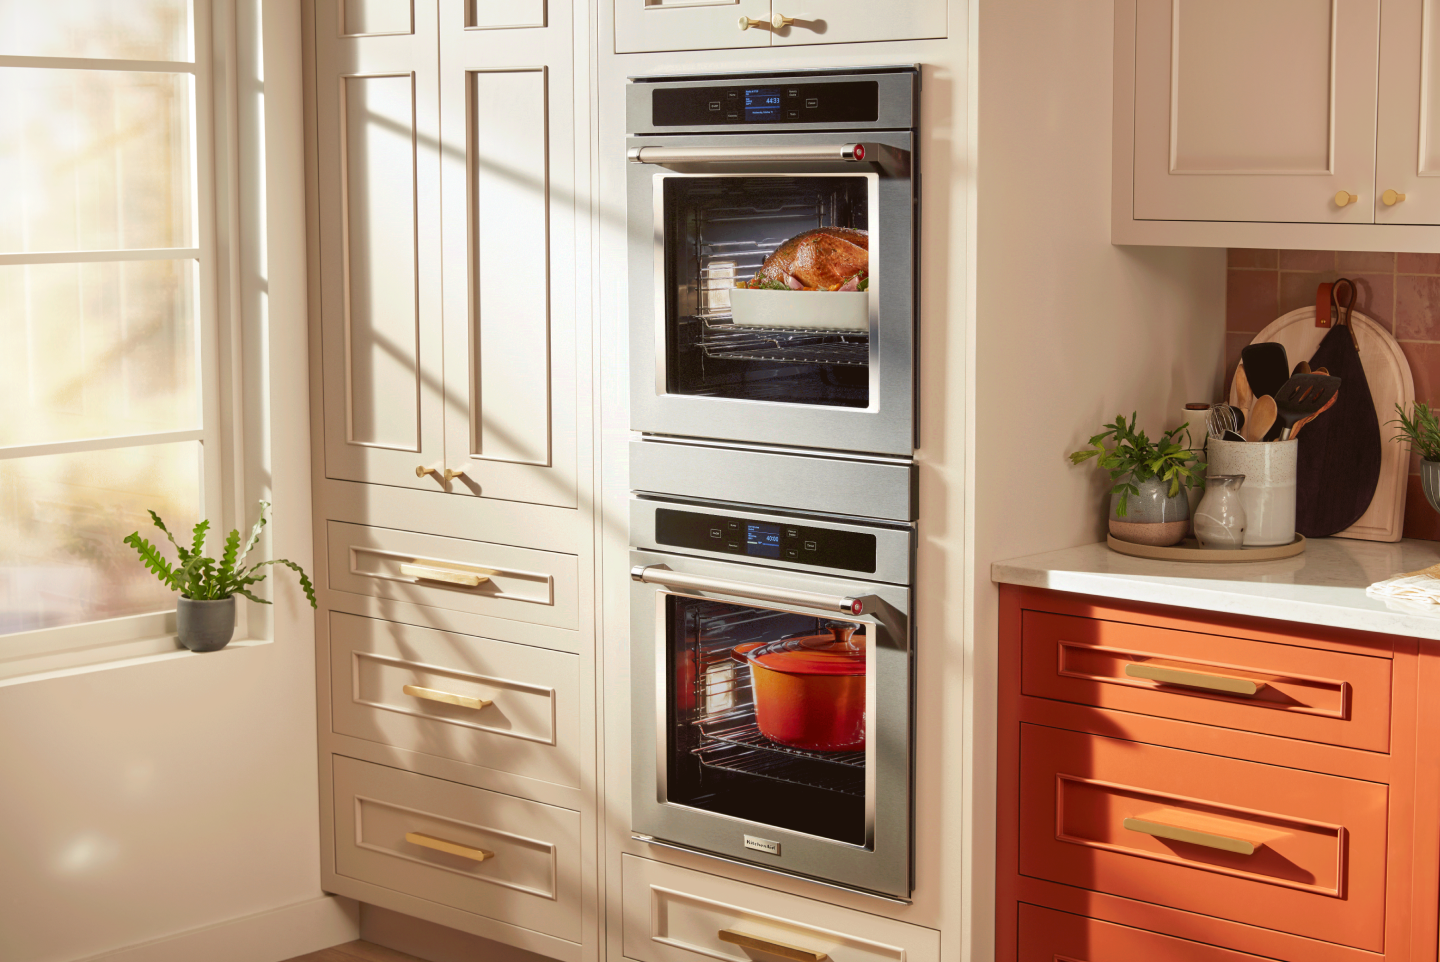
How to baste a turkey
Turkey may be a traditional holiday delicacy, but it’s always a beautiful dinner table centerpiece, regardless of the season or occasion. If you want to bring out the best flavors while keeping the meat tender and juicy, basting a turkey is the way to go.
Basting is a culinary technique that moistens the surface of your turkey with a variety of savory hot liquids, including butter, stock or drippings from the turkey’s own juices during cooking. Basting opens the door to a world of flavors, especially once you include your favorite herbs and spices. Read on for a turkey basting recipe, and learn how to baste a turkey, what to baste a turkey with and how often you should baste your next bird.
What to baste a turkey with
You can baste your turkey with several tools including a basting brush, ladle and of course, a turkey baster. Each tool provides a different application technique for your basting liquids, whether you want to concentrate on specific areas of the turkey or distribute it across a broader area.
When deciding between various basting liquids, consider flavor enhancers like a blend of herbs or citrus options, especially if you have a Citrus Juicer Attachment1 for your KitchenAid® stand mixer. Options like lemon juice, garlic, broth, olive oil, thyme and parsley all make flavorful and savory enhancements to your turkey.
1. Sold separately.
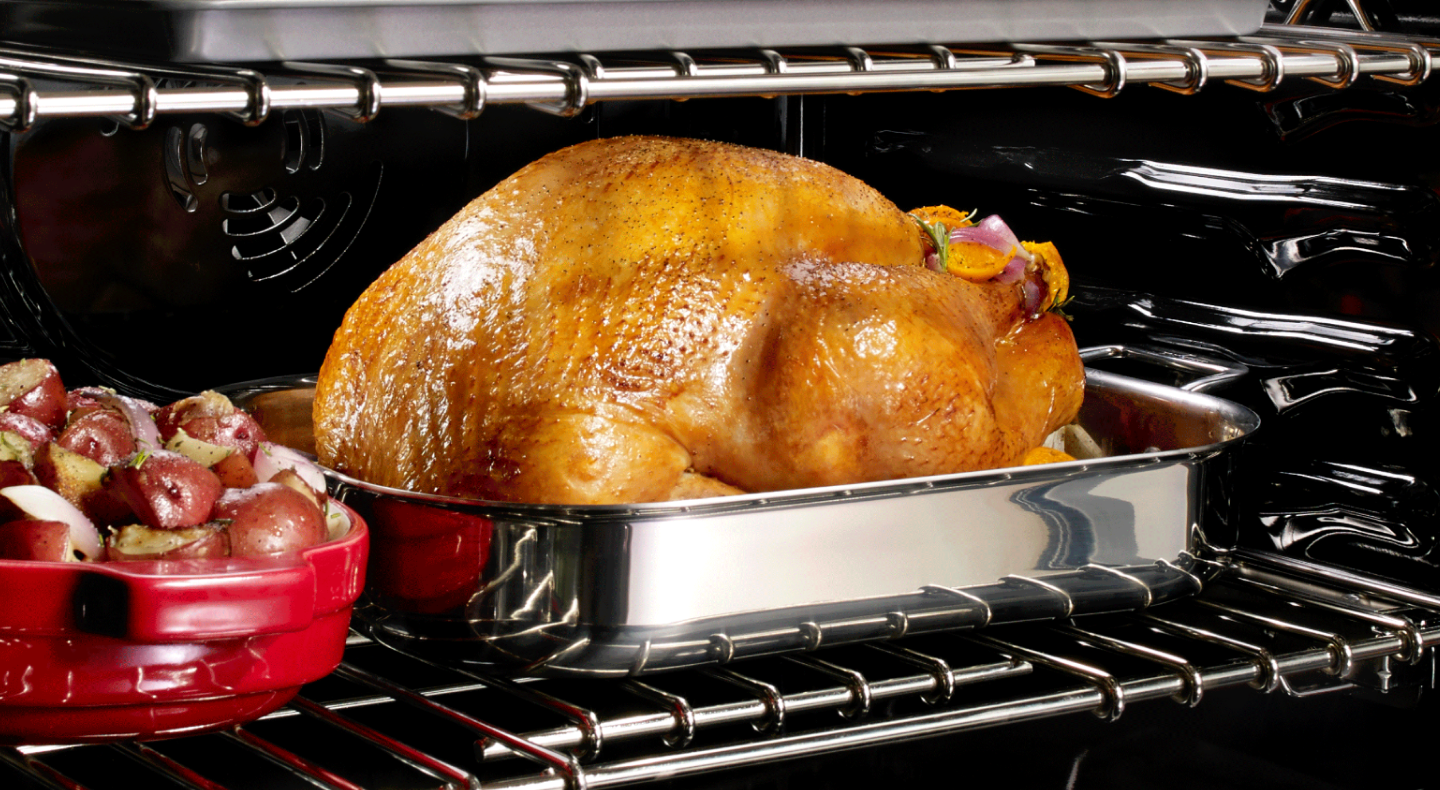
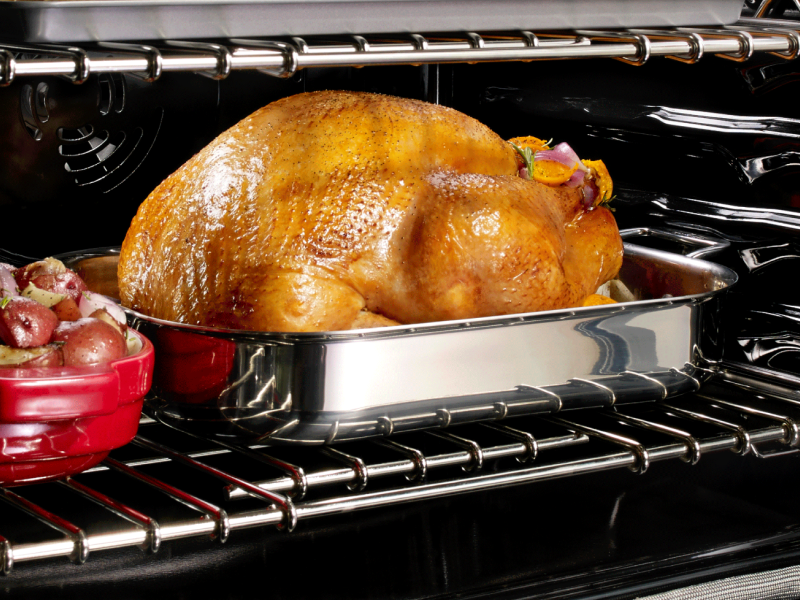
How to baste a turkey: Step-by-step instructions
Once you start basting your turkey, you’ll never have it any other way. This guide is meant to serve as a simple basting recipe that you can elevate and experiment with using an array of aromatic spices and savory herbs.
Ingredients
Turkey
Kosher salt
Ground black pepper
Olive oil
Tools
Roasting rack set
Turkey baster

Step 1: Preheat and prep
Preheat your oven to 400°F. Dry the skin of your thawed turkey with paper towels before seasoning it with salt and black pepper. Place it on a large roasting rack, breast side up, and put the rack in the oven.
Step 2: Prep your basting oil
While your turkey begins roasting, pour olive oil in a small bowl.
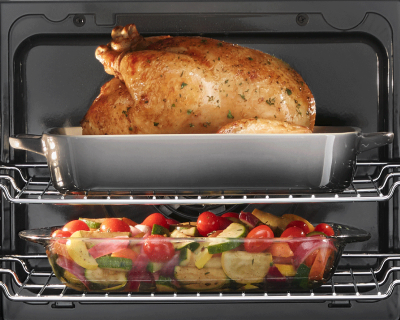
Step 3: Baste
Remove your turkey from the oven and close the oven door so heat doesn’t escape. With your baster, pull the olive oil from the bowl into the syringe by squeezing and releasing the bulb. Baste by gently squeezing the bulb of the baster, so that the olive oil drips all over the bird, spilling over the largest part of the turkey and getting into tighter areas, including the breasts, wings and drumsticks. Feel free to baste using the juices in the bottom of the roasting pan. Do this every hour as the turkey cooks.
How to baste a turkey without a turkey baster
If you don’t have a turkey baster, you can use a spoon or ladle, but be extra careful of hot, dripping juices. There are also basting or silicone brushes that you can use for lighter, even applications.
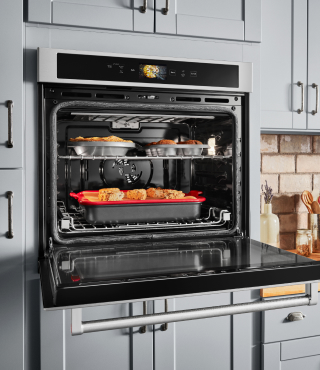
What type of wall oven is right for you?

What ovens are best for cooking vs. baking?
Delicious turkey basting recipe
This recipe is a delicious way to baste a turkey with butter. The combination of delicious flavors, juicy meat and crispy skin results in a savory golden-brown turkey that everyone will enjoy.
What you'll need
Chicken broth
Lemon juice
Garlic
Dried thyme
Dried sage
Dried parsley leaves
Tools
Saucepan
Basting brush
Heat-safe bowl
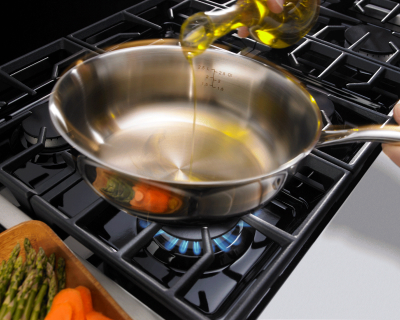
Step 1: Prepare ingredients
Gather all your ingredients into a saucepan.
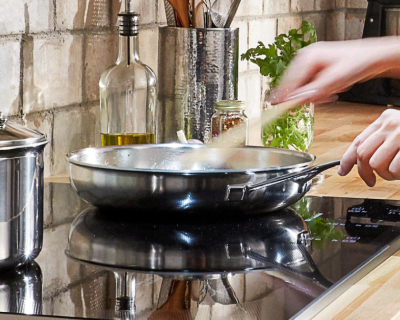
Step 2: Heat and stir
Over medium heat, stir well to combine your ingredients as the butter melts. Once your mixture has been thoroughly mixed, allow it to cool before pouring it into a heat-safe bowl.

Step 3: Baste
Use a basting brush to apply the herb butter mixture all over your turkey, including tighter areas around the wings. Baste your turkey once every hour as it bakes, until the skin is crispy and the meat is cooked through.

KitchenAid® Wall Ovens With Air Fry Mode
Get the crisp you crave
KitchenAid® wall ovens with Air Fry Mode circulate hot air around the included basket to cook with less oil.*
*When compared to deep frying.
Explore KitchenAid® wall ovens
Your oven is often at the center of your most creative recipes. The KitchenAid® Smart Oven+ is a versatile appliance that can be customized with interchangeable attachments, making it easy to experiment with all of your delicious creations. Plus, it comes with smart capabilities, so you can control settings and make commands via an app on your phone. Once your cooking adventures are complete, cleanup can be a breeze with an essential feature like the Self-Cleaning Cycle on select KitchenAid® ovens.

KitchenAid® Hardware Accessory Kits
Curate the colors and textures that move you
From bold Black Ore to the inviting warmth of Bronze, mix and match handles and knobs to refresh your appliances and bring new energy to your kitchen
Was this article helpful? Pass it on
Discover more from KitchenAid brand
-
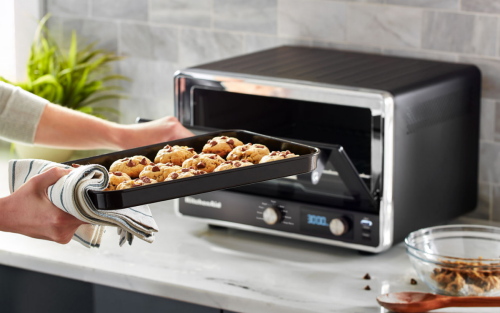 How to Use a Countertop Oven or Toaster Oven Countertop ovens are multifunctional, convenient and easy to use. Learn how to use a countertop toaster oven with this extensive guide.
 -
 What Is a Smart Oven Using a smart oven can enhance your cooking experience. Read about the features of smart ovens and how they can help elevate your recipes.
 -
 Self-Cleaning vs. Steam-Cleaning Oven: Which Is Right for You? Learn about the differences between self-cleaning and steam-cleaning ovens. Explore the benefits of each feature and discover which oven is right for you.
