How to air fry turkey: tips and recipes
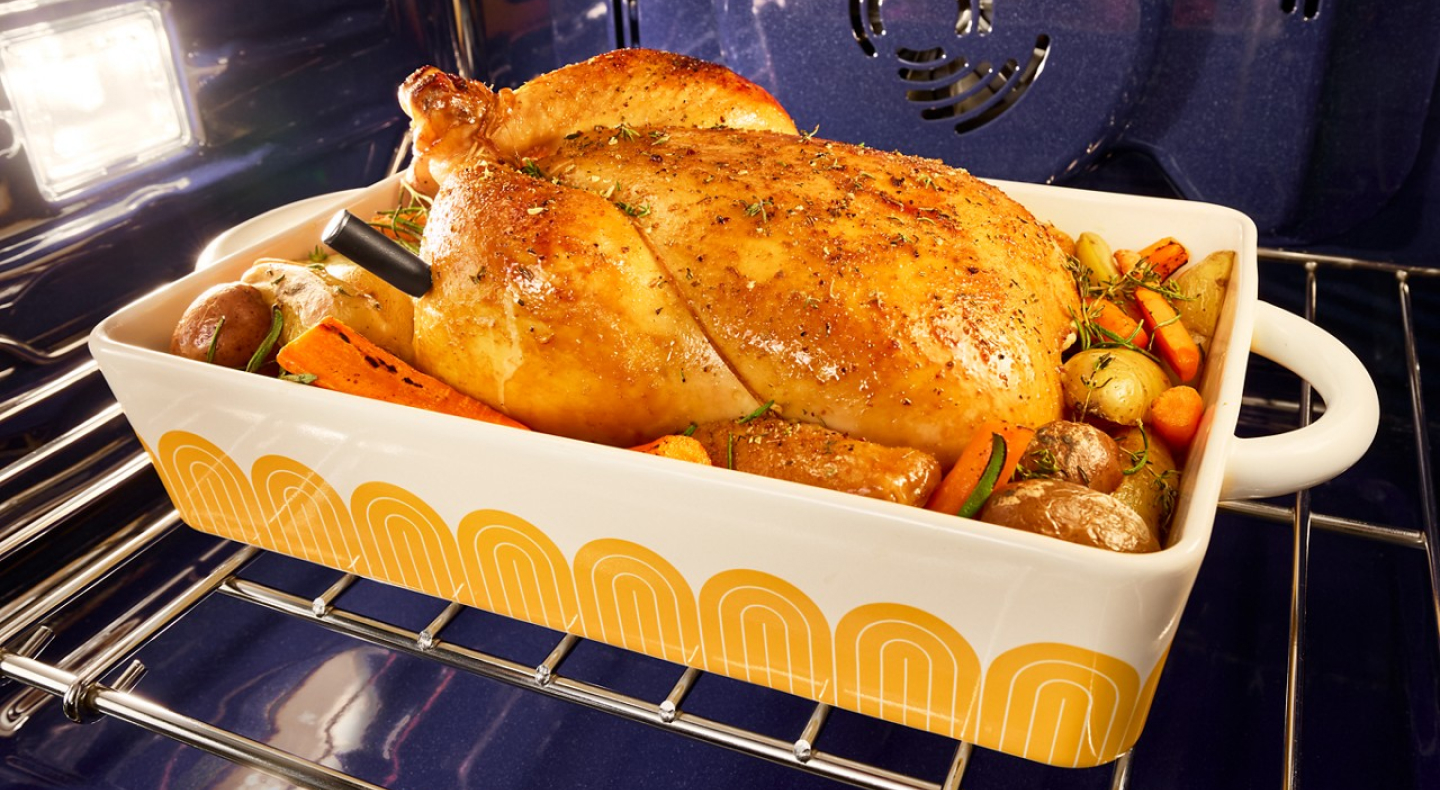
If you’re looking for a crispy, juicy turkey recipe, try using an air fryer or an oven with air fryer capabilities. Air frying can help create a crispy texture similar to deep-frying, compared to a conventional, non-convection oven which uses still air to cook food. Keep reading to learn how to use your air fryer or oven with air fry mode to cook a turkey.

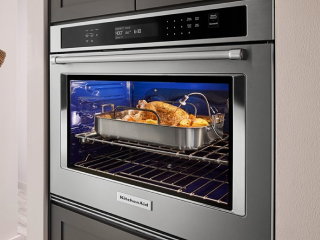
KitchenAid® Wall Ovens With Air Fry Mode
Get the crisp you crave
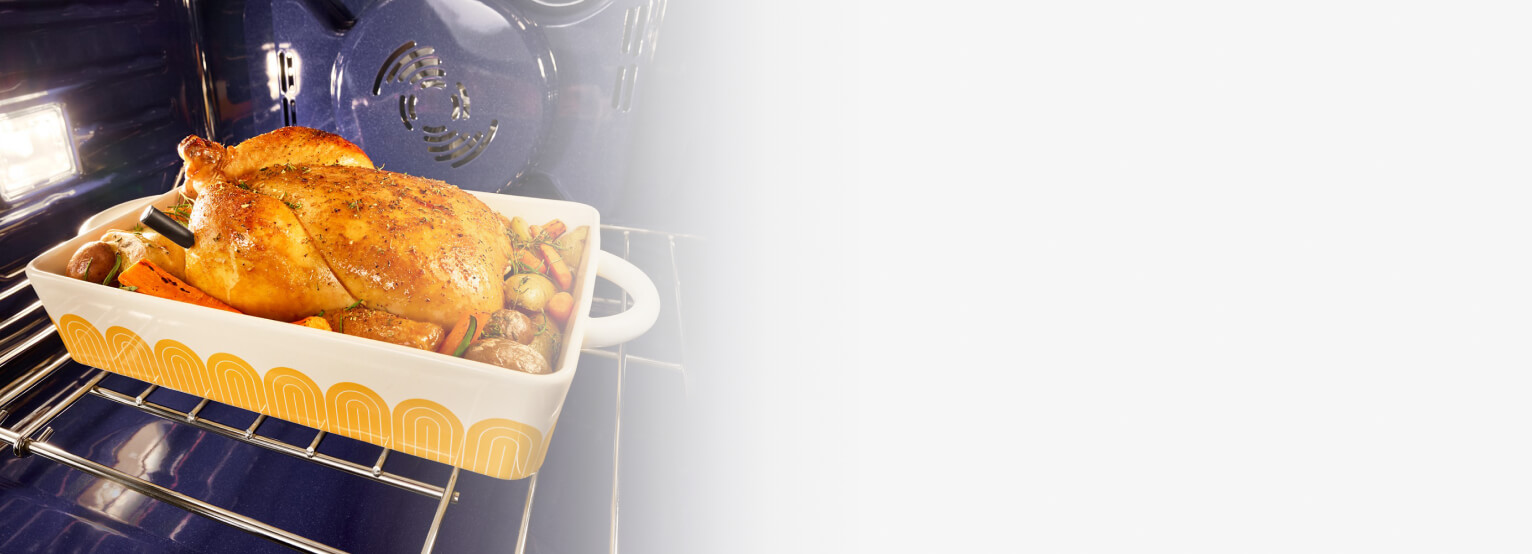
KitchenAid® wall ovens with Air Fry Mode circulate hot air around the included basket to cook with less oil.*
*When compared to deep frying.
Yields
- 10-12 servings
Ingredients
- 15-lb turkey
- 3/4 cup of softened butter (1 1/2 sticks)
- 2 tablespoons of chopped fresh thyme
- 1 tablespoon of chopped fresh sage
- 1 tablespoon of chopped fresh rosemary
- Salt and pepper
Tools
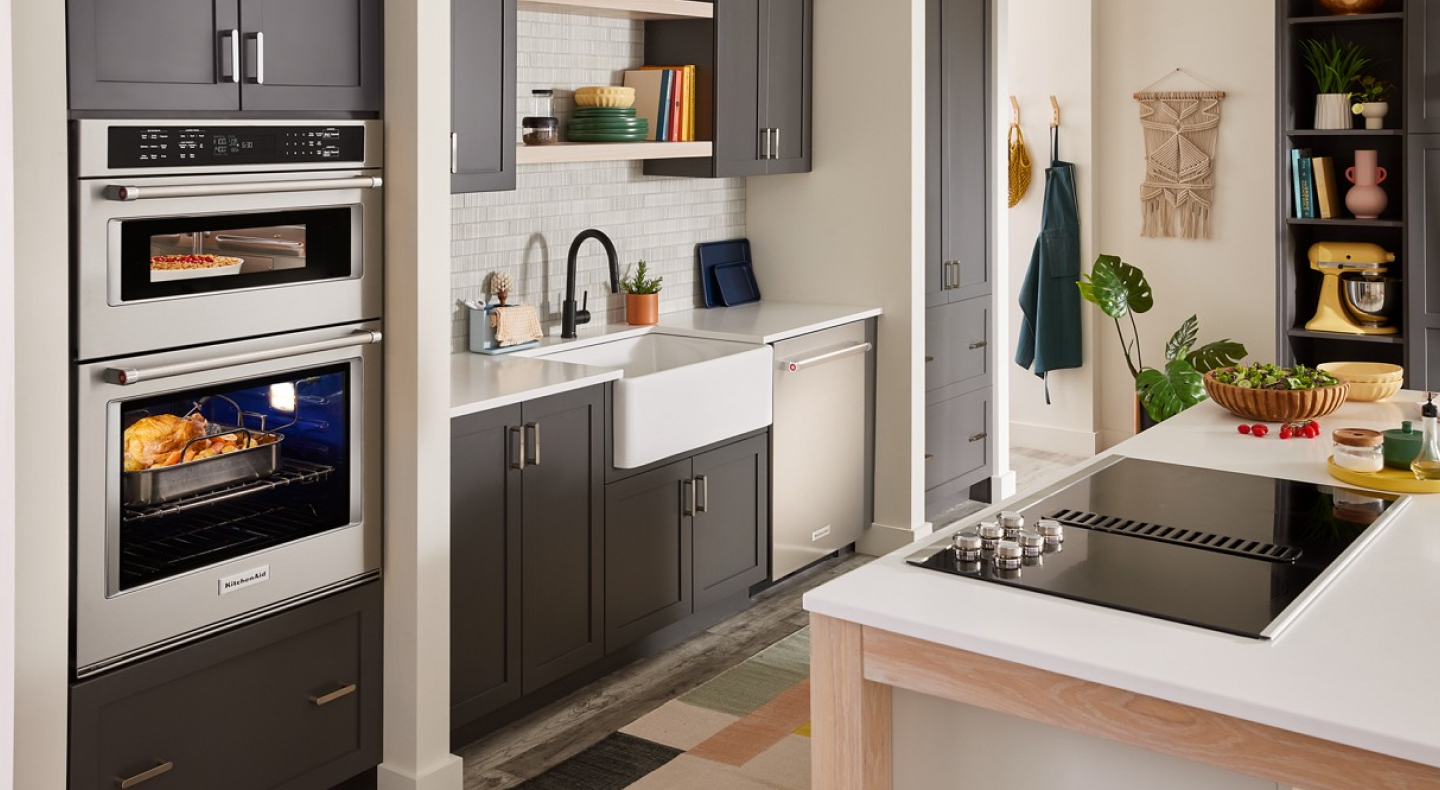
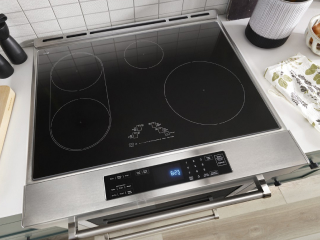
- A wall oven or range with air frying capabilities, like this KitchenAid® Induction Slide-In Convection Range with Air Fry
- Air fry basket
- Baking sheet or pan
Prep time
- 20 minutes (use a defrosted turkey). See step one for instructions on how to properly defrost a turkey.
Cook time
- Up to two hours and 30 minutes
Total time
- About two hours and 50 minutes
1. Thaw the turkey
You’ll want to start the process a few days beforehand and thaw your turkey according to instructions on the packaging. The USDA recommends thawing the turkey in your refrigerator, allowing one day for each four to five pounds of meat.
If you have already thawed your turkey or are using a fresh turkey, continue on to step two. Be sure to also remove the neck and giblets before adding ingredients.
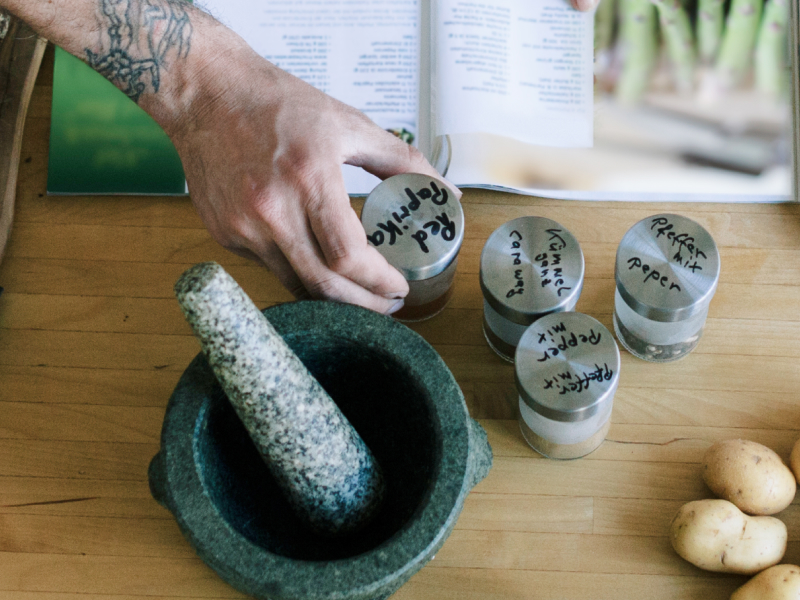
2. Add butter, herbs, salt and pepper
Combine your softened butter, herbs, salt and pepper in a bowl. Then, carefully loosen the skin away from the turkey breast and legs. Once loosened, add about 2/3 of the butter under the skin and use the remainder on the outside of the turkey, along with additional salt and pepper.
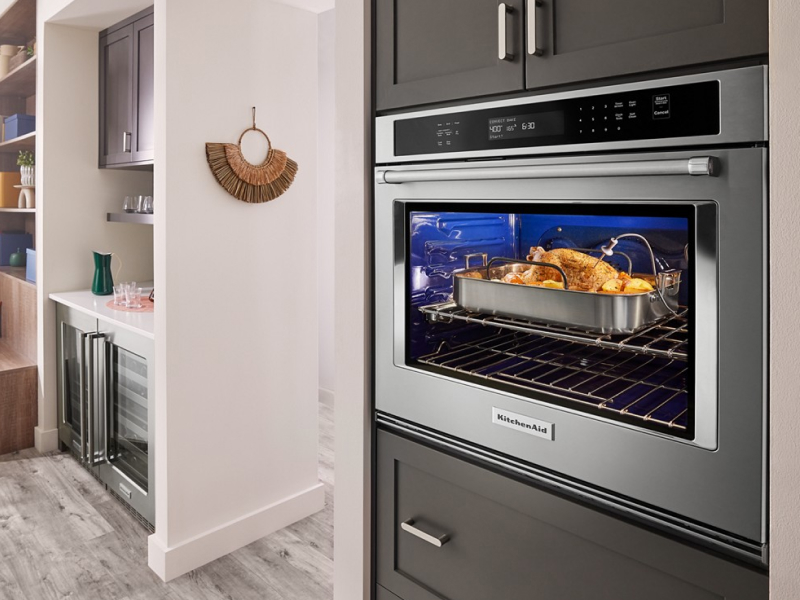
3. Preheat oven with Air Fry Mode to 400°F
Preheat your oven with Air Fry Mode to 400°F. Select models, like this one from KitchenAid brand, do not require preheating. Check your product’s owner manual for specific instructions.
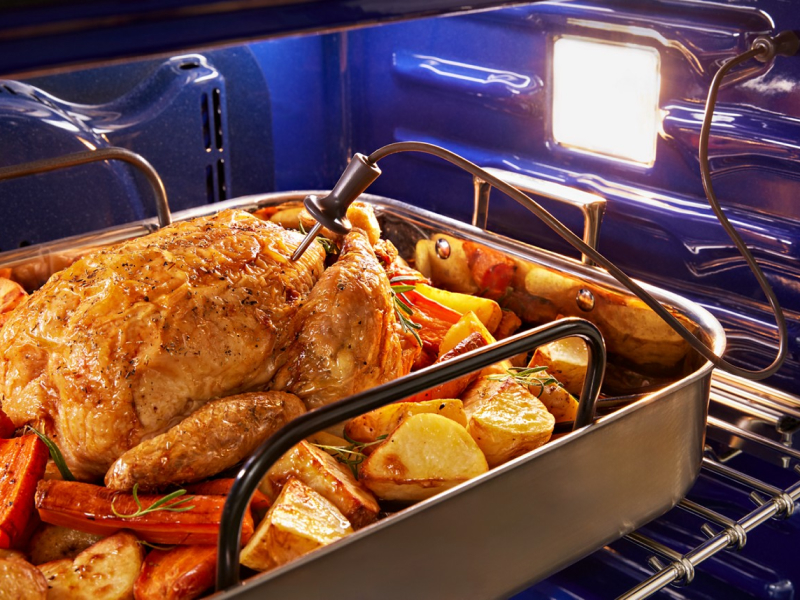
4. Fry the turkey
Insert your turkey into the air fry basket or a pan with low sides to help promote air flow around the food while it cooks. Place the basket or pan into the oven, with a sheet pan below to catch any juices or drippings. Then, fry your turkey for about eight to ten minutes per pound.
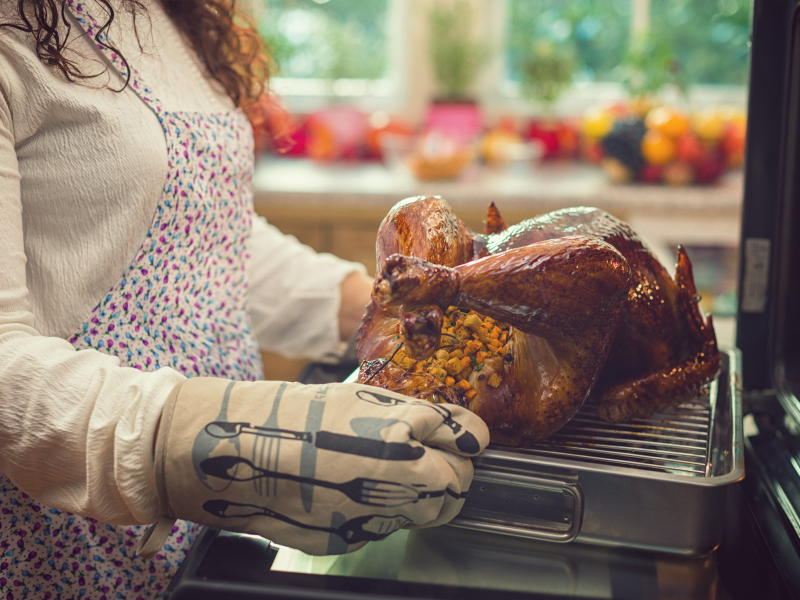
5. Let turkey rest
Once your turkey’s internal temperature reaches 165°F, remove the turkey from the heat and let it sit for 10-15 minutes before carving to help seal in the juices.
Use the right appliance
Full-size turkeys require more space, such as an oven with air frying capabilities, while turkey breasts may be cooked in a countertop air fryer or a microwave with air fryer capabilities, depending on the size.
Defrost your turkey
For optimal results, do not place a frozen turkey in your oven or air fryer, as it may take longer to cook. Your turkey should be defrosted ahead of time. Follow the instructions listed above for defrosting your turkey properly.
Add flavor
Try basting or brining your turkey to add extra flavor and moisture. Basting moistens the skin of your turkey with various hot liquids, such as butter and stock. Dry brining involves rubbing salt and other seasonings directly onto your turkey and letting it sit in the refrigerator, usually for a couple of hours. Wet brining is a similar process using salted water.
Learn about different types of wall ovens
Looking for your next range?

KitchenAid® Hardware Accessory Kits
Curate the colors and textures that move you
From bold Black Ore to the inviting warmth of Bronze, mix and match handles and knobs to refresh your appliances and bring new energy to your kitchen
