
HOW TO ADJUST YOUR KITCHENAID® STAND MIXER
Adjusting your stand mixer correctly is key to achieving ideal results for all your recipes. Whether you are creating a silky mousse, making a savory homemade quiche or experimenting with different variations of a classic mashed potato dish, ensuring the right bowl-to-beater clearance will make all the difference in the quality of your finished product.
Before beginning any recipe, learn how to properly adjust your stand mixer bowl-to-beater ratio to achieve the ideal mixture, texture and consistency for your favorite recipes.
WHY SHOULD I ADJUST MY STAND MIXER?
Properly adjusting the stand mixer beater-to-bowl ratio is essential, as it helps ensure all ingredients are properly mixed, kneaded and whipped to create the right texture, consistency and taste. During shipping or over time, the calibration of your stand mixer can be affected. However, readjusting is easy and takes only a few moments.
HOW DO I KNOW IF MY KITCHENAID® STAND MIXER NEEDS TO BE ADJUSTED?
You may need to adjust your stand mixer if it isn’t reaching all of the ingredients in the bottom of the bowl or if your flat beater is scraping the bottom. When properly adjusted, the accessories should move freely around the bowl without scraping the bottom or hitting the sides. However, accessories should also not be too far away from the bottom of the bowl, either.
KITCHENAID® STAND MIXER ADJUSTMENT GUIDE
Adjusting the clearance between the beater and bowl of your stand mixer correctly is essential for achieving the best results and keeping your accessories in good condition. Not only can this help ensure that all ingredients are fully combined, but it also helps to ensure that the finished product will have the desired texture and consistency.
Keep in mind that the adjustment process may vary slightly depending on whether you have a tilt-head or bowl-lift stand mixer.
Learn how to properly adjust your KitchenAid® stand mixer with this guide.
TOOLS
- Flathead screwdriver
SUPPLIES
A dime
- KitchenAid® tilt-head or bowl-lift stand mixer
THE DIME TEST
To check the beater-to-bowl clearance, place a dime in the stand mixer bowl with the Flat Beater attached. Then, turn on the appliance and observe the dime. If the dime doesn’t move, the beater is too high. If the dime doesn’t move around the bowl smoothly, the beater is too low.
Follow the steps below to adjust the stand mixer to the ideal beater-to-bowl ratio. When properly adjusted, the dime should move about a quarter inch inside the mixer bowl with each pass of the beater.
TILT-HEAD STAND MIXERS
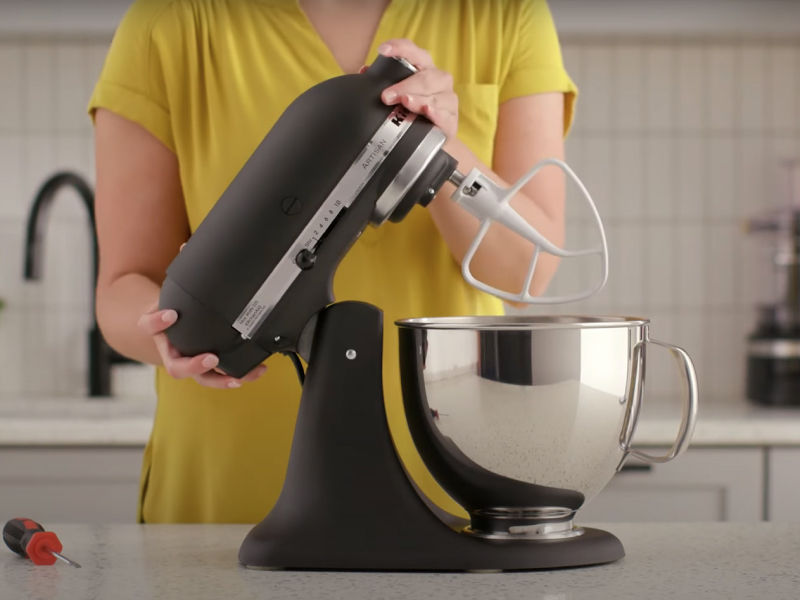
STEP 1: TILT THE MOTOR HEAD BACK
Grasp the head of the stand mixer and tilt it back gently.
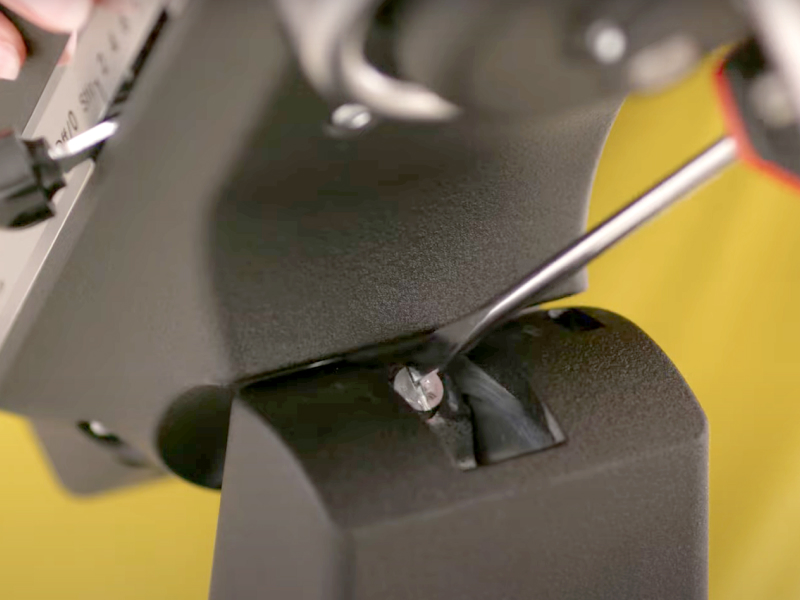
STEP 2: TURN THE SCREW
Turn the screw very slightly counterclockwise (left) to raise the accessory, or clockwise (right) to lower it.
NOTE: If you over-adjust the screw, the bowl lock lever may not lock into place.

STEP 3: TEST THE CLEARANCE
Perform the dime test again and adjust as needed, repeating the above steps as necessary.
BOWL-LIFT STAND MIXERS
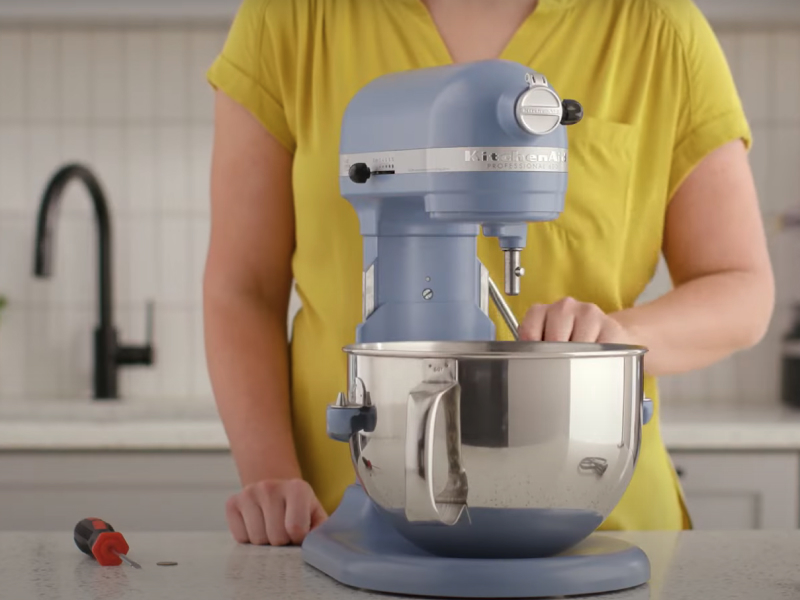
STEP 1: LOWER THE BOWL
Lower the bowl to the down position.
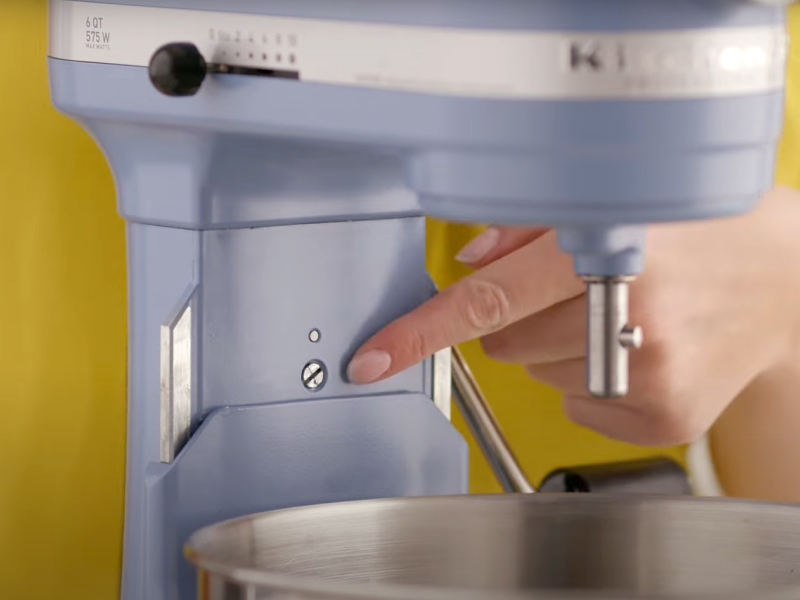
STEP 2: TURN THE SCREW
Turn the screw very slightly counterclockwise (left) to raise the beater, or clockwise (right) to lower it.
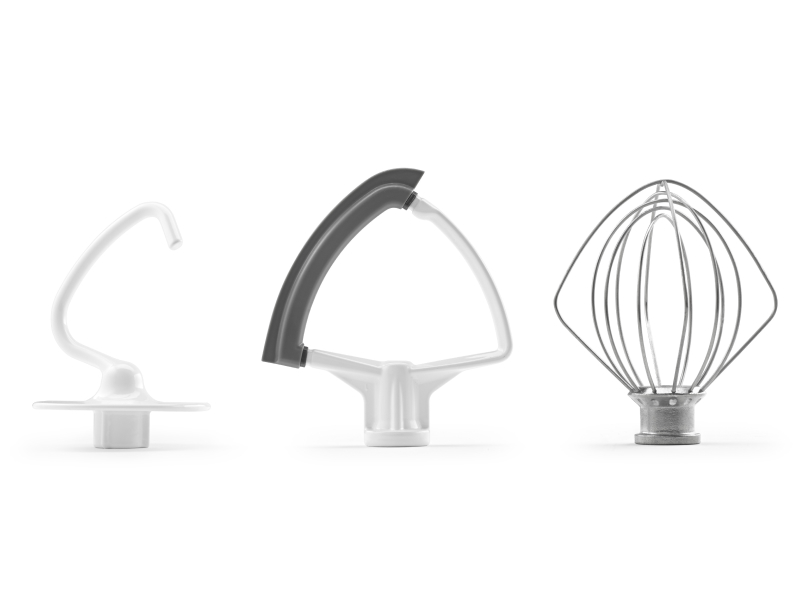
STEP 3: ADJUST THE ACCESSORY
Adjust the accessory so that it just clears the surface of the bowl. Check the clearance from the accessory to the bowl by testing each speed.

STEP 4: TEST THE CLEARANCE
Perform the dime test again and adjust as needed, repeating the above steps as necessary.
SHOP KITCHENAID® STAND MIXERS
SHOULD KITCHENAID® STAND MIXER ACCESSORIES TOUCH THE BOTTOM OF THE BOWL?
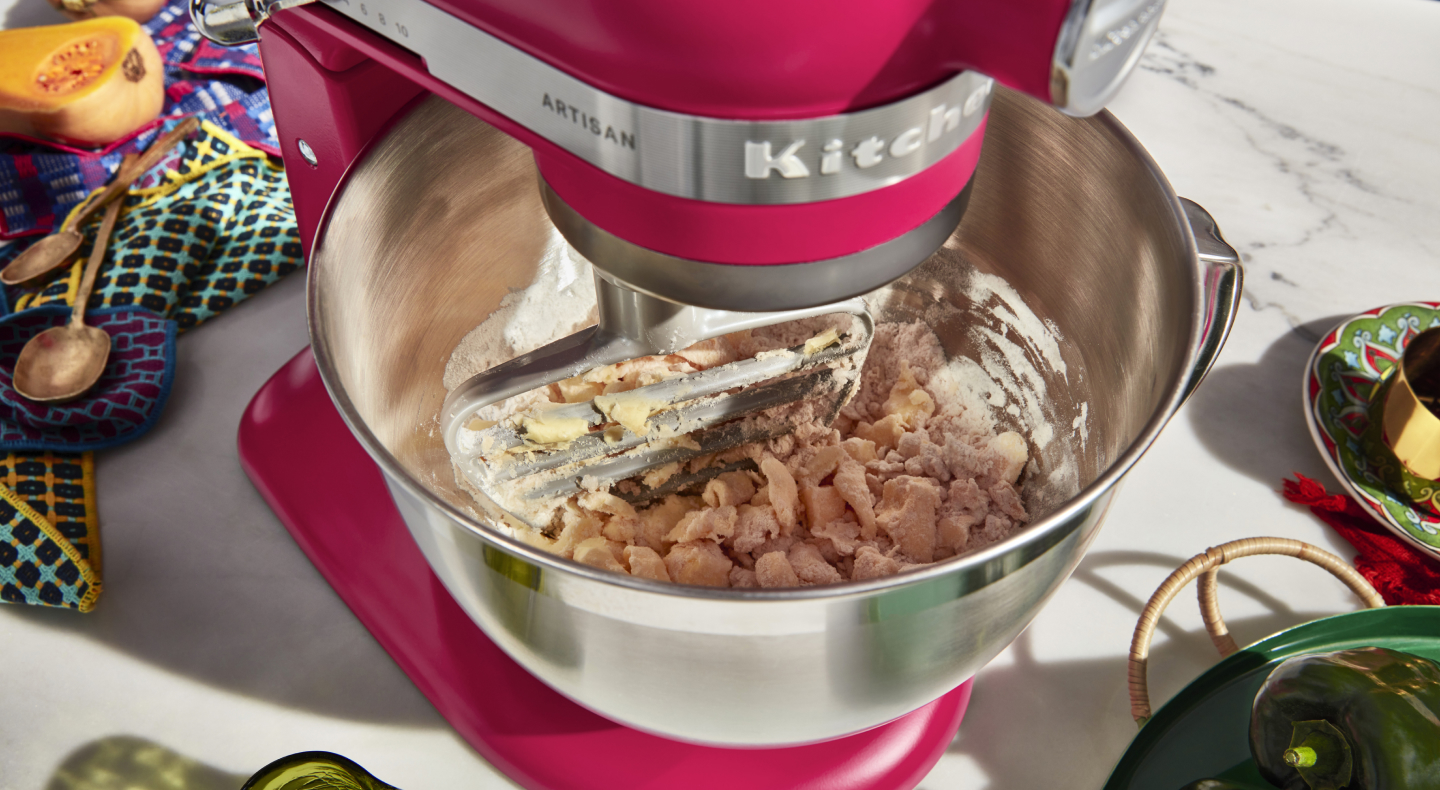
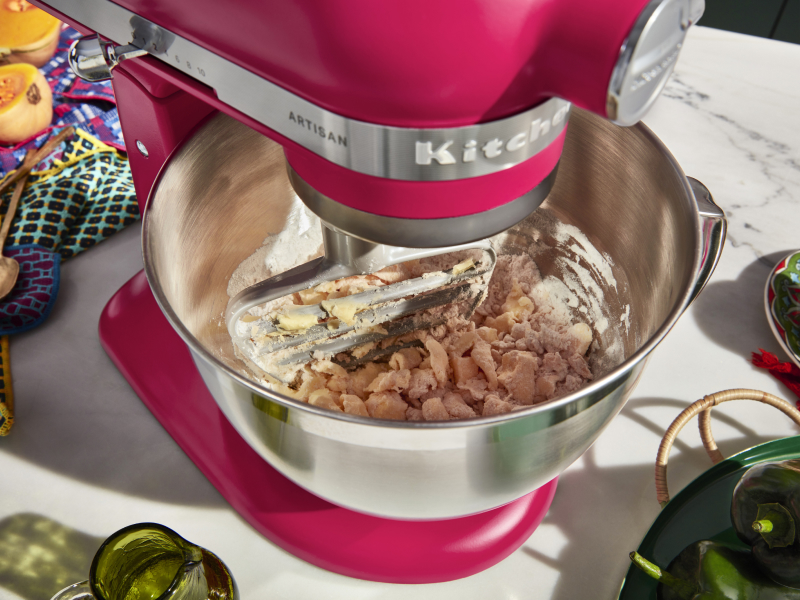
When properly adjusted, accessories should not strike the bottom or sides of the bowl. If the Flat Beater or the Wire Whip are so close that they strike the bottom of the bowl, the coating may wear off the beater or the wires on the whip may wear.
EXPLORE KITCHENAID® STAND MIXERS FOR YOUR HOME
With a range of helpful features and versatile speeds, KitchenAid® stand mixers make an ideal addition to any kitchen. Explore different models and expand your culinary creativity with KitchenAid® tilt-head and bowl-lift stand mixers.