How to proof bread dough
Proofing bread dough is an essential step in creating a fluffy, aromatic loaf with the right crumb structure. Whether you’re looking to experiment with a homemade Persian barbari bread recipe or whip up a classic sourdough bread loaf, use this guide to learn why proofing bread dough is so important, six steps to proofing in the oven and which temperatures, environments and methods work well for the process.
What is proofing bread?
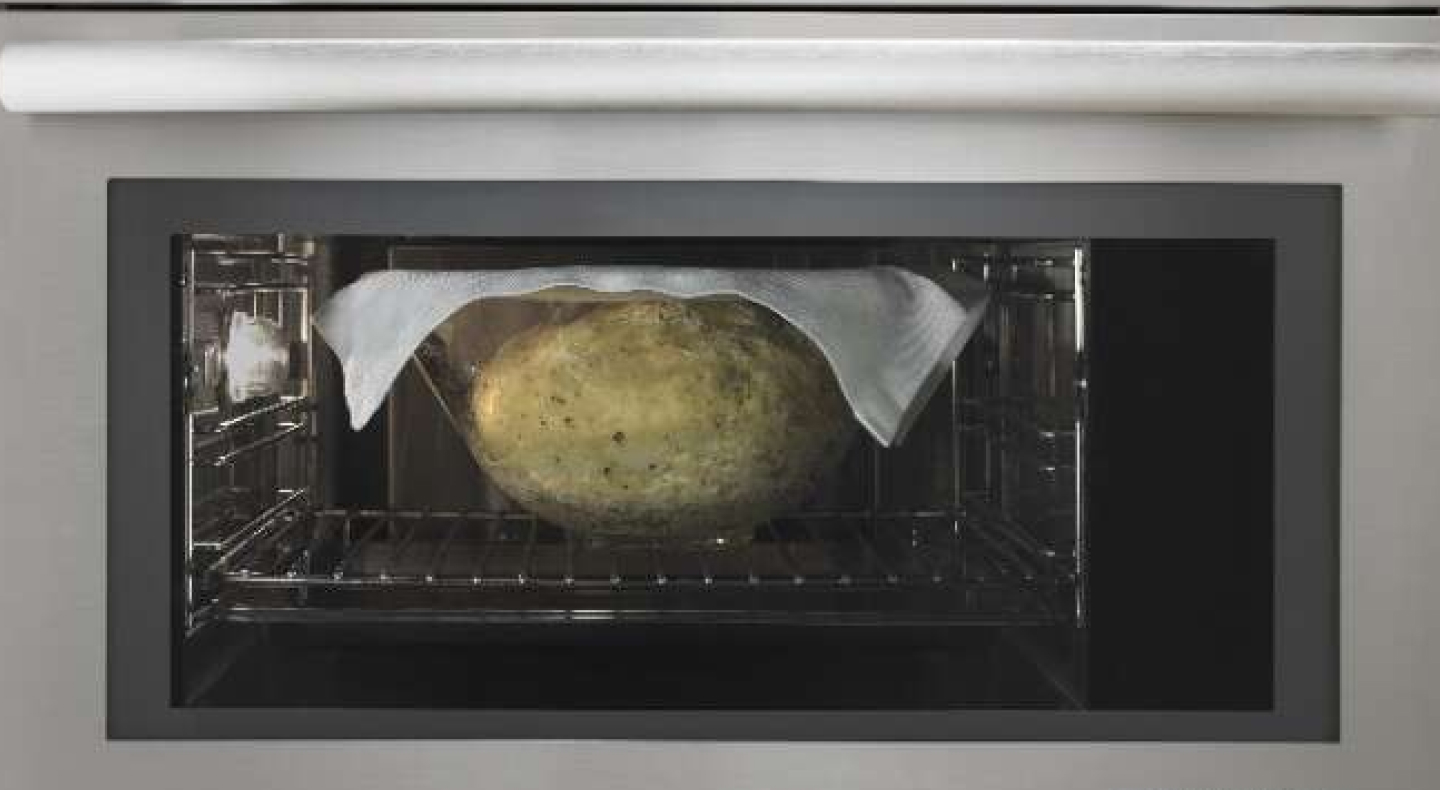
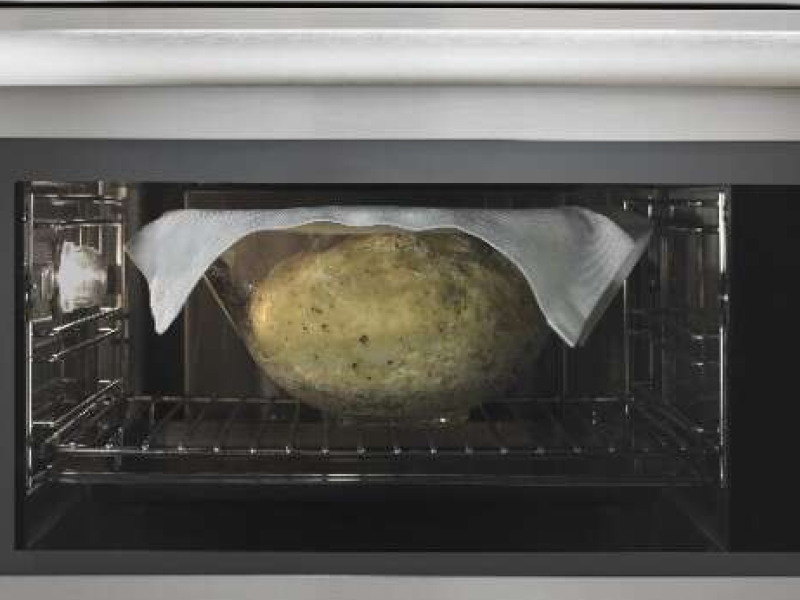
During a bread dough proof, yeast is activated and begins consuming carbs to expel carbon dioxide, allowing the dough to rise and gluten to stretch and hold air bubbles. Different types of bread require unique proofing times and temperatures, but most recipes call for proofing bread in a covered dish and a warm, moist environment.
How to proof bread in an oven
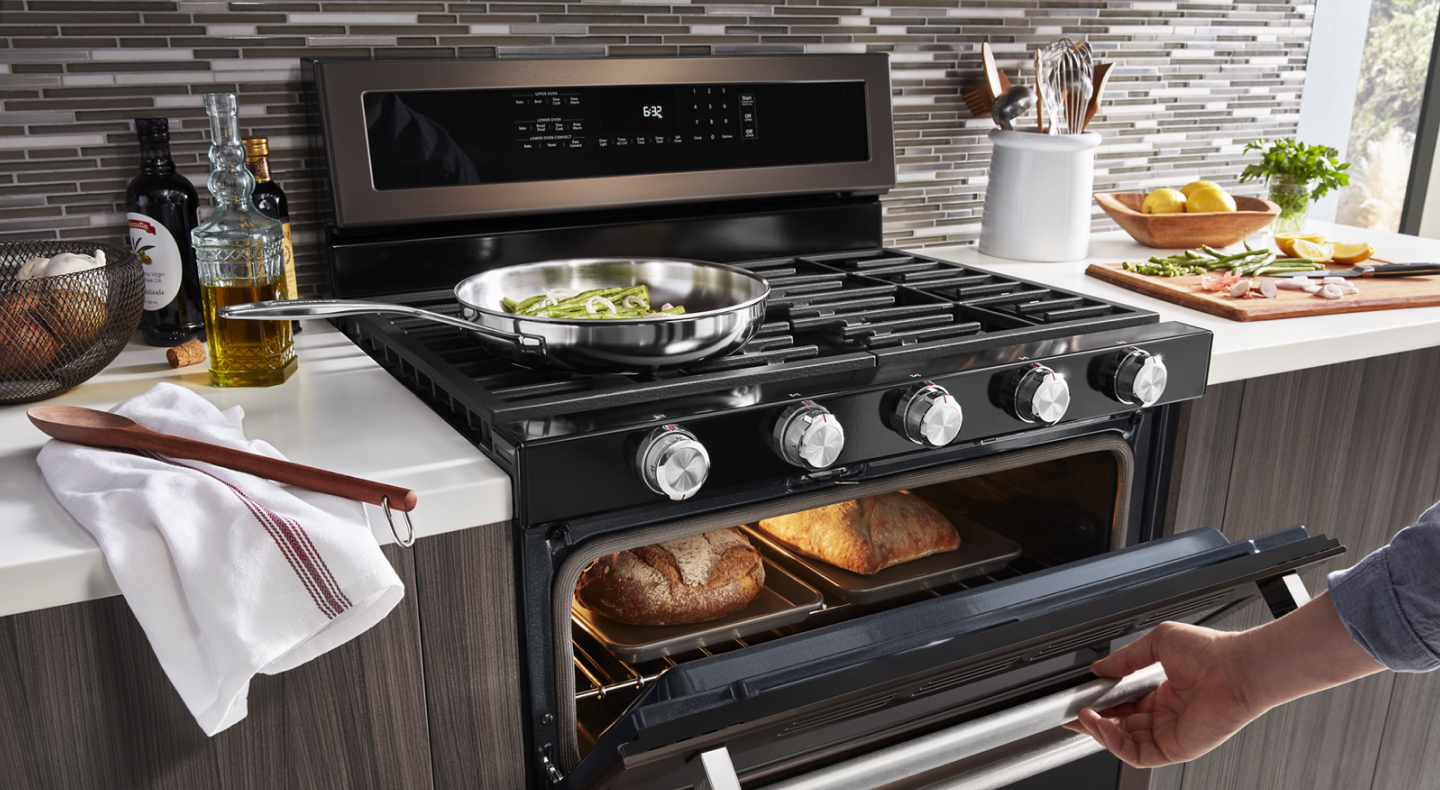
Some ovens include a designated Proofing setting designed to help activate yeast in homemade bread recipes, but with a little bit of guidance, you can use almost any oven to help bread rise before baking. See the six steps below to learn how to proof bread in an oven.
Yields
- 1 loaf
Tools
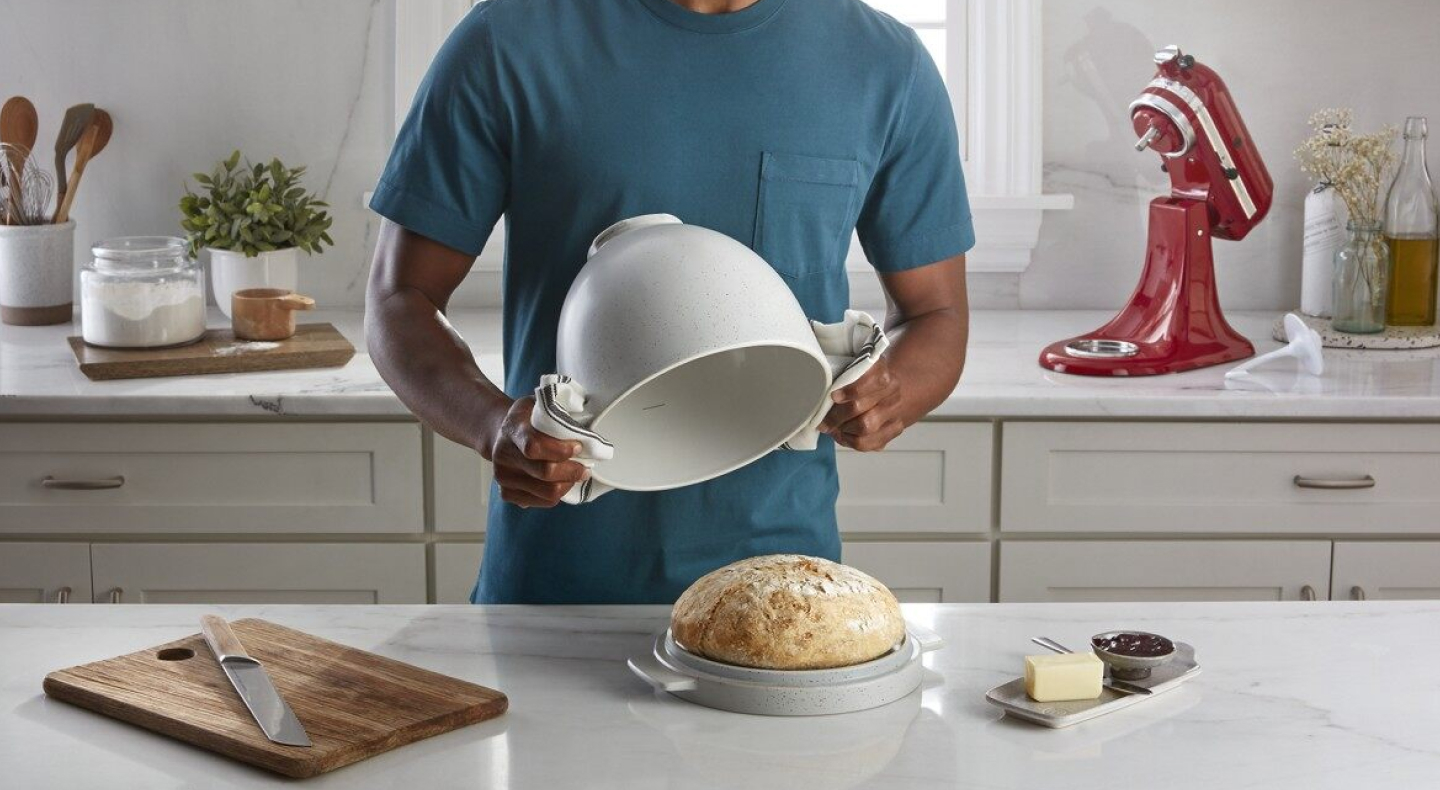
Mixing bowl or bread bowl such as this KitchenAid® Bread Bowl with a Baking Lid
Flour (optional)
Cloth, bowl lid or oiled wax paper
Prep time
- 10 minutes
Bake time
- 60 minutes
Total time
- 70 minutes
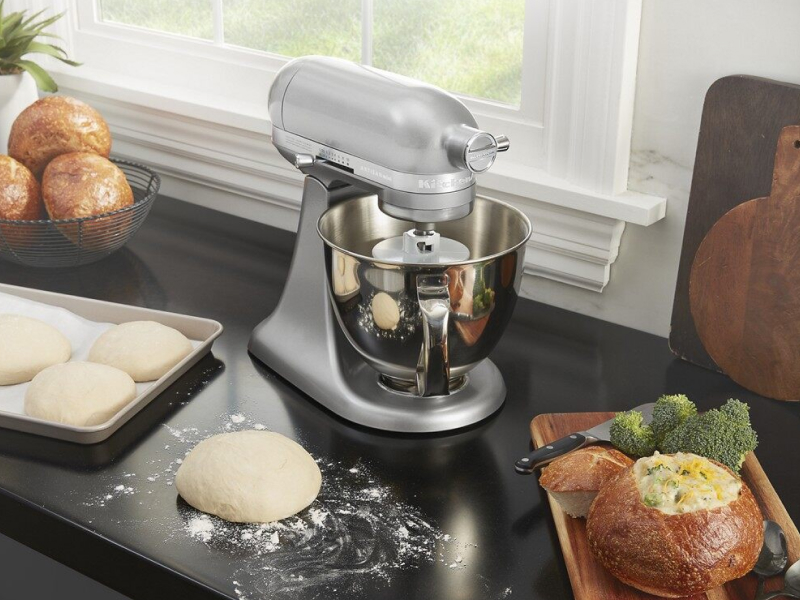
Step 1: Prepare bread according to recipe
Every recipe is different, but yeasted bread recipes generally call for combining dry ingredients in your mixing bowl, then adding warm water to activate the yeast prior to kneading the dough. Learn how to make bread with a stand mixer here or follow your recipe to prepare bread dough.
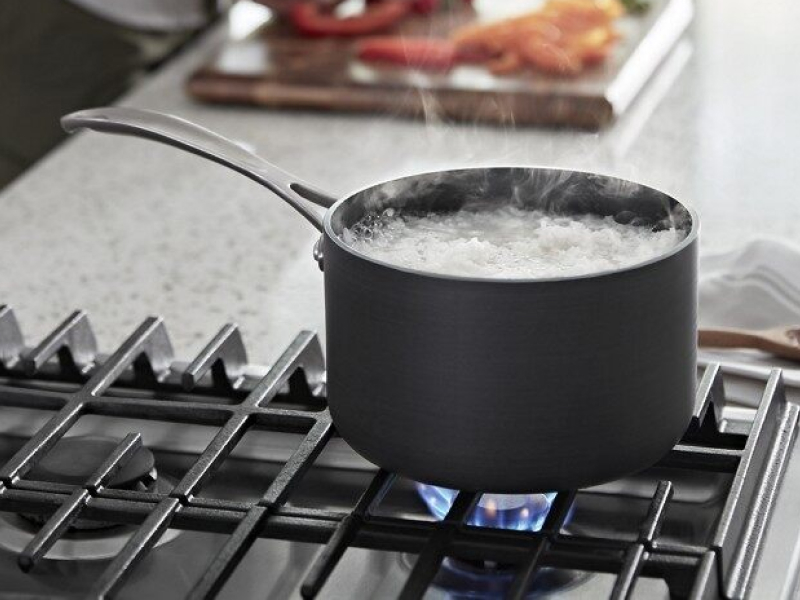
Step 2: Place hot water in the oven
Carefully fill an oven-safe dish with several cups of boiling water, then place the water-filled dish on the bottom rack of your oven. Bread dough rises well in a moist and warm environment, between 70–80°F, so be sure to keep the oven off unless you plan to use a specialized proofing setting.
Some ovens—like select KitchenAid® wall ovens and ranges—have a Proofing setting that creates an ideally moist and warm environment to help promote yeast activation in anything from chocolate cherry rye bread to whole wheat flax seed bread.
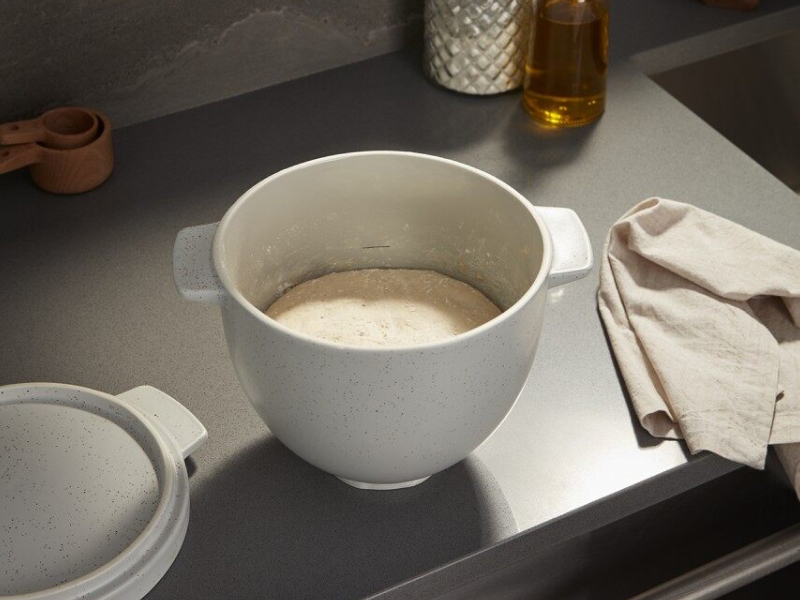
Step 3: Prepare dough for proofing
Your recipe will likely instruct you on how to best go about preparing your dough for proofing, but some general guidelines can help steer you in the right direction. Make sure the bowl you proof in has enough room for the dough to double in size. Consider dusting the dough with flour prior to placing it in the proofing dish or mixing bowl to help prevent sticking, then cover the container with a lid, towel or plastic wrap spritzed with oil. You may also consider lightly greasing the bowl and dough ball, rather than dusting with flour, to help prevent sticking.
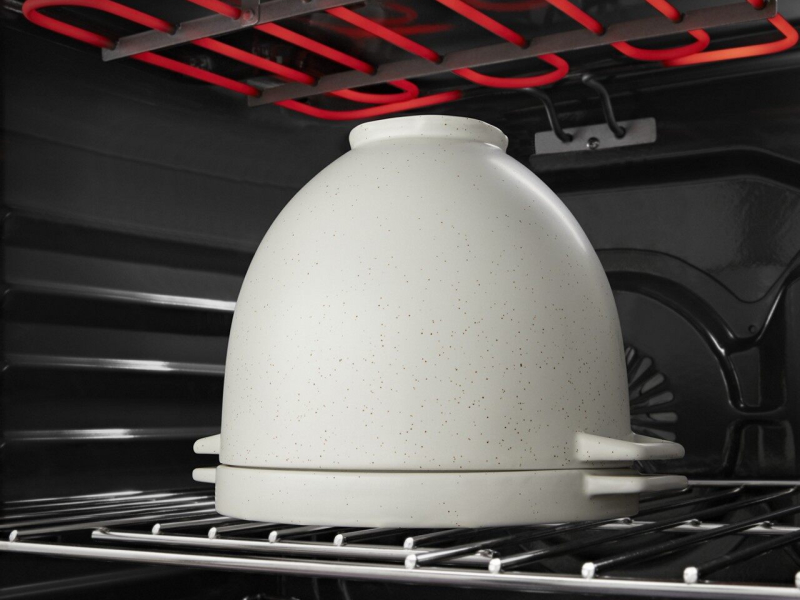
Step 4: Place in the oven and keep door closed
Place the covered dough on the oven rack above the hot water dish, then close the door and allow your bread to proof for your recipe’s specified amount of time (likely 60 minutes or more). Be sure to keep the door closed until you’re ready to check if the dough is fully proofed, as this will help keep both moisture and heat inside the oven.
Step 5: Check for doneness
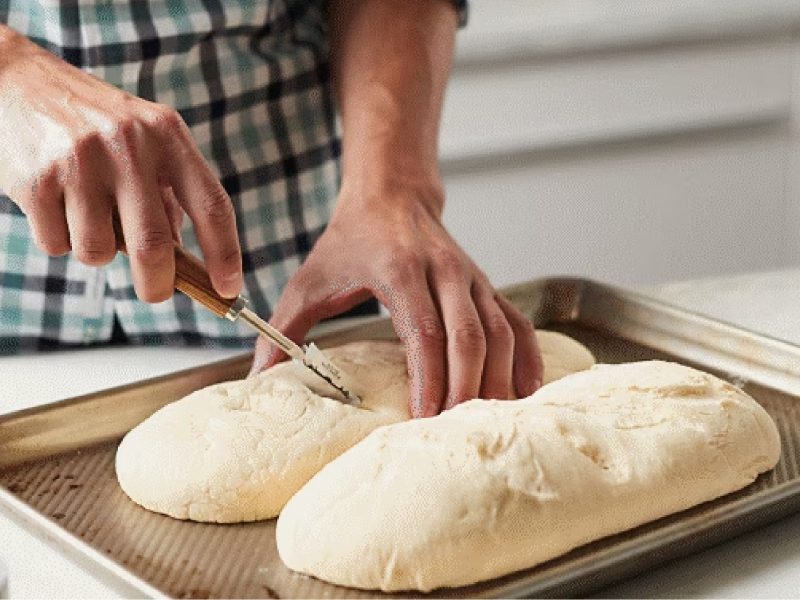
Visual cues are often most helpful when it’s time to decide if dough is fully proofed. Once the proofing time dictated by your recipe is up, use the tips of two fingers to make an indentation about ½" into the dough. If the indentation rises only slightly and slowly, your bread is fully proofed. An indentation that springs back immediately means your bread likely needs more time to proof, and one that doesn’t spring back at all may mean the dough is over-proofed.
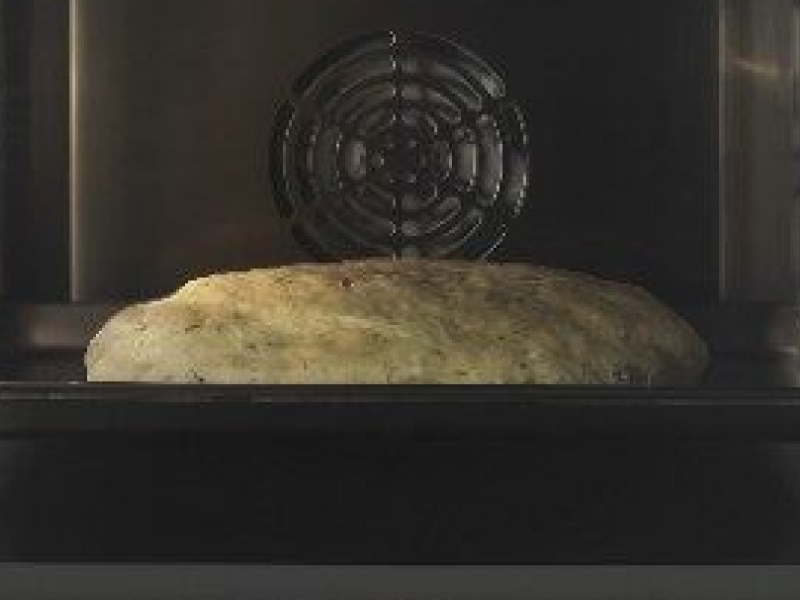
Step 6: Proof again (optional)
Some bread recipes call for a second, shorter proofing after shaping or kneading the dough again. Check your recipe’s instructions, and if it requires a second proofing, repeat steps three through five above and adjust the proofing time if your recipe calls for a shorter second proof.
Shop KitchenAid®ovens for proofing bread
What are different methods for proofing bread?
From ovens and warming drawers to bread makers, microwaves, designated proofing bowls and even slow cookers, a handful of proofing methods can help you achieve a springy and aerated loaf. For instance, you can mix, knead, proof and bake craft-quality bread all in one dish with the KitchenAid® Bread Bowl with Baking Lid.
KitchenAid® warming drawers and select KitchenAid® countertop ovens feature a Proofing setting that creates the optimal environment for helping bread rise. Methods like proofing in the microwave or using a slow cooker typically involve containing steam and heat to help dough rise, rather than a specialized appliance setting. And if your kitchen is cold, proof your bread dough in the oven by simply turning on the oven light to encourage bread to rise, as the heat of these little lights can help ovens reach 100°F.
How do you proof bread dough without a proofer?
Bread proofers are designed to optimize the process, but you don’t need one to create a satisfying loaf like braided challah bread or pumpernickel bread. You can proof bread dough with nothing more than a lightly greased deep mixing bowl (large enough for dough to double in size), a bowl cover and a moist, warm environment. Cover the bowl with a lid, cloth or plastic wrap spritzed with oil, then allow the dough to rise in a warm and draft-free environment.
What’s the best temperature to proof bread dough?
Your recipe’s instructions are the best guide for determining proofing temperature, but there are some general proofing guidelines you can follow. Bread dough can “cold” proof at cooler temperatures—around 40-50°F—for longer periods of time. Storing dough below 40°F will cause the yeast to go dormant.
Most recipes are written for proofing to occur at room temperature–around 75°F, or slightly warmer. Dough that gets too warm can cause air bubbles to form more quickly than the gluten proteins can handle them, which will collapse and ruin the proof, so be sure to keep proofing temperatures between 50°F and 80°F to prevent yeast from going dormant or collapsing the structure. Proofing at cooler temperatures slows the process which allows even richer flavors to develop.
How long do you proof bread dough?
All baked goods with yeast require proofing, but each type of bread has unique proofing needs heavily influenced by the loaf’s ingredient composition and ideal proofing environment. Generally, higher proofing temperatures mean lower proofing times, and most bread will proof for at least 60 minutes. Visual cues may be helpful when trying to determine if bread is fully proofed and ready to bake.
How do you know when bread dough is proofed?
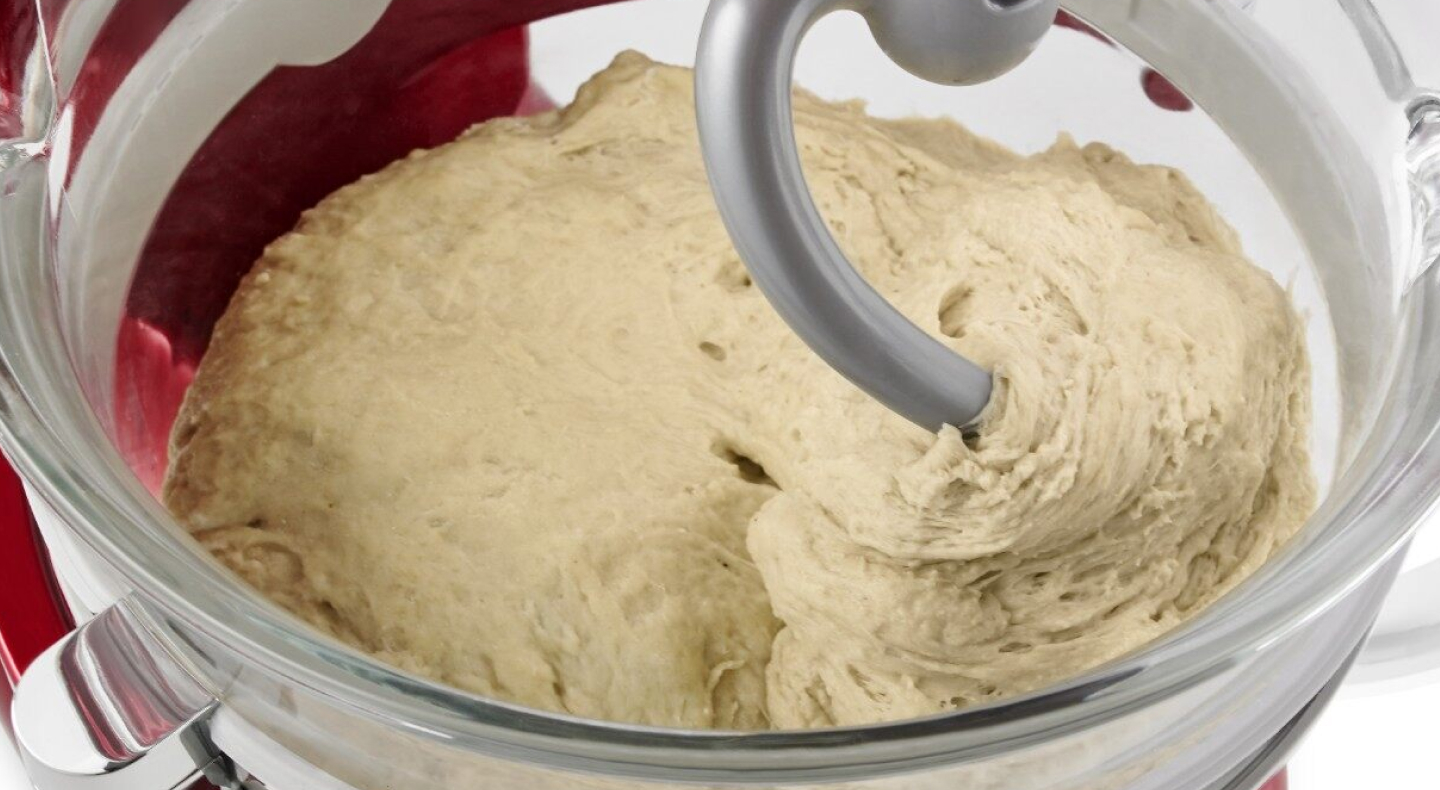
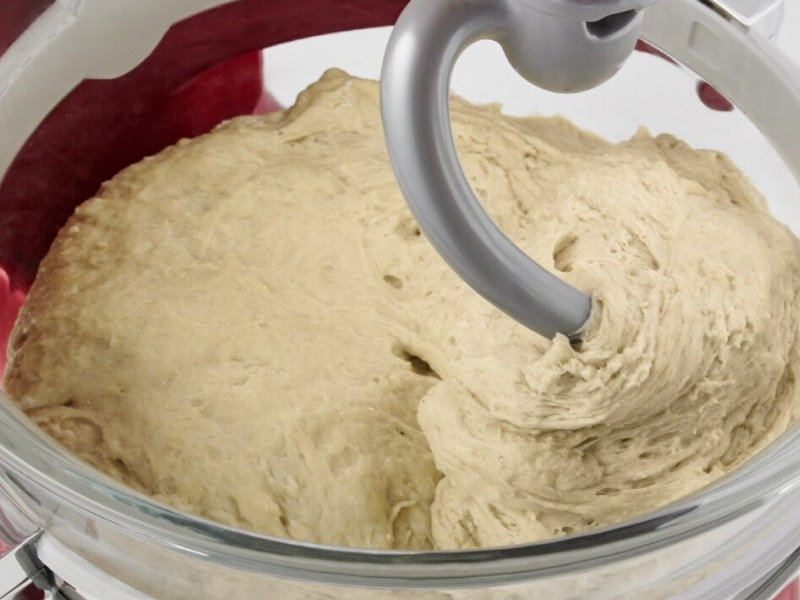
At the end of the proofing period, dough should appear doubled in size. Use two fingers to make an indentation in the dough. If it slowly springs back about halfway, then it’s likely ready. Dough that springs back immediately and completely probably needs more time to proof.
How do you proof frozen bread dough?
You can proof frozen bread dough by thawing it thoroughly first, then proofing it as you normally would. Thaw dough by placing it on a pan or baking rack, then covering it and placing it in a cooler overnight. The dough should expand slightly during the thawing process, but it will still need some time to proof.
Once the dough isthawed, remove it from the cooler and let it sit at room temperature for five to 15 minutes. If the dough expands significantly while thawing, you may be able to reduce its proofing time. Follow steps three through six (above)—as well as any recipe instructions—to proof thawed dough.
Can you over proof bread dough?
Allowing gluten too much time to strengthen while proofing can lead to over-stretched gluten that can’t support a bread’s structure, but sometimes, there are ways to salvage over-proofed dough. Check for over-proofing by lightly poking the dough. If it doesn’t spring back, it’s likely over-proofed. For some types of dough (not including sourdough) you can press down on the dough to remove the gas, then reshape and reproof it.
Explore KitchenAid®ovens and proofing drawers
From crusty, artisan-style breads to choux and puff pastries, KitchenAid® warming drawers, wall ovens and ranges can help you create a range of fresh baked goods. Even-Heat™ True Convection on select wall ovens helps circulate hot air throughout the entire oven, helping every batch bake at an optimal temperature. KitchenAid® warming drawers can help bread dough rise, and keep baked bread warm until you’re ready to serve it up.
Was this article helpful? Pass it on
Explore more recipes from KitchenAid brand
-
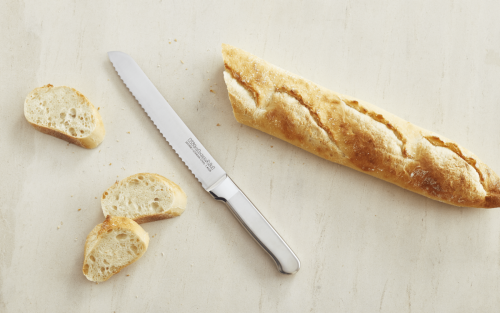 Crusty Bread Stand Mixer Recipe Flour, salt, yeast, water and your stand mixer are all you need to bake the perfect crusty bread. Start creating simple crusty bread recipes in your kitchen.
 -
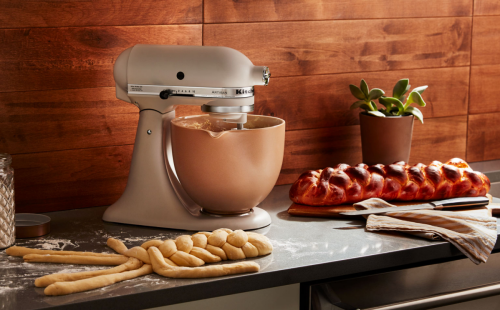 How to Make Homemade Bread with a Stand Mixer Learn how to make homemade bread with a stand mixer. Get tips on techniques, tools and accessories to streamline your bread making.
 -
 How to Make Sandwich Bread Learn how to make sandwich bread dough at home. You’ll discover sandwich bread ingredients, how to store homemade sandwich bread and other tips and tricks for your best freshly baked loaf.
