
How to install a gas or electric range
To install a gas or electric range, you should consider factors such as measurements, kitchen layout and gas or electrical requirements that can help ensure a seamless installation. Before installing a new range, it’s important to know which type of appliance is best for your home, as well as how to set it up.
A kitchen range can be a great source of culinary inspiration, delivering the power to simmer, stir-fry, saute and bake with ease. Whether you choose a slide-in or freestanding model, the exact installation process will vary depending on the type of range you select. Follow this step-by-step guide to get an idea of what to expect when installing your new gas or electric range. Always refer to the installation instructions that came with your appliance before attempting installation, or rely on a professional to install your new range.
8 steps to install a gas range
Installation of gas ranges requires at least two people in addition to the appropriate tools. Our installation service is available for most major appliances, depending on your product type and location. Add it during checkout and we’ll install your KitchenAid® appliance at the time of delivery for the smoothest possible experience.
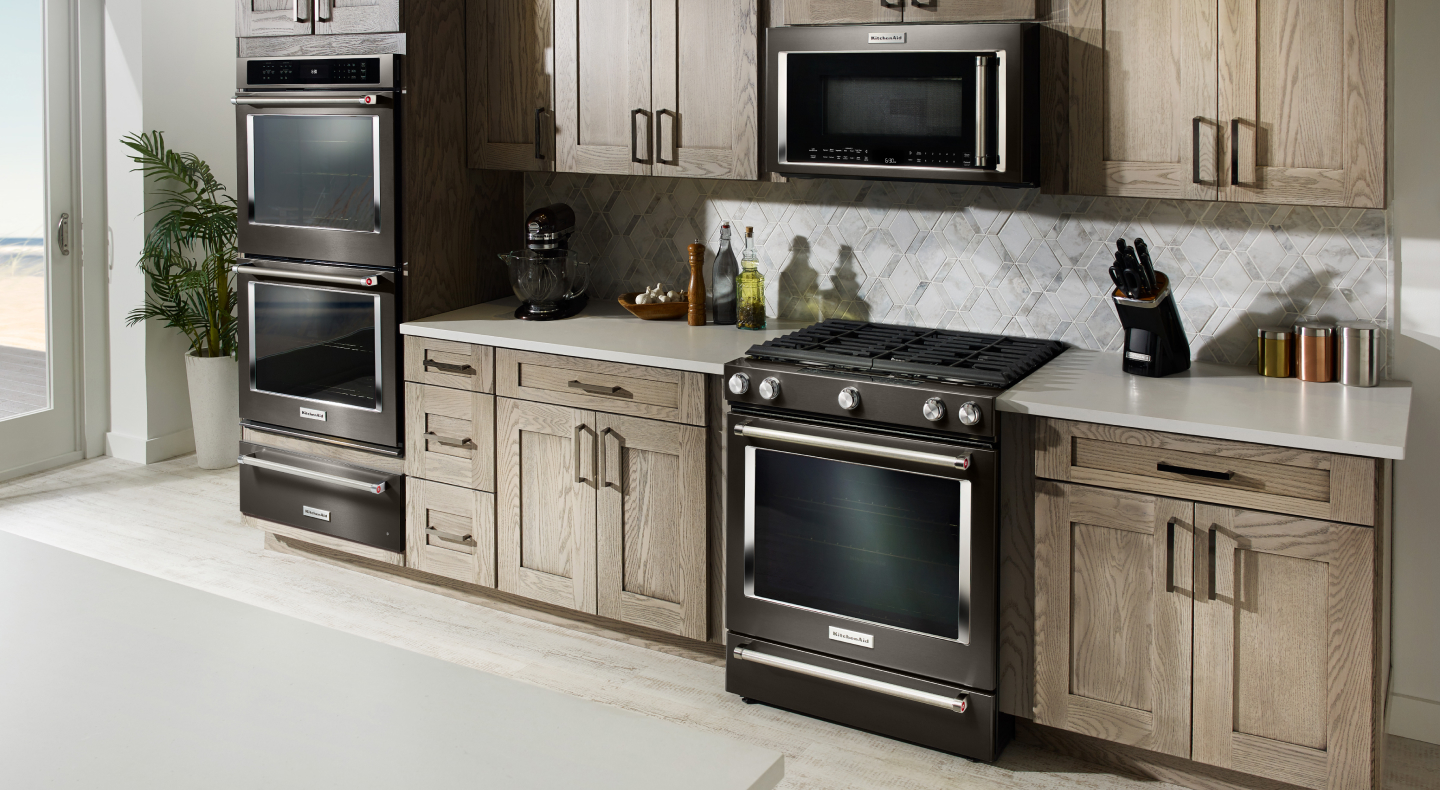
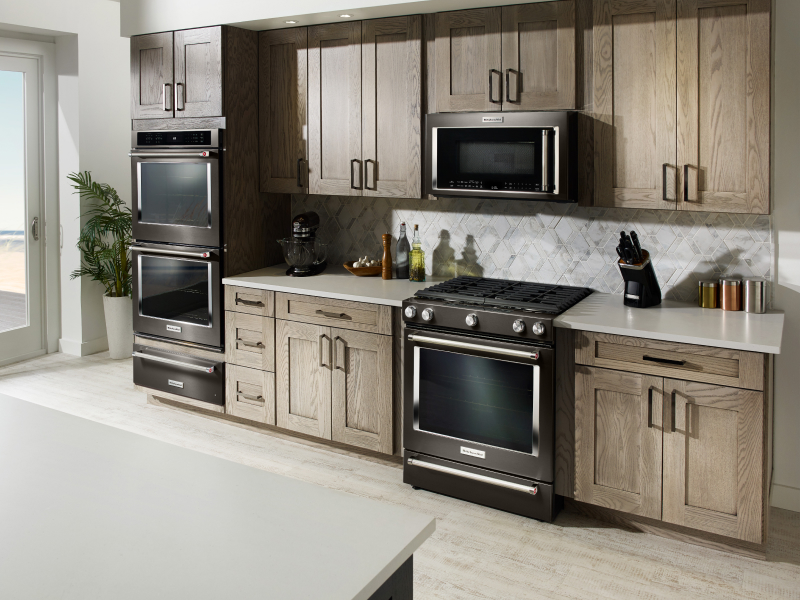
Remember to properly measure the dimensions of the appliance and your cutout space before the installation, determining the depth, width and height to ensure the appliance fits in the desired location. Follow this step-by-step guide as an overview of the process to help decide if you want to attempt installing your new slide-in or freestanding gas range yourself.
Supplies
- Gas range flex connector (drying gas connector)
- Teflon pipe-joint tape
- ½ inch by ½ inch street elbow (pipe fitting)
- Gas leak detector
Tools
- Adjustable wrench
Step 1: Obtain the correct gas connector
If replacing an old appliance with a new range, a new gas connector or tube should be used. The specific connector type that is needed will depend on the model and should be long enough to connect the range to the gas valve. Typically, the connectors are approximately ½ inch in diameter.
Step 2: Turn off the gas valve
Before connecting or disconnecting the appliance, turn off the gas valve for the new range by turning the shut-off valve 90 degrees. If an old range is being replaced, the existing appliance should be disconnected after the gas has been turned off.
Step 3: Wrap the gas valve threads
Wrap the gas valve threads with tape two times in a clockwise motion. Only tape that is designed specifically for gas connections should be used to meet industry-wide standards.
Step 4: Connect the gas tube
Attach the gas connector or tube to the gas valve port by removing the end cap on the connector and screwing the tube into place. The connector should not be forced into the gas line, and the tube should be free of kinks and have appropriate leeway.
Step 5: Connect the street elbow
Secure the street elbow to the gas port on the range by attaching the free end of the street elbow to the free end of the gas connector or tube, taking care not to over tighten. Then, wrap the fittings with tape.
Step 6: Tighten the gas connector nuts
Tighten the nuts on both sides of the gas connector to the connector fittings.
Step 7: Check for gas leaks
Inspect the connection for gas leaks by turning the gas on and spraying the connector joint with a gas leak detector. Because gas leaks cannot always be detected by smell, professional help is highly recommended for this step. Learn more about why your oven might smell like gas.
Step 8: Slide range into place
If no gas leaks are present, slide the range into the cutout space with the help of another person. The alignment of the appliance should also be checked, which can be adjusted with the leveling feet on the bottom of the range, if necessary.
How do I know if I can install a gas range?
With the right tools and the help of another person, you may be able to install a gas range on your own. Prior to the installation, be sure to carefully measure the dimensions of the appliance and your cutout space to ensure a proper fit.
You’ll also need to know whether the range space is set up to power the appliance with gas. If a gas line needs to be installed, a professional will need to be called for installation assistance.
6 steps to install an electric range
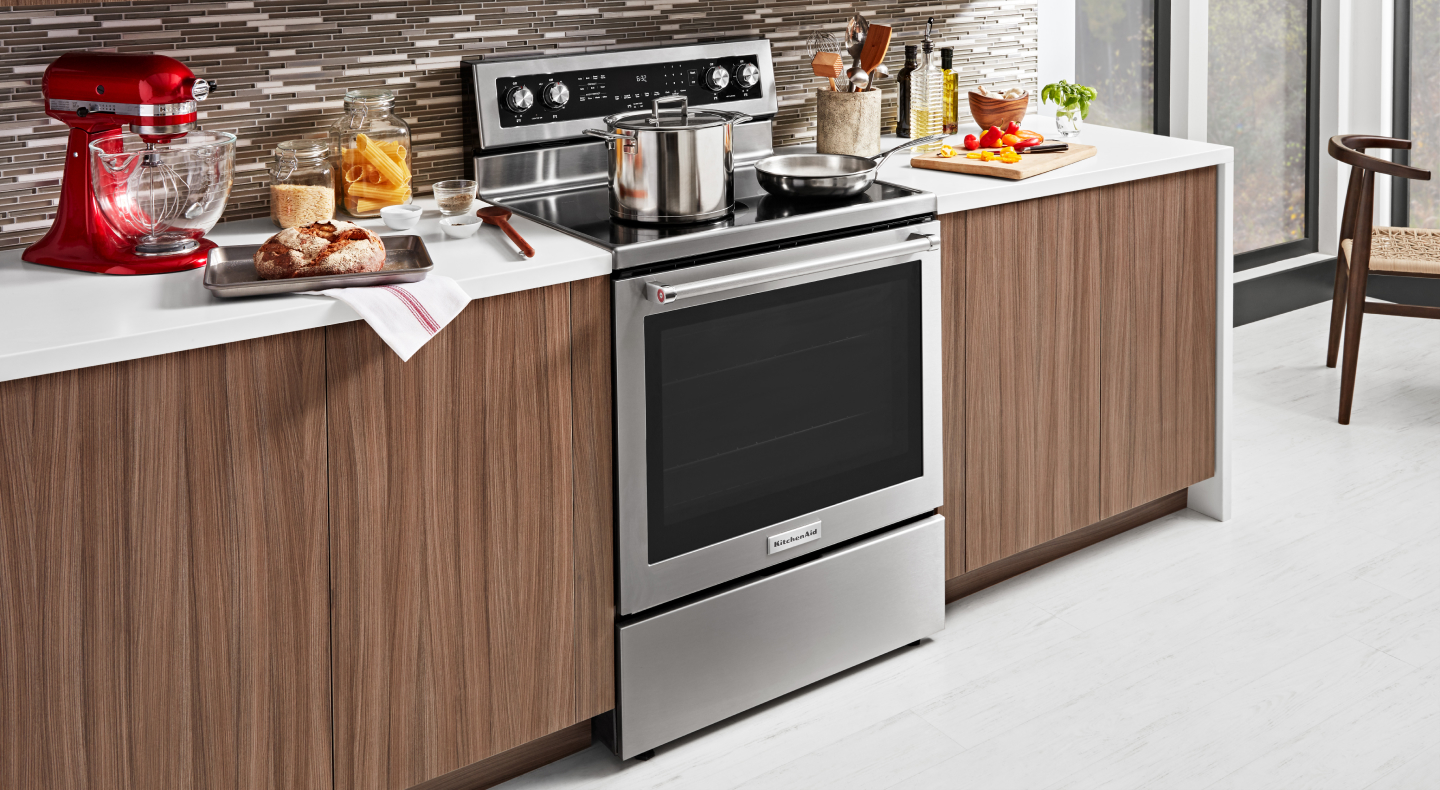
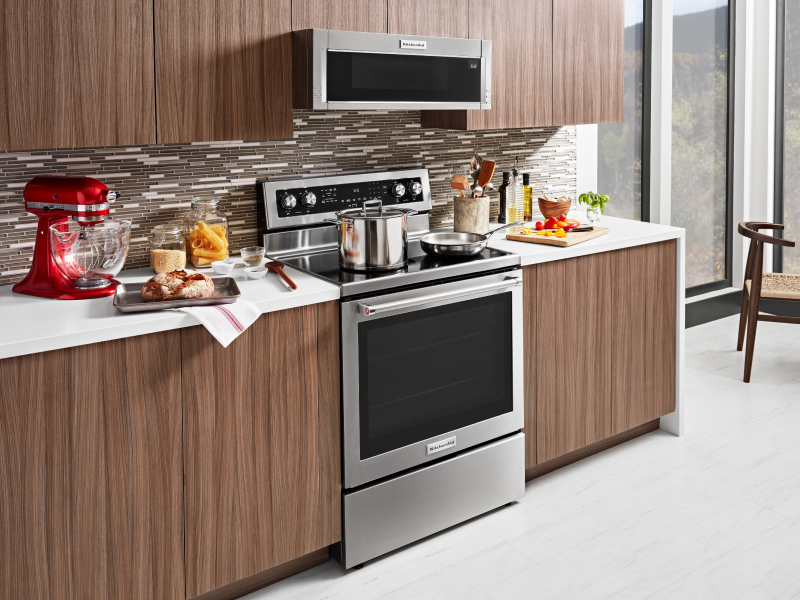
Installation of electric ranges requires certain volt circuits and amp receptacles to function properly. In addition, proper dimensions of the appliance and the cutout space should be taken to ensure a proper fit. The following step-by-step guide describes the general installation process for a new electric range and can help you know the right questions to ask your technician during your appointment.
Supplies
- Slide-in or freestanding electric range
- 3-prong or 4-prong electric range power cord, depending on owner’s manual requirements
Tools
- Screwdriver
Step 1: Check the circuit voltage
A voltage detector can be used to check the voltage of the outlet. If an older electric stove is being replaced, the existing circuit and receptacle may meet these requirements. However, if a 250-volt circuit is not present, an electrician can install one.
Step 2: Check the power cords
Depending on the range model, connect a 3- or 4-wire 250-volt power cord to the back of the range to the corresponding color-coded ports. 3- and 4-wire configurations contain one black conductor — one red conductor and a white conductor that is used as the grounded link — and 4-wire cords also contain a grounded link that is green.
Step 3: Check the connections in the back of the range
Detach the wire connection cover plate from the back of the range with a screwdriver. Then, locate the wiring configuration and ground conductor screws for 3-wire or 4-wire placement. Newer electric ranges typically have 4-wire connections.
Step 4: Connect the power cord to the back of the range
Connect the range with either a 3-wire or 4-wire configuration to the corresponding colors. For 3-wired connections, the white grounded wire should be connected to the center port, with the red and black wires on either side. For 4-wired connections, the green wire should be secured to the green grounding connector before the rest of the wires are connected to their ports. Once the wires are secure, reattach the wire connection cover plate.
Step 5: Plug in the range
Shut off the home’s power circuit that is connected to the range before plugging the appliance into an electrical outlet. Then, turn the main power circuit back on.
Step 6: Slide range into place
Slide the range into place with the help of another person and check the appliance for proper alignment. If needed, adjust the legs until the range is level.
What are the electrical requirements for an electric range?
In general, the minimum requirements to install an electric range for consistent performance are a 250-volt circuit and a receptacle with 40 amps. Check the voltage of an outlet prior to your appliance installation with a voltage detector.
If you don’t see a 250-volt circuit available to power the range, you may need to have the appliance professionally installed by a licensed technician.
How long does it take to install a range?
It can take between two to six hours depending on the type of range being installed. For gas stoves, the installation can take between four to six hours, while the installation for electric stoves can take between 1-2 hours. Arrange for professional service for your new KitchenAid® range and enjoy a seamless, worry-free installation.
How far does a stove need to be from a wall?
Without a backguard, a stove or range should typically be installed at least 6 inches away from a combustible back wall surface, like drywall. With a backguard, the range can usually be installed with zero wall clearance.
The exact distance your range will need to be from the wall can depend on the type of range you have, as well as its size. The owner’s manual for your new range will indicate how much clearance is necessary to leave between the range and the walls.
Can I convert an electric stove to gas?
When attempting to convert an electric range into a gas-powered appliance, it’s highly likely that an electrician would need to make a number of electrical adjustments. In addition, a gas line must already be in place to accommodate the range.
Depending on the unique needs of your kitchen, you should choose a range type and style that suits your home. Available in gas and electric options, you can choose from a variety of freestanding and slide-in ranges by KitchenAid brand and check to see if you’re eligible for professional installation at checkout to help ensure a seamless integration into your kitchen layout.
Explore KitchenAid®ranges
Designed with the Maker in mind, KitchenAid® gas and electric ranges help you hone your skills and make delicious meals right at home. From finished sides to built-in backsplashes, ranges by KitchenAid brand are available in a variety of styles to fit nearly any kitchen design. Bring your passion for food to life by exploring the full collection of KitchenAid® ranges.