How to install a dishwasher: A step-by-step guide
Your dishwasher helps keep the dishware, utensils and tools you use in the kitchen fresh and ready for your next recipe. Whether you’re replacing an older model or installing a dishwasher for the first time, understanding the process can help you determine whether this is a project you want to handle yourself or with the help of a professional.


How hard is it to install a dishwasher?
Unlike other appliances, installing a dishwasher requires a bit of prior experience working with plumbing and electricity. If you’ve never installed a dishwasher before or if your home isn’t already equipped for installation, you may want to hire a professional.
If you purchase a KitchenAid® dishwasher and your kitchen is equipped and ready for installation, you can also select “installation” at checkout.

Where should you place your dishwasher?
What size dishwasher do you need?
Can you install a dishwasher by yourself?
If your kitchen is equipped with the appropriate plumbing and electrical connections, you may be able to install a dishwasher by yourself, although you’ll need another person to help you move the appliance. Be sure to closely follow the instructions provided in your new model’s owner’s manual or installation guide.
Dishwasher installation guide
To install a dishwasher, first measure the dimensions to be sure it will fit, then remove the current dishwasher. Prepare the new model for installation and attach the water supply, then level and adjust the dishwasher’s height. Move it into place, secure it to the cabinets, then connect the power and run a test cycle.
Use the following step-by-step instructions along with your owner’s manual to learn how to install a dishwasher in your kitchen. If you are unsure how to complete any of the following steps, it’s best to consult a professional.
Tools
Cordless drill
Socket wrench
Adjustable wrench
Screwdrivers
Level
Measuring tape
Pliers
Utility knife
Additional tools or supplies as listed in installation instructions
Parts included with your dishwasher
Supplies
Bucket or shallow bowl
Towel or large piece of cardboard
Water line installation kit
Flashlight
Dishwasher power cord

Step 1: Measure dimensions
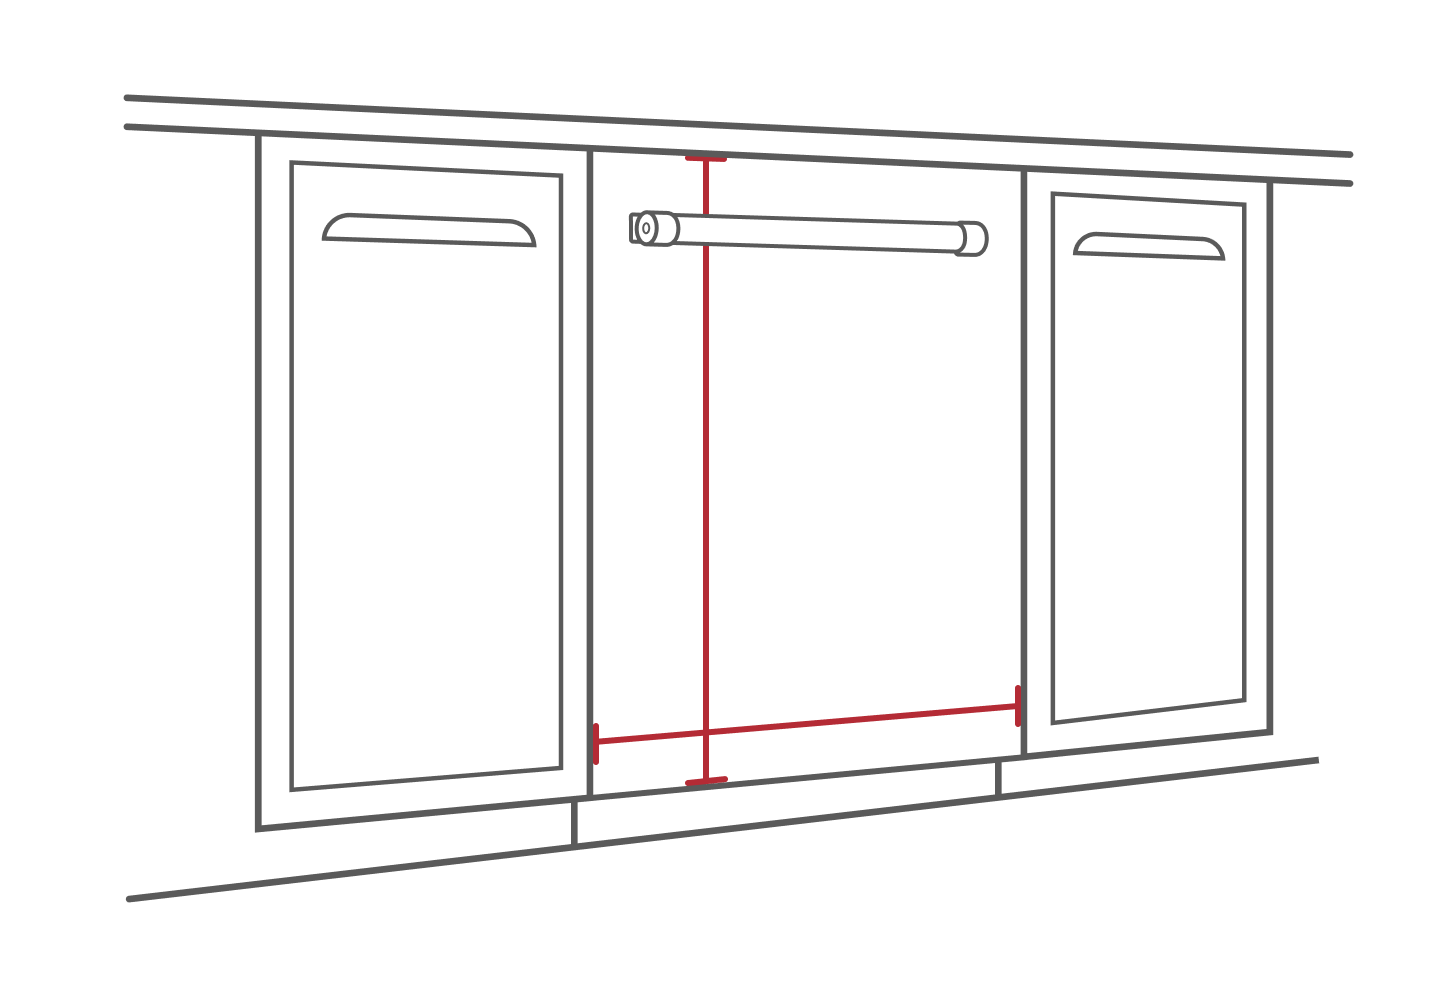
Before you begin installing your new dishwasher, make sure it can fit in the spot you’ve chosen. Measure the width, depth and height of the cabinet opening and compare it to the measurements of your dishwasher. The opening will generally be slightly larger than the dishwasher itself to allow you to maneuver it into place.
If there is currently a dishwasher installed in the opening, measure the depth from the back wall to the front of your counter.
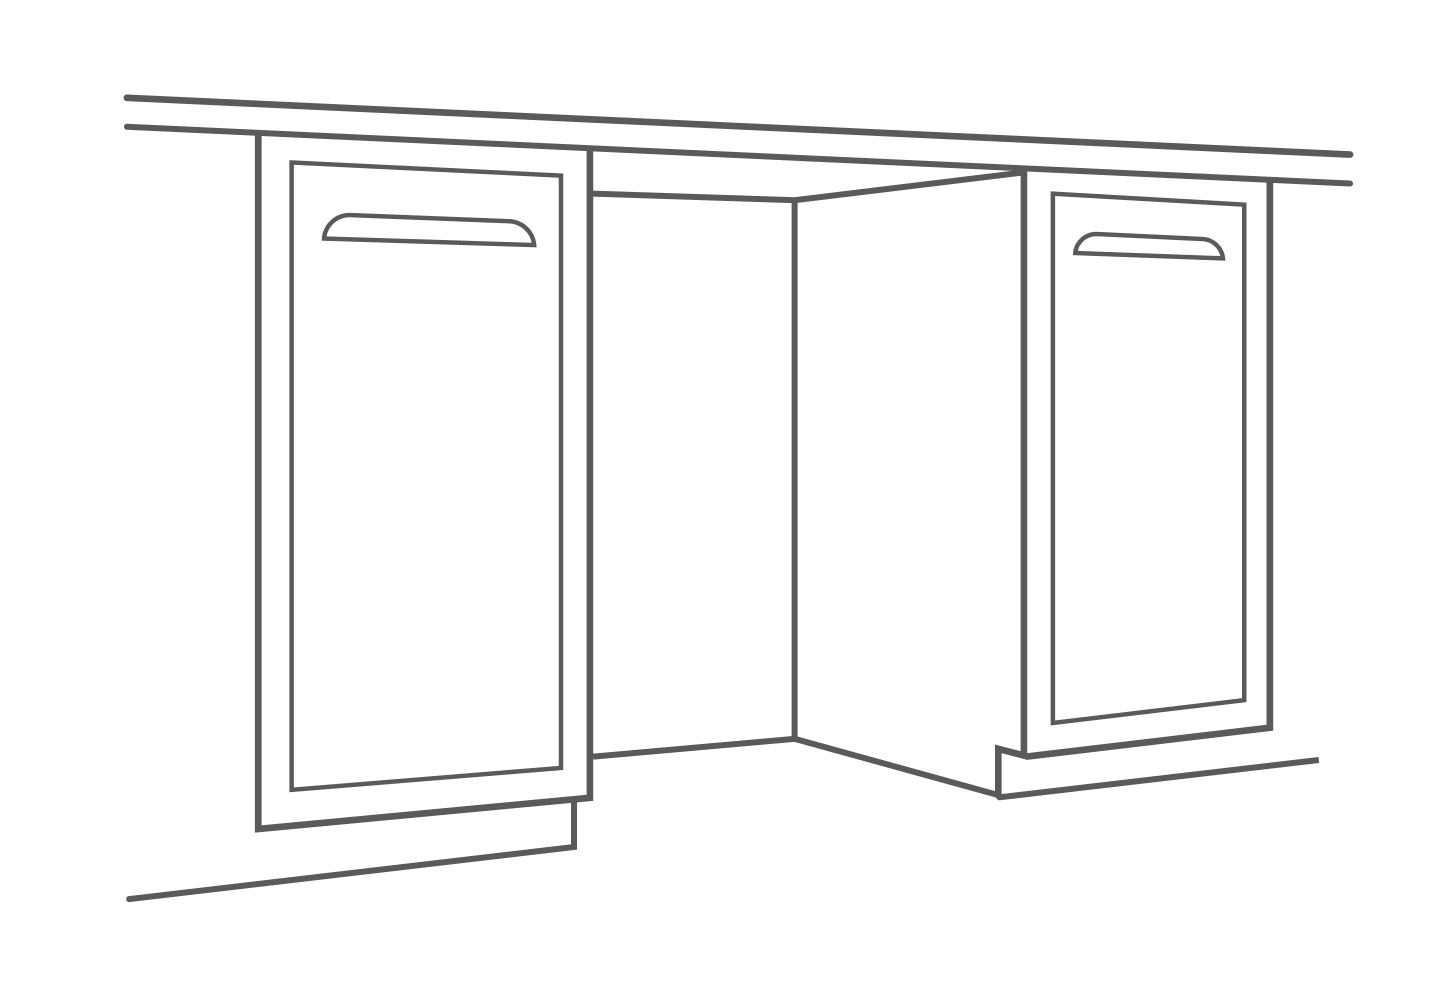

Step 2: Remove your current dishwasher
If you’re replacing an older model, you will need to remove the old dishwasher before installation can begin. Turn off the electrical power and water supply connected to your dishwasher, then unplug the dishwasher’s power cord and remove the water supply lines and drain hose. Place your shallow bowl or bucket beneath the drain hose to catch any remaining water.
To help protect your floors from scratches and scrapes, place a clean, dry towel or a large piece of cardboard in front of the old dishwasher. Uninstall the appliance by removing the screws that hold the dishwasher in place with your countertop and cabinetry. Use a screwdriver to remove the toe panel at the base of the appliance, then unscrew the leveling legs to make removal easier.
With the help of another person, carefully pull the dishwasher onto the towel or cardboard and slide the appliance out of the way.
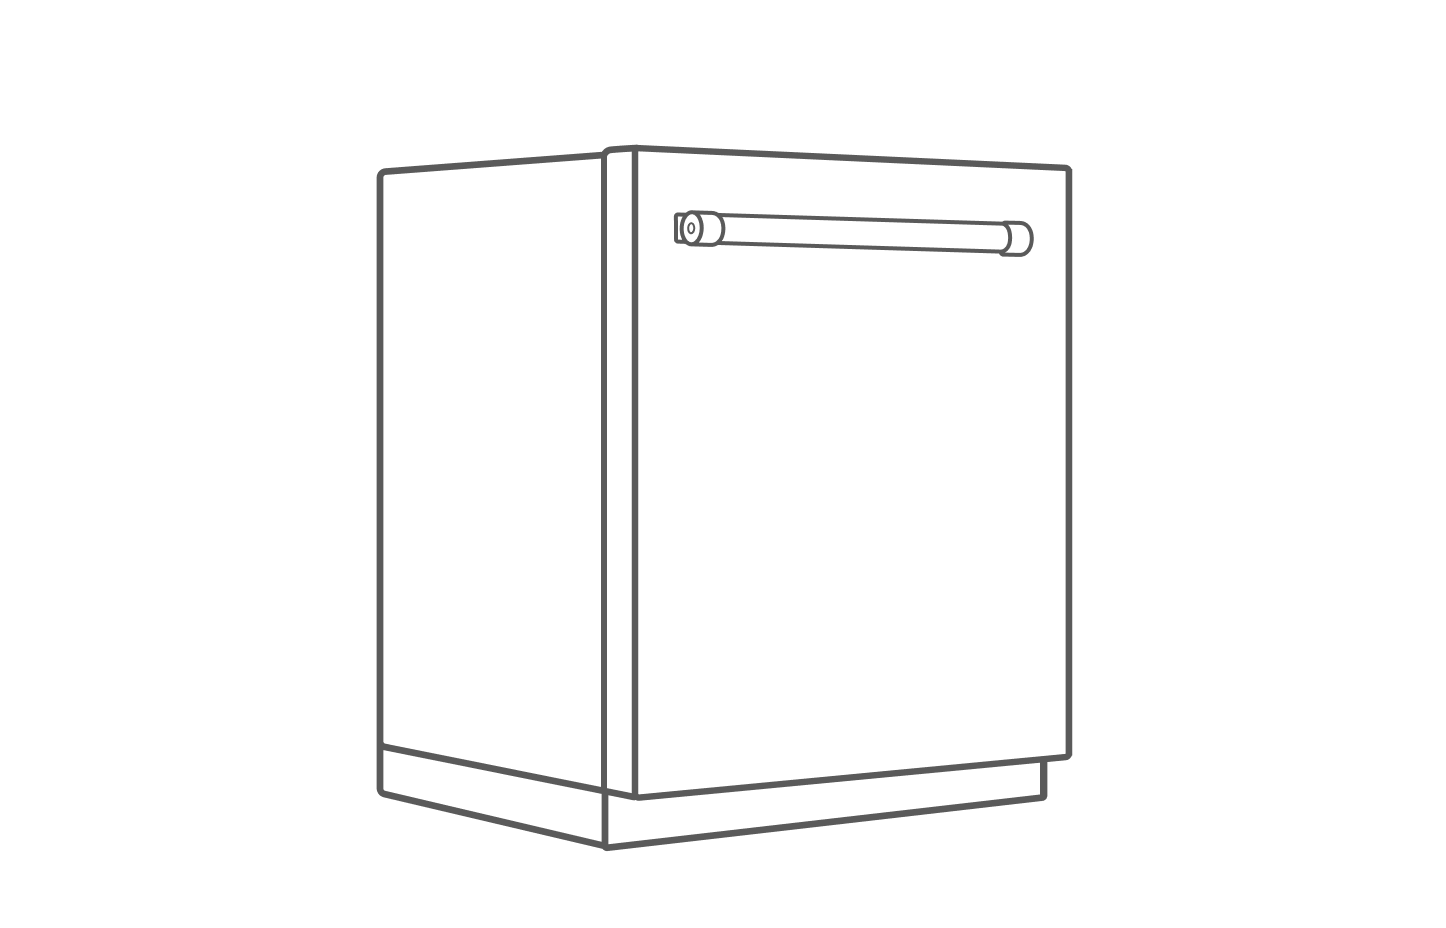

Step 3: Prepare for installation
Get your new dishwasher ready for installation by removing the packaging and shipping materials. Open your dishwasher and remove any plastic wrap or protective styrofoam from the interior and set aside any tools or additional parts packaged separately.
With the help of another person, lay the dishwasher on its back and remove the front access panel. Some dishwasher models have a drip tray with sensors that will need to be disconnected. Snake the power cord through the terminal box and connect any wires according to the instructions in your owner’s manual.
Connect the drain hose to the drain port and position the hose and the power cord underneath the back legs of the appliance.
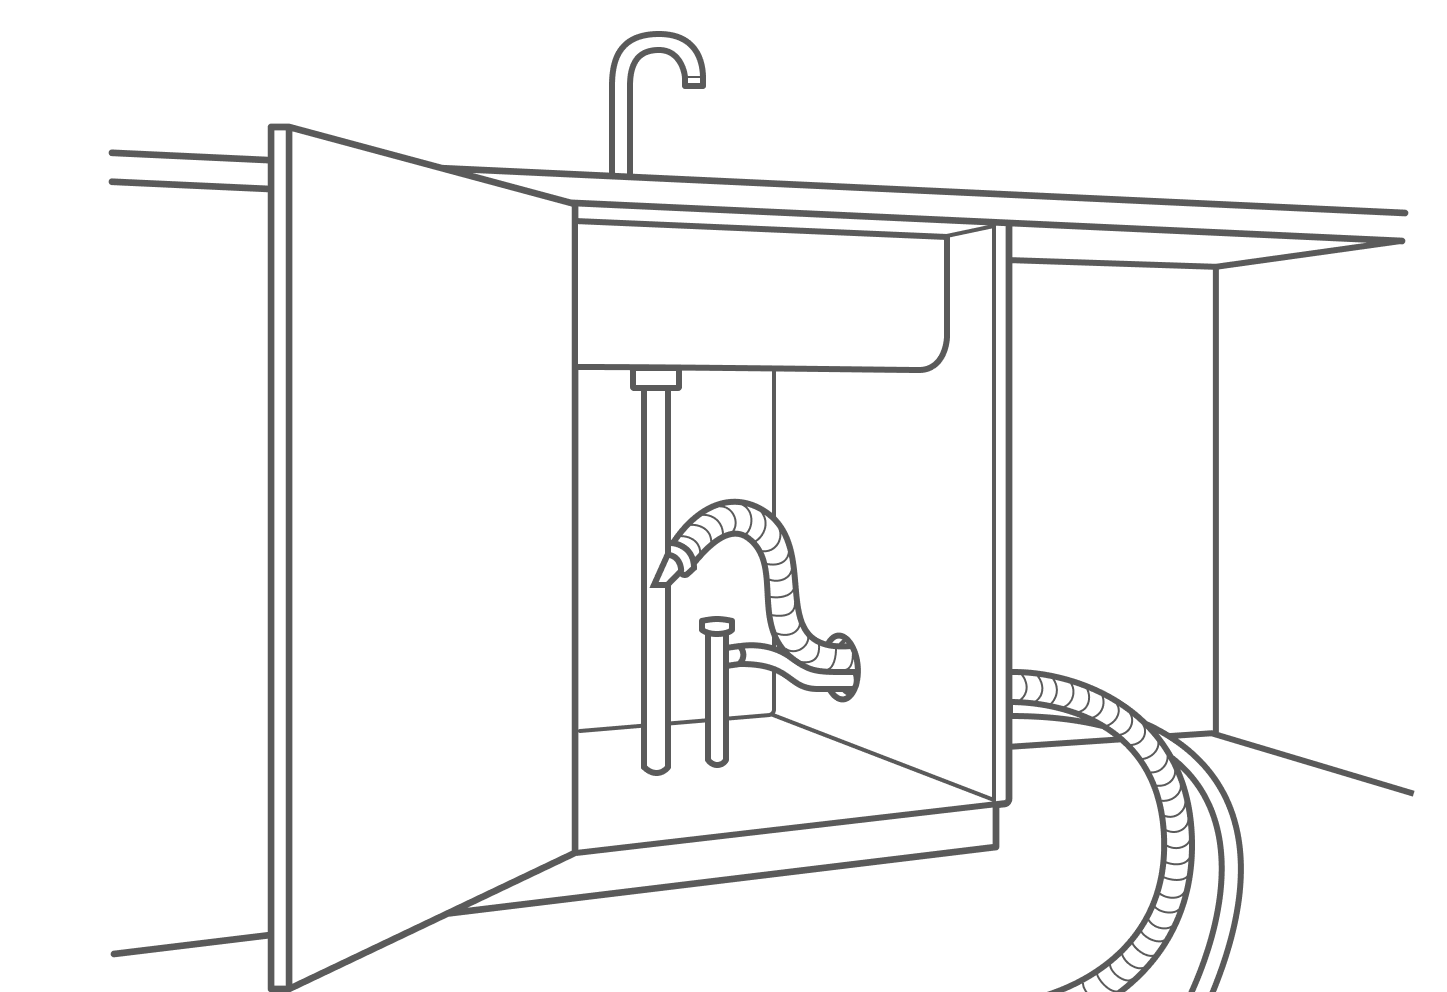

Step 4: Connect the water supply
Secure the 90º elbow fitting and link the fill hose to the valve positioned at the bottom of the dishwasher. Hand-tighten the connections, then use pliers to tighten them an extra ¼” to ½” turn. Avoid using tape or thread sealer on the water valve threads. Verify the presence of the rubber washer inside the water hose fitting. Direct the water supply line toward the rear of the dishwasher.
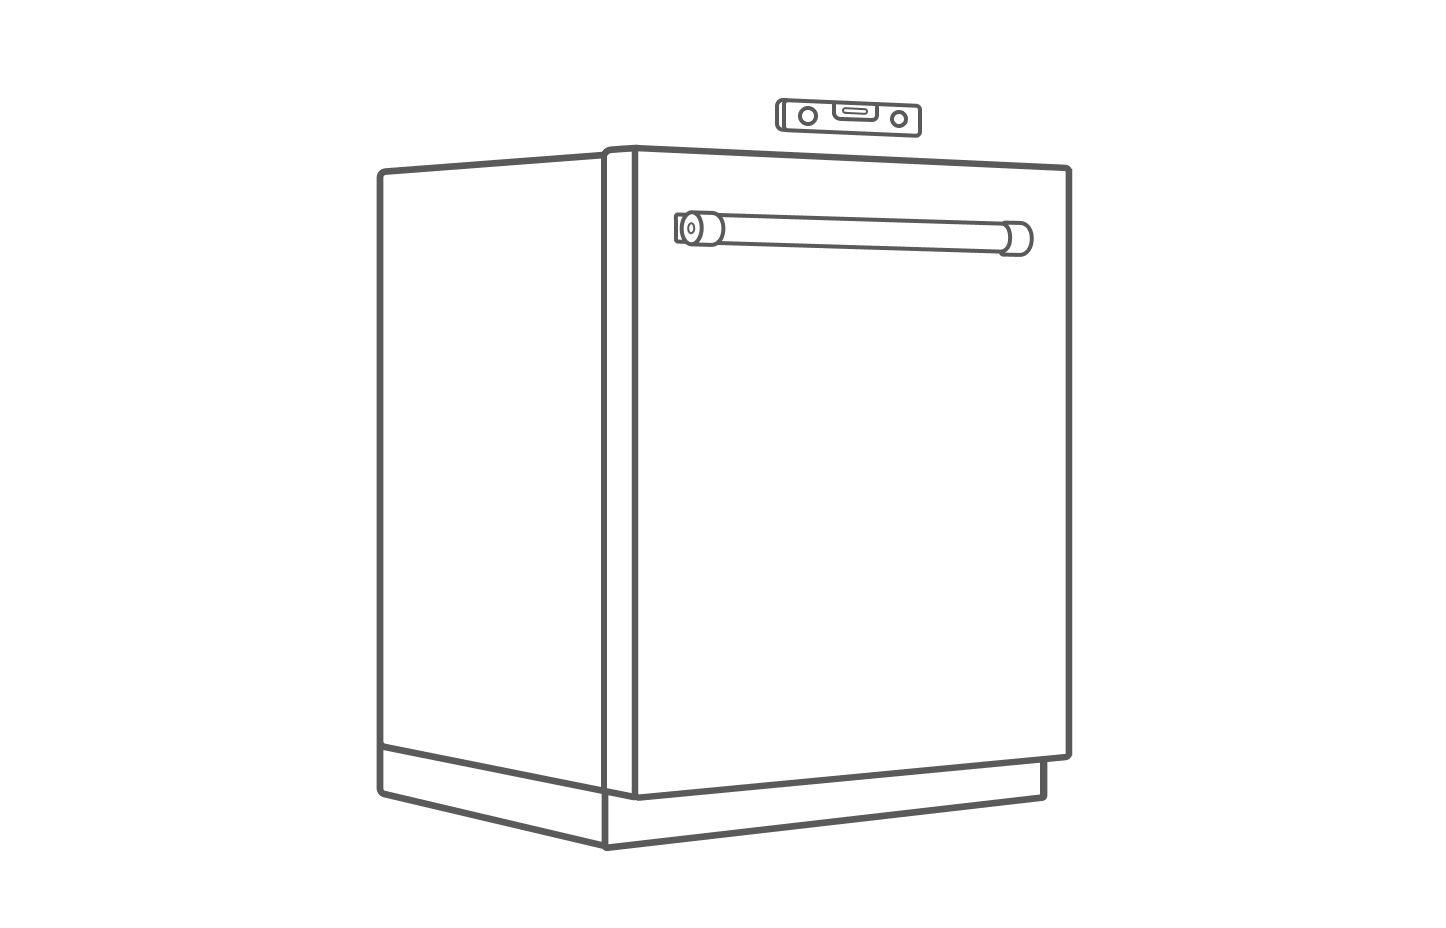

Step 5: Level and adjust height
Dishwashers need to be installed in a flat and level position for proper water drainage. Determine the height of your cabinet opening and align the height of your dishwasher’s rear leveling legs accordingly. Check that the leveling legs are even using a level.

Step 6: Slide the dishwasher into place
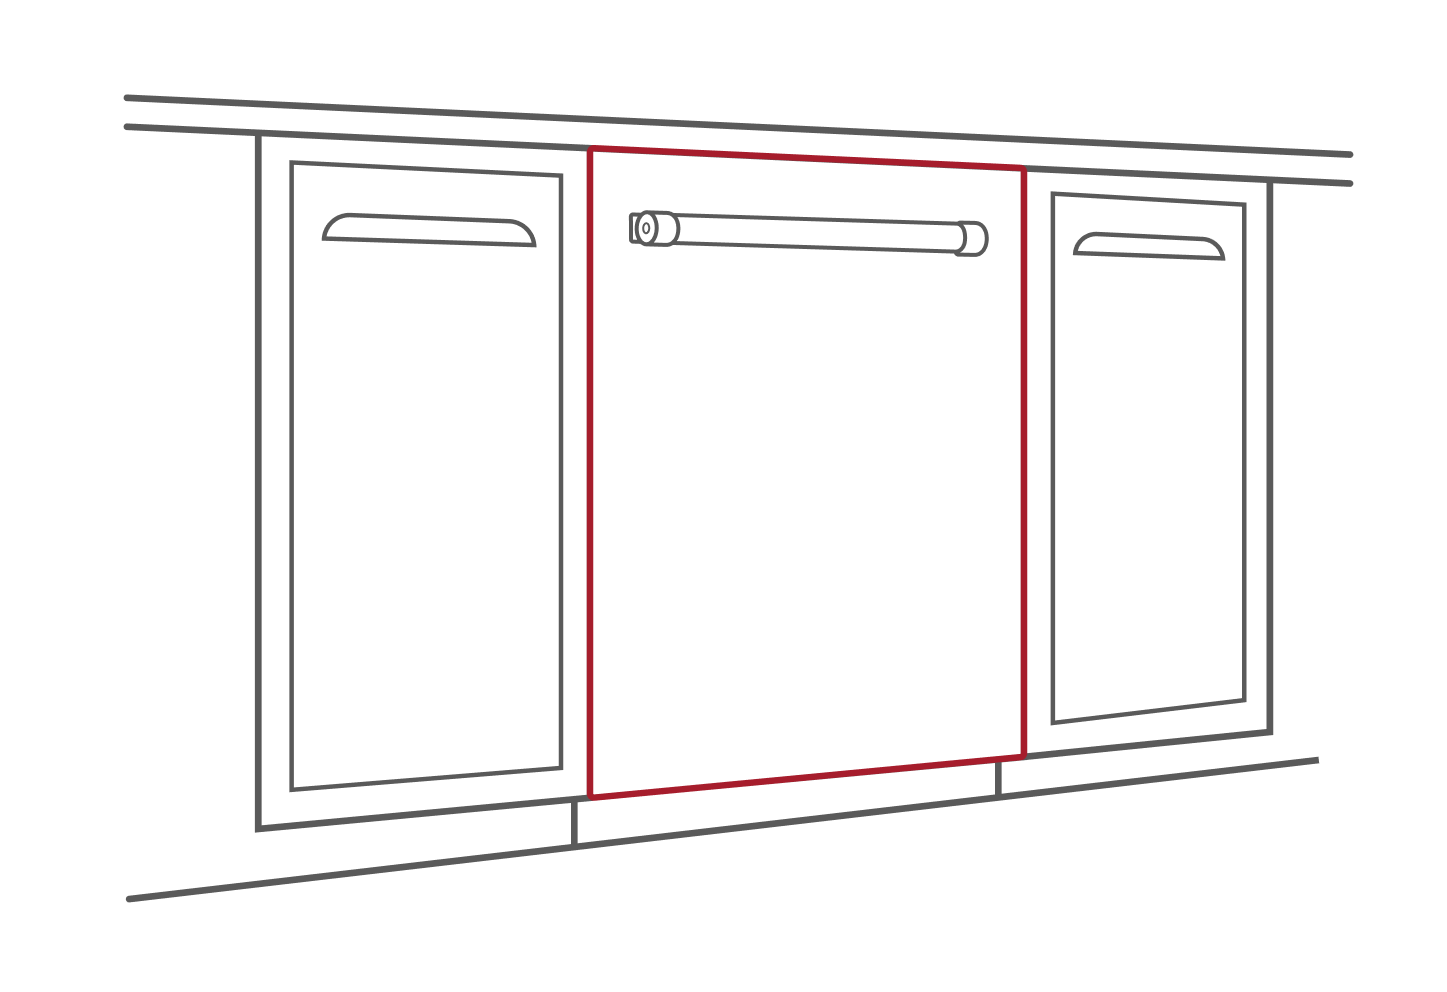
Enlist the help of another person to lift the dishwasher back into an upright position and move it toward the cabinet opening. Thread the power cord, water supply and drain hose through the hole on the side of the cabinet opening, then gently slide the dishwasher into the opening, ensuring it is approximately 6 inches away from the back.

Step 7: Secure to countertop and cabinets
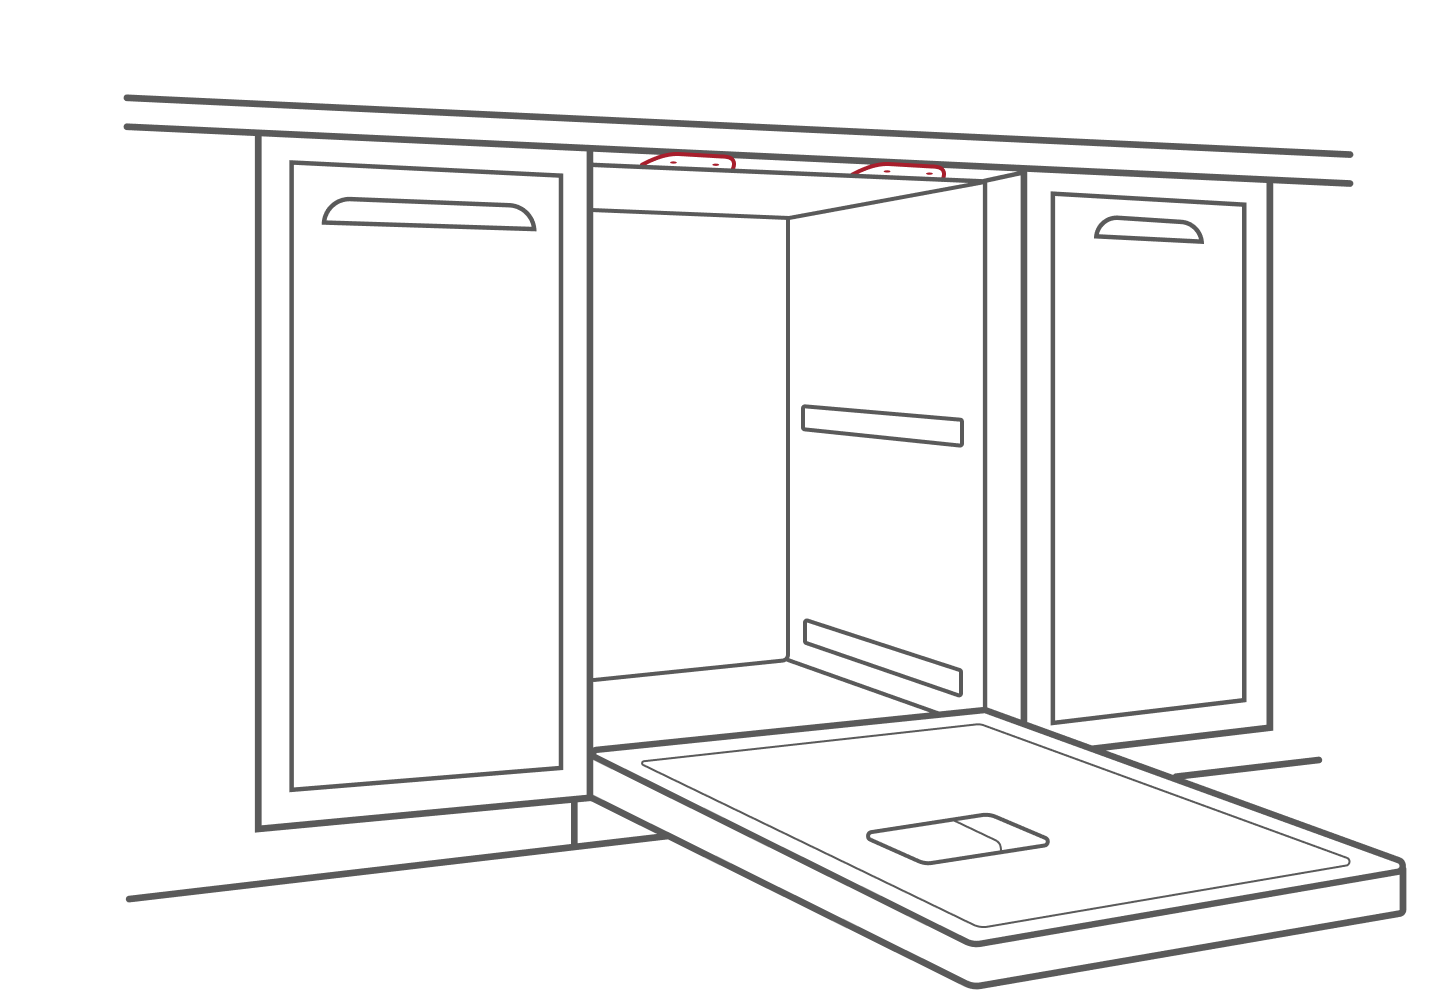
Fasten anchor brackets on the left and right sides of the dishwasher collar, then push the dishwasher into place until it is flush with your kitchen cabinets.
Use a level to check the alignment along the top edge of the dishwasher and modify the front level legs to ensure they are firmly grounded on the floor. Once the dishwasher is level, securely screw in the anchor brackets to stabilize its position.

Step 8: Connect the dishwasher and run a test cycle
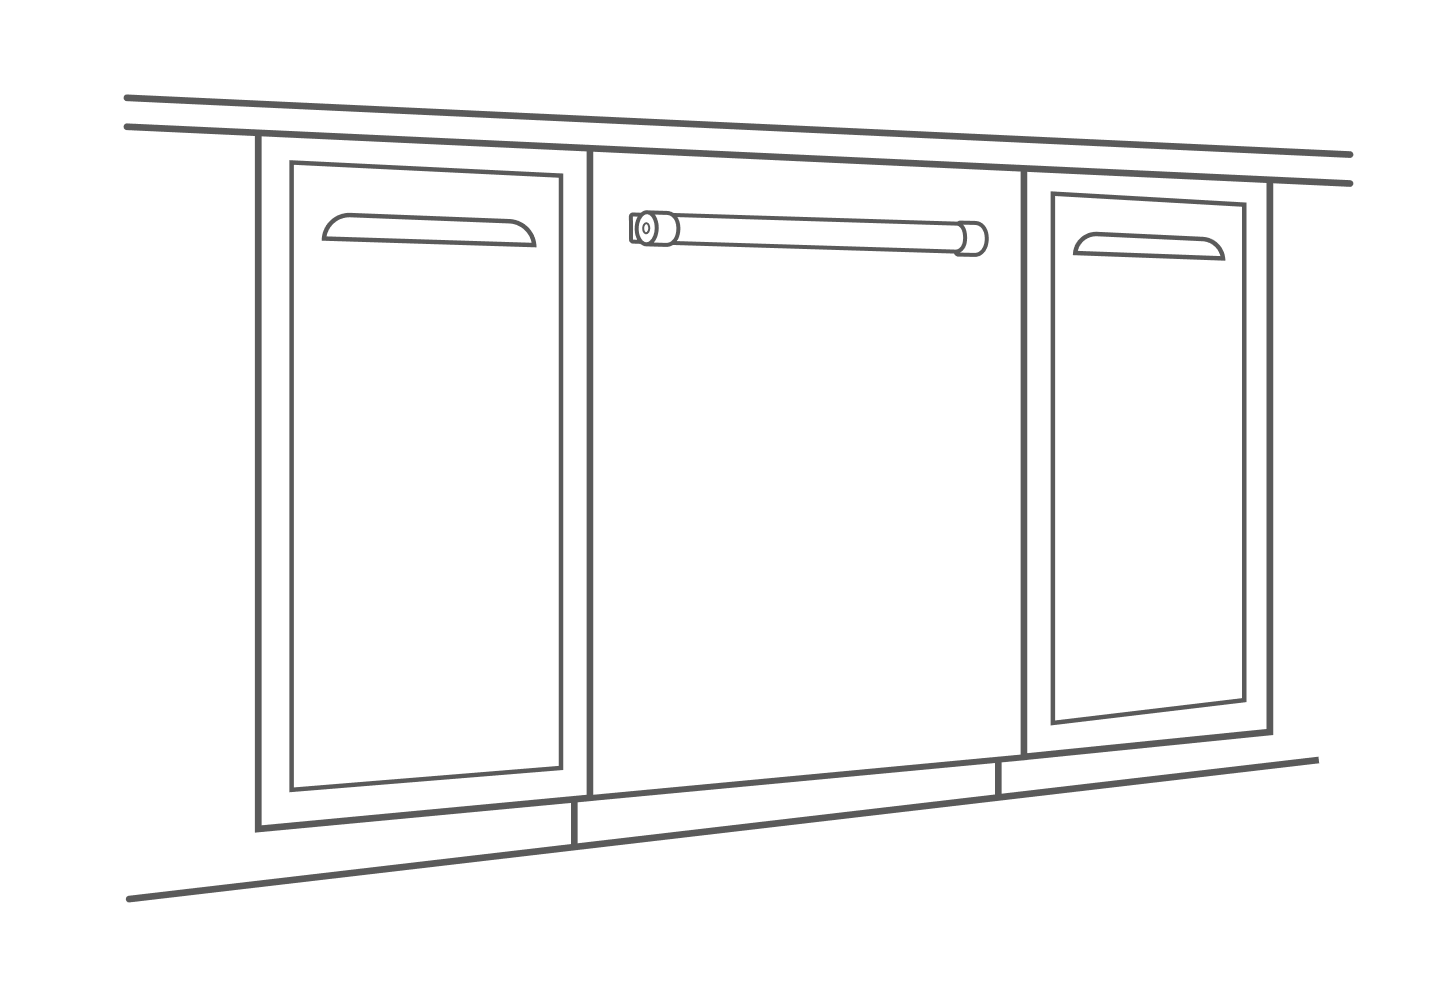
Following the steps in your owner’s manual, connect the water supply line to the hot water line, then open the shut-off valve to turn on the water. Attach the drain hose to the drain port and plug in the power cord. Reconnect the drip tray, if applicable.
Once you’ve finished the installation, run a test cycle to check for leaks or other issues. Use your owner’s manual for model-specific test cycle instructions. If the test runs smoothly, reattach the front access panel with the printed side facing the dishwasher.
How do you install a dishwasher where there was none?
If you’re installing your home’s first-ever dishwasher or changing its installation placement, you may need to rely on the help of a professional. This type of installation often requires hard-wiring and experience working with electrical connections and should be handled by a licensed electrician.
Tips for hooking up a dishwasher
Though dishwasher installation can be a heavy task, the following tips and tricks can help the process run smoothly.
Save the wood runners from your dishwasher’s packaging to use as shims for a proper fit in wider cabinet openings.
Check the water supply valve if the appliance isn’t properly filling with water during the test cycle.
When you’re removing the appliance from its packaging, save a large piece of cardboard to slide the dishwasher into place and help protect your floors.
You can help prevent backwash from the sink drain by creating slack when installing the drain hose. Make sure the hose arches higher than the drain inlet.
How do you uninstall a dishwasher?
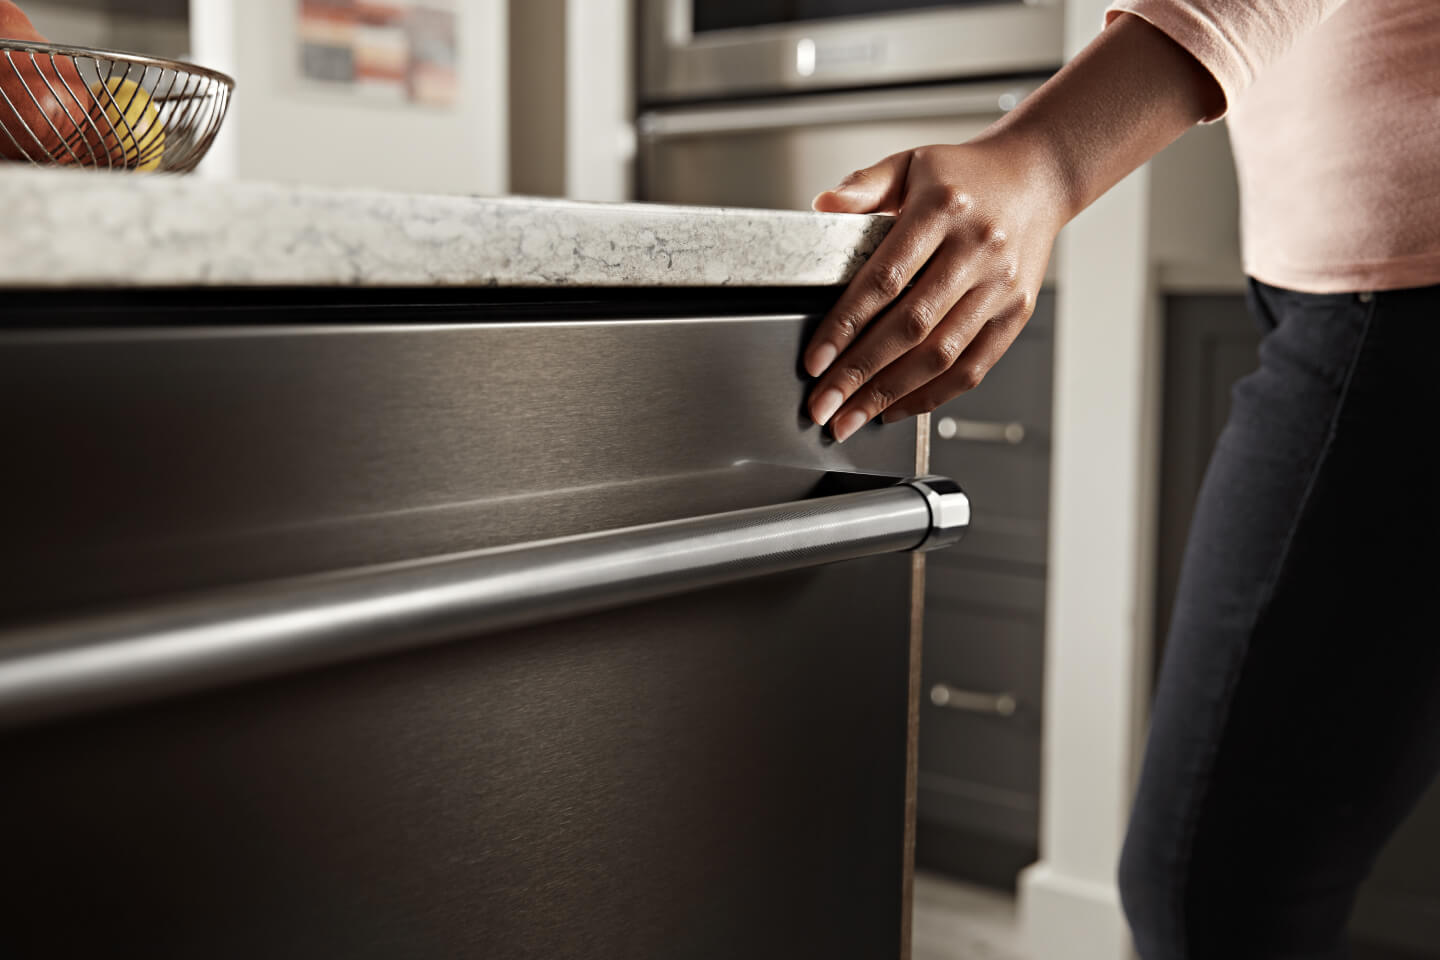
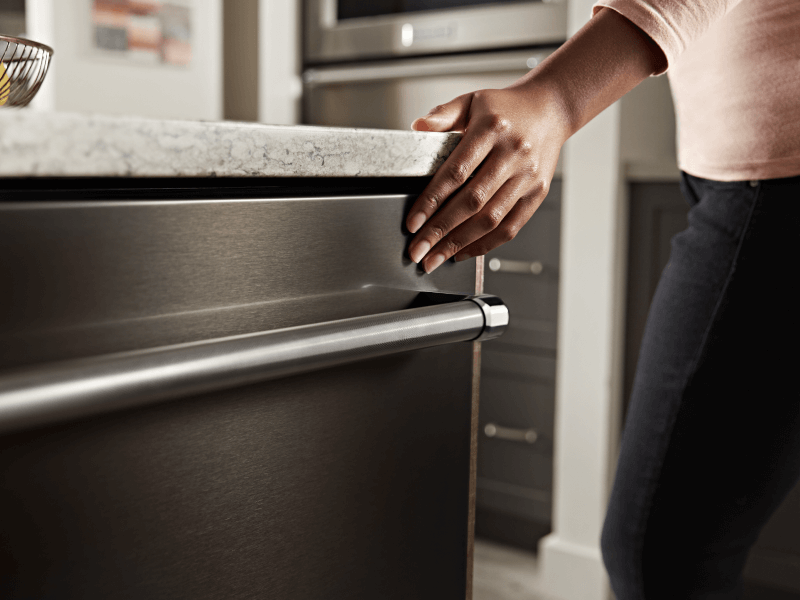
Uninstall your dishwasher by first shutting off the power at the circuit breaker and then disconnecting the power and water supply. Then remove the screws connecting it to the surrounding countertop and cabinetry. Use a screwdriver to detach the toe panel and twist the leveling legs to shorten them for easier removal. With assistance, slide the dishwasher onto the towel or cardboard and move it aside.
KITCHENAID® THIRD RACK DISHWASHERS
Extra room, extra possibilities
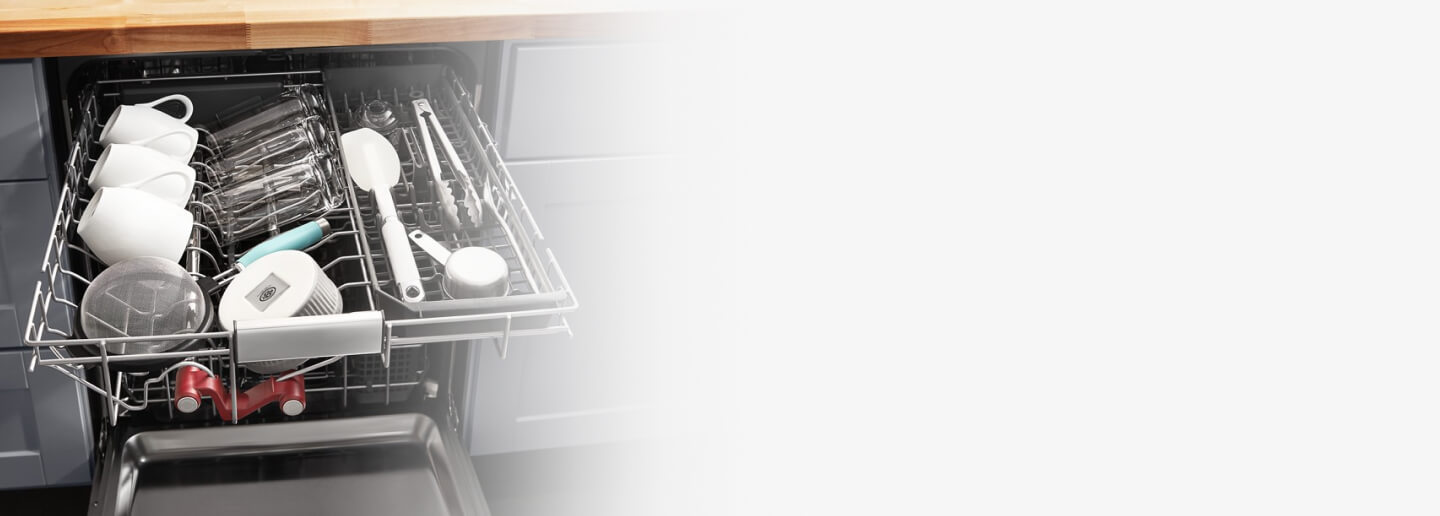
KitchenAid® dishwashers with the Third Rack have extra room to fit your cooking tools and give them the clean they need
Explore KitchenAid® dishwashers
With a KitchenAid® dishwasher, you can spend more time cooking and less time cleaning. With features on select models like the Advanced Clean Water Wash System that uses microfiltration to help remove food particles during the wash and rinse cycles and Extended ProDry™ Option that extends the drying time by 15 minutes for larger loads, post-meal cleanup is covered so you can focus on your next creation. And the best part is, if your kitchen is already equipped for a dishwasher, you can select “install” at checkout, and your delivery experts will handle the rest.

KitchenAid® Hardware Accessory Kits
Curate the colors and textures that move you
From bold Black Ore to the inviting warmth of Bronze, mix and match handles and knobs to refresh your appliances and bring new energy to your kitchen
