
How to install a cooktop
A new cooktop can be a great source of inspiration for makers in the kitchen by providing versatility that lets you melt, simmer, stir-fry and saute with ease. While there are various types of cooktops available depending on your preferred style of cooking, if you’ve recently purchased a new cooktop but aren’t quite sure how to install it, this guide will provide the step-by-step instructions for installing a cooktop. Soon, you can start creating delicious dishes to satisfy your tastebuds and culinary creativity.
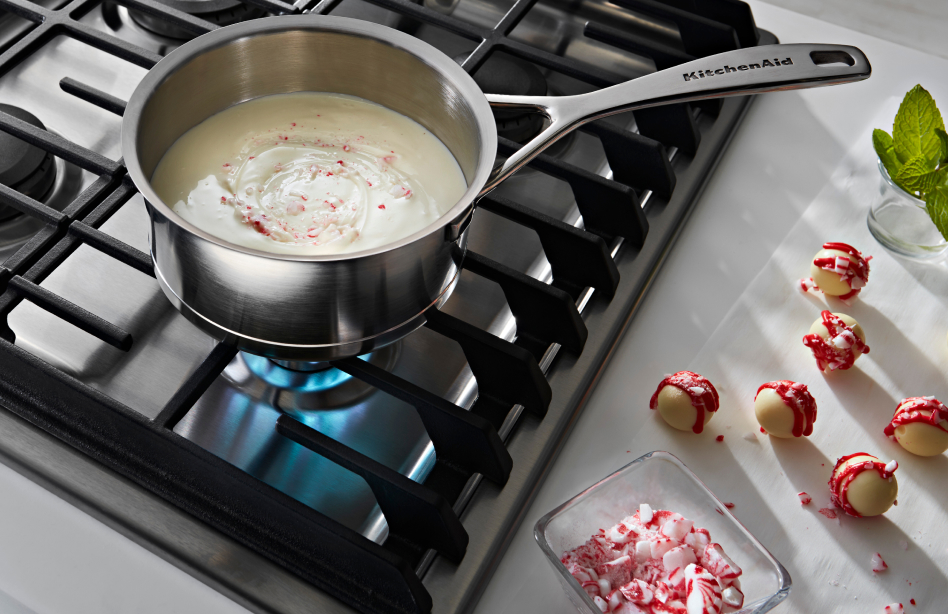

Cooktop installation: Installing a gas, electric or induction cooktop
Before installing your new cooktop, please note that this guide will provide a general overview of the installation process. Always follow the directions in the instructions manual, and if your installation requires updating the configuration of your kitchen, installing a new gas line or electrical wiring, hiring a professional is recommended. For induction cooktops, follow along with the instructions for installing an electric cooktop.
Supplies
• Pipe sealant
• Paint brush
Tools
• Power tester
• Screwdriver
• Pencil
• ¼" nut driver
• Pliers
• Pipe wrench
• Tape measure
For gas installation:
• 15/16" combination wrench
• Spray bottle
• Water
• Soap
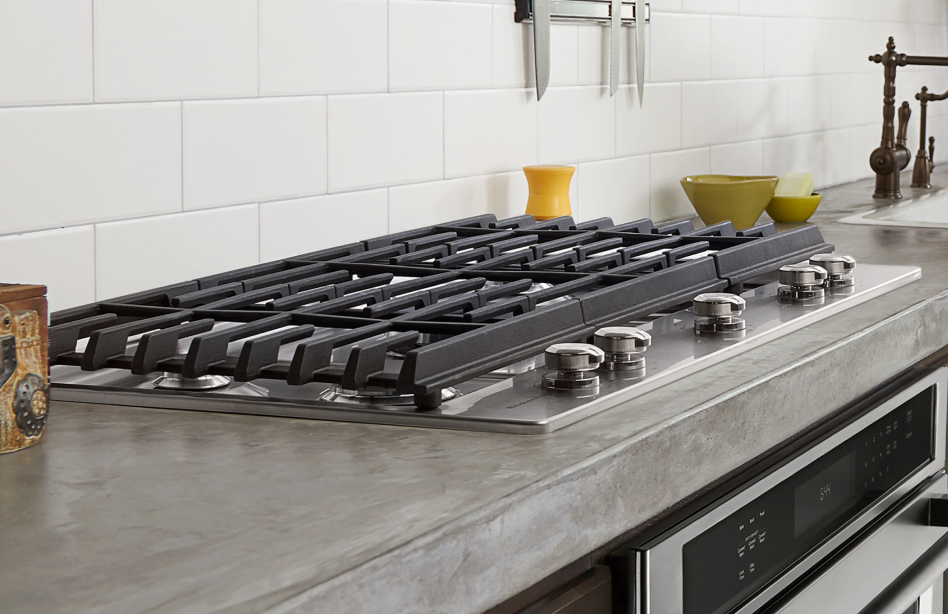

Step 1: Check fuel source
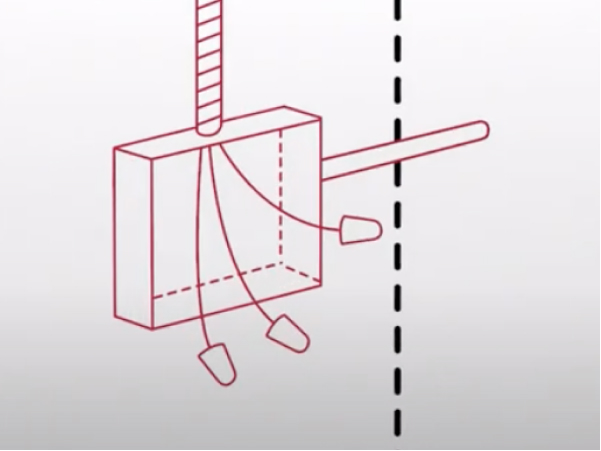
There are two different types of installation depending on if you’re replacing a gas or electric/induction cooktop. Electric or induction cooktops require a junction box that should be at least 240 volts, while gas cooktops will need a gas line. You’ll also want to verify that your new cooktop has the same amperage as the one you’re replacing, since older cooktop models may have a 30-amp circuit and new models usually have a 40 or 50-amp circuit. If placing your cooktop above a wall oven, you'll also want to make sure that both are compatible with each other. Hiring a professional is recommended if you don’t have the required elements to complete this installation.
Step 2: Turn off power and note wiring positioning
As a safety measure, turn off the switch that powers the cooktop at the fuse box, and test that the electricity is completely off by using a circuit tester on all of the wires. Take pictures of the wiring before disconnecting, since the new cooktop will typically connect the same way.
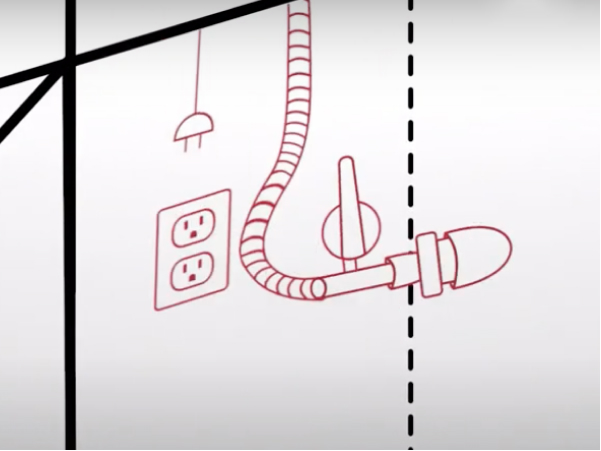
For gas cooktops, shut off the gas line by turning the switch perpendicular to the valve with a wrench. Remove any gas left over in the range by turning on your burners for a few seconds, making sure that the kitchen is well-ventilated when doing this step. Next, carefully remove the flexible gas hose. Check the hose for any wear and tear and replace with a new one if there’s any damage. You may reuse the same hose if it’s in good condition.
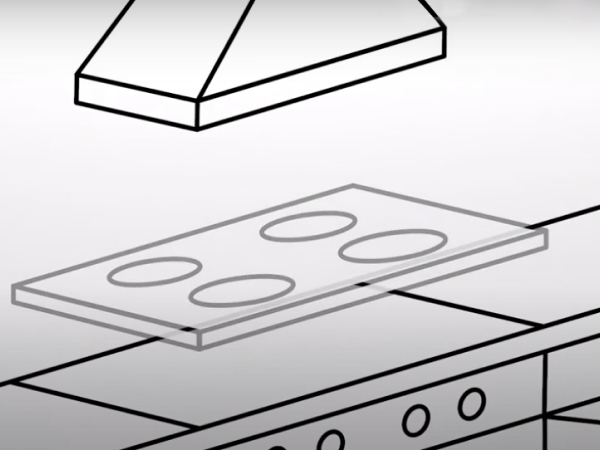
Step 3: Remove the existing cooktop
Remove the sealant or caulk holding the cooktop in place, as well as any knobs, grates, grills or any other removable parts from the cooktop. With the help of a second person, lift the old cooktop by pushing from the bottom so it comes up and out. You can remove the neighboring cabinets and drawers to give yourself more room to work.
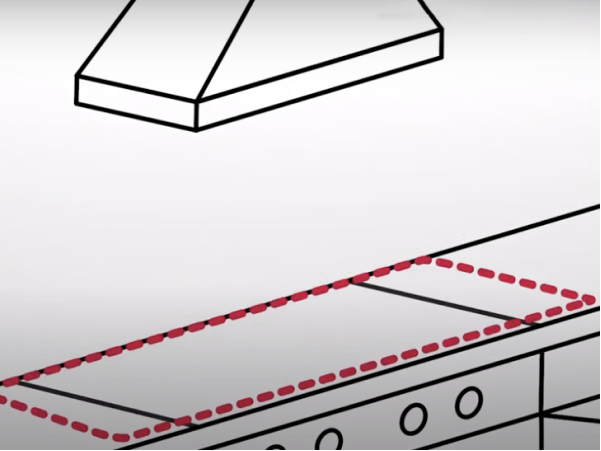
Step 4: Measure your countertop opening
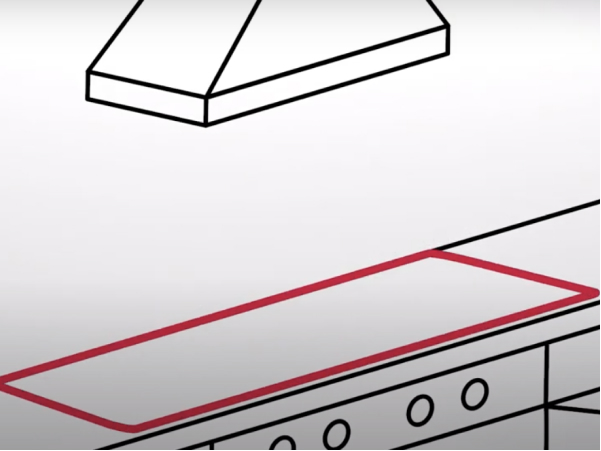
Minimum clearance for the countertop opening will depend on the cooktop manufacturer, but on average, you’ll need at least 30 inches above and 1 foot of clearance on each side. Reference the installation instructions for specific information on the amount of space you’ll need. With the measuring tape, measure your clearance space as well as the cooktop to ensure you have the minimum amount of space necessary to complete the installation. Subtract about ½-1 inch from each side to account for the overhanging lip of the cooktop.
Step 5: Install the spring clips
Remove the new cooktop from all packaging and keep loose parts to the side until it’s time to complete the installation. Locate the spring clips and screw them into the new cooktop first, since they will hold it in place within the countertop opening. Placing double-sided adhesive tape on the underside of the cooktop can also be used if you have granite countertops and are installing an electric cooktop.
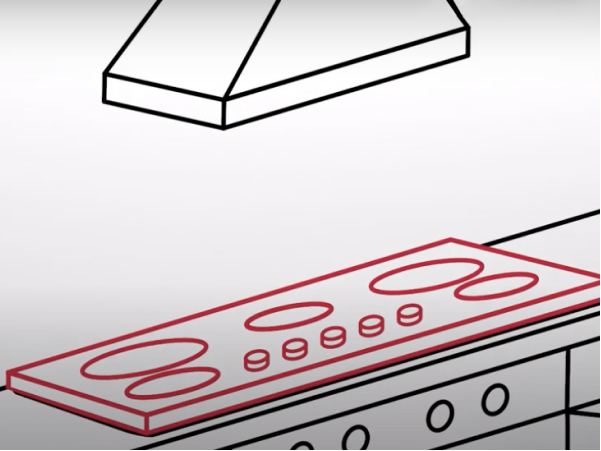
Step 6: Place new cooktop into countertop
You will again need the help of a second person to help you lift the new cooktop into place. Make sure all wiring goes into the opening before positioning the cooktop into the spring clips until there is an audible click.
Step 7: Connect the fuel source
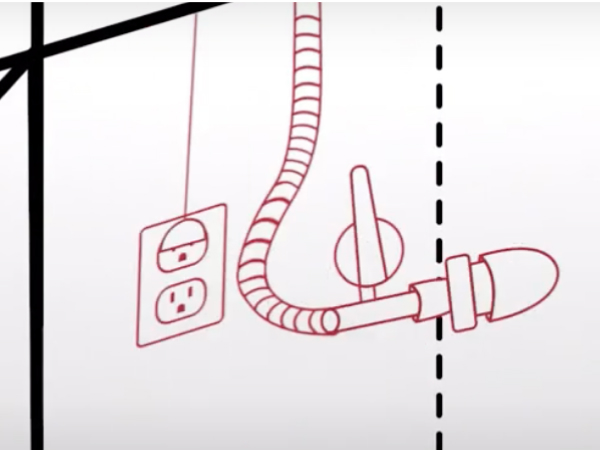
For an electric cooktop, reference the picture you took earlier to connect the wires to the correct terminal of the connection box. Cap the wires with a cable nut and tuck them within the junction box.
If installing a gas cooktop that came with a regulator, attach the regulator to the cooktop and the hose to the regulator using pipe sealant and a paintbrush and tighten with a wrench. Then, apply a generous amount of pipe sealant to the thread that attaches the gas hose to the cooktop. Plug in the electrical outlet to the igniter that will light the burners.
To make sure that the gas line is tightened properly, mix water and dish soap in a spray bottle and spray onto the pipe joints. If air bubbles appear after gas has been turned back on, there is a gas leak and the gas line will need to be tightened.
Step 8: Install trimmings and any additional pieces
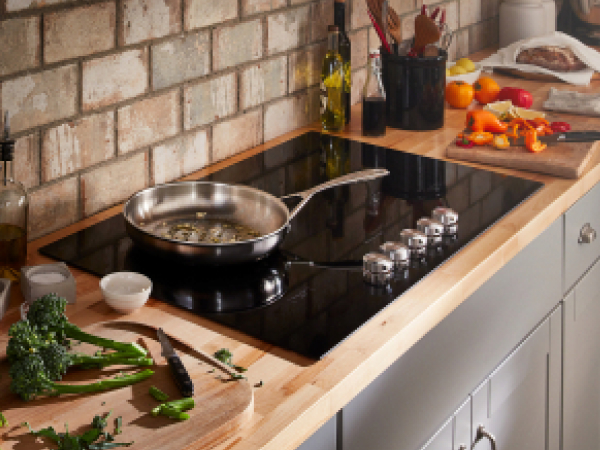
To complete the installation of your new cooktop, tighten the spring clips and add caulk trimming to the edges of the cooktop, if adding a trim. Attach the knobs, burners and grates, and wipe down to remove dust or debris present from the installation. Once this is done, your new cooktop is ready for whatever you’re cooking up.


Does a cooktop need a vent?
Your cooktop may require a vent depending on local codes. Even if it is not required, a vent above your cooktop can enhance your cooking process by helping to remove smoke, odor and grease while you cook. Proper ventilation can also improve your cooking experience and make your kitchen more appealing. Depending on whether you prefer vented or ventless, you may be able to install your range hood yourself.
Downdraft cooktops feature a ventilation system that is integrated directly into the cooking surface, eliminating the need for a separate overhead hood. Another type of downdraft ventilation is a retractable downdraft range hood that is installed behind your cooktop, rather than overhead.
Can I install a cooktop myself?
Installing a cooktop yourself (and with the help of a friend) is certainly a task that you can take on if you have the right experience. However, keep in mind that if you do not feel comfortable working with electrical wiring or if you need to add a gas line or change the configuration of your kitchen, hiring a professional to complete the installation is strongly recommended.
Shop the latest deals on select KitchenAid major appliances Shop Now

Explore KitchenAid® cooktops brand
Designed to spark your creativity, KitchenAid® cooktops can expand your possibilities with a variety of styles, heating sources and sleek designs. Whether you’re looking for a new gas cooktop, an electric cooktop or even one with induction heating, KitchenAid® cooktops will support your culinary adventures every step of the way.