
How to install a built-in microwave
As with any major appliance, you’ll want to make sure you install your built-in microwave properly before you start using it. If you aren’t sure how to get started, our guide can help. Read this guide for helpful tips on how to install a built-in microwave step by step. If you’re concerned about installing your appliance on your own, contact KitchenAid Service and Support. We’ll help you schedule an appointment with a technician that can help you complete your installation so you can start cooking your favorite recipes.
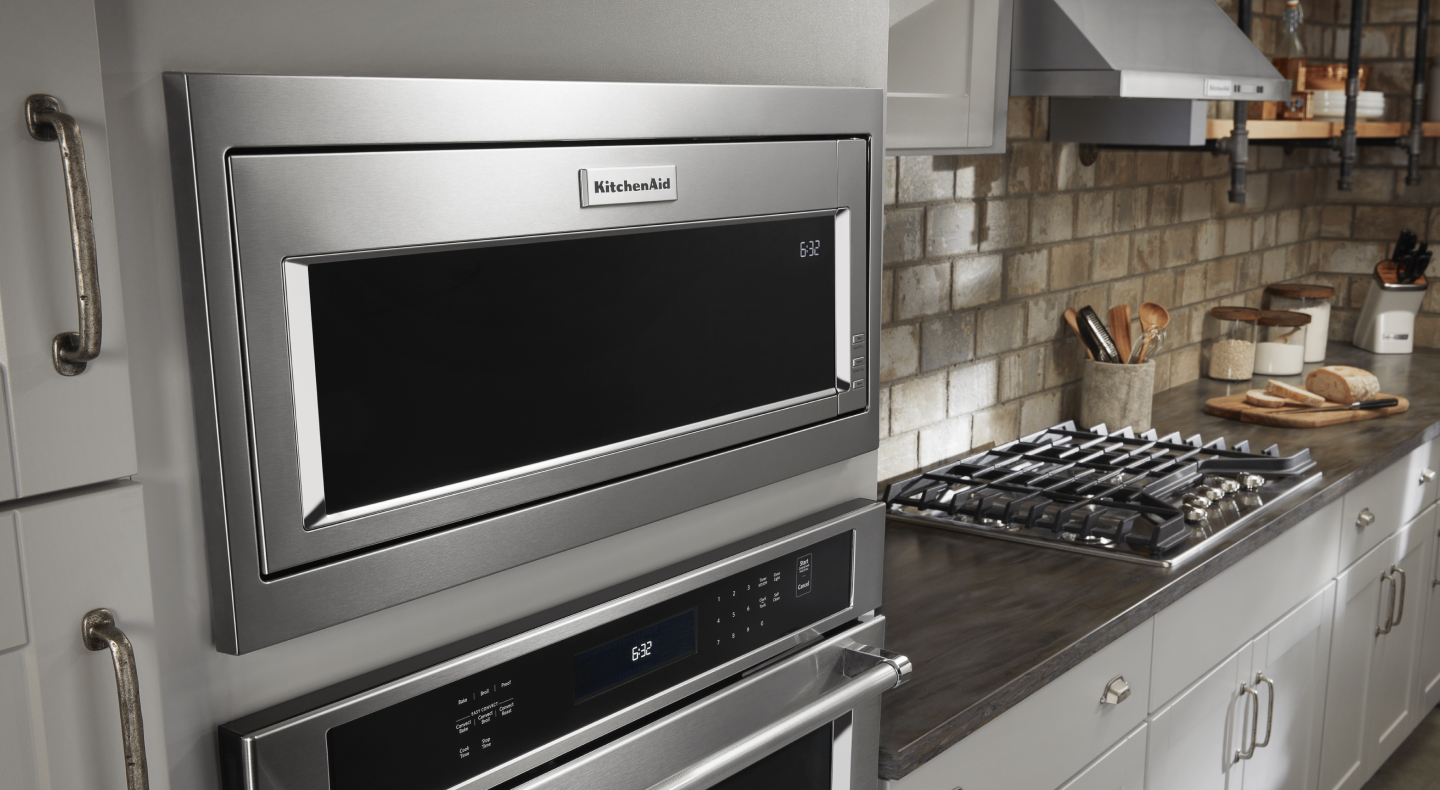

How to install a KitchenAid® built-in microwave: A step by step guide
Getting started:
Before you begin the microwave oven installation, refer to the installation manual for a list of recommended tools and parts you may need.
Tools
Phillips screwdriver
Flat-blade screwdriver
Measuring tape
Level
- Drill (for wall cabinet installations)
1/8" (3mm) drill bit (for wall cabinet installations)
1" (2.5cm) drill bit (for wall cabinet installations)
Step 1: Measuring the cabinet opening
For proper microwave installation, the cabinet opening will need to be 28 ½ inches wide, with a recommended height of 17 ⅝ inches. A minimum depth of 21 ⅞ inches is required, along with 2 and 3/16 inches of clearance above the opening and a 1 inch clearance below.

Step 2: Confirming the electrical supply
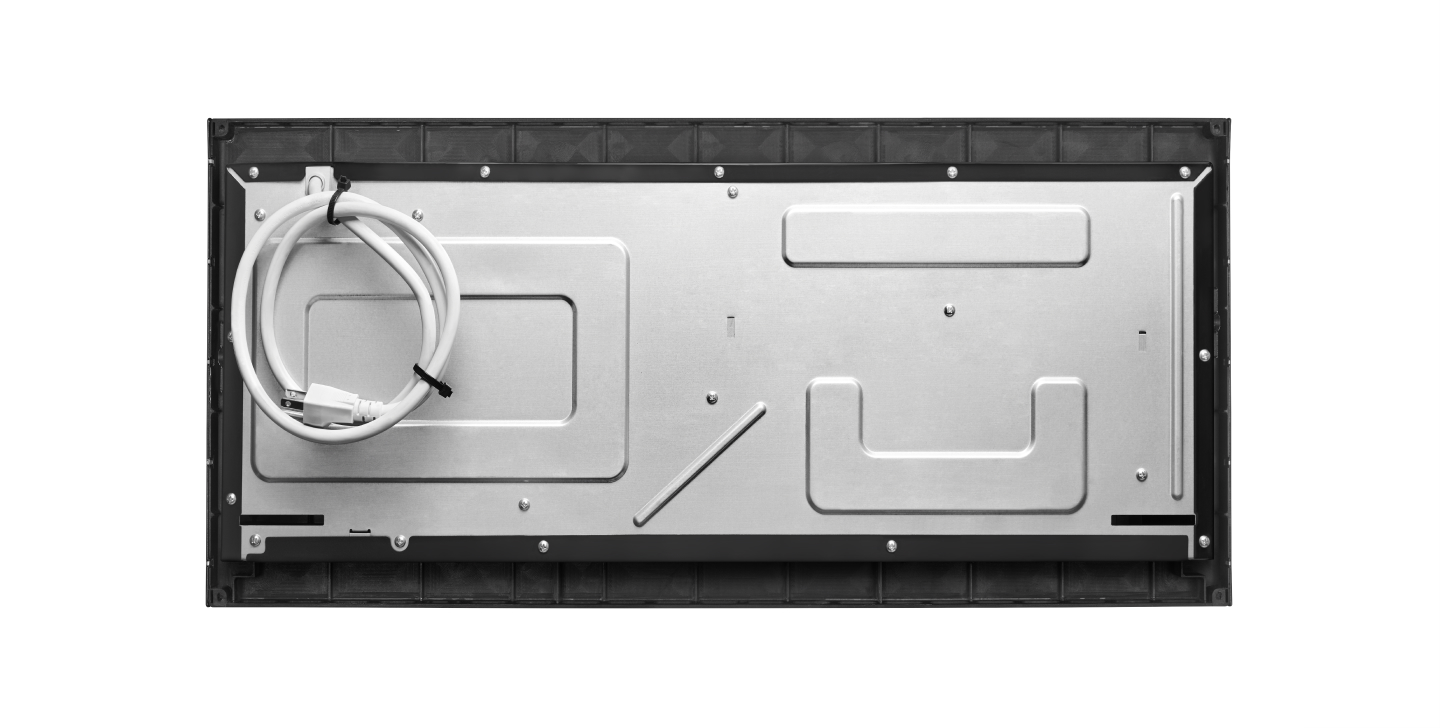
The electrical supply for the appliance must be 240V at 60Hz. A dedicated circuit is required.

Step 3: Assembling and installing the spacer kit
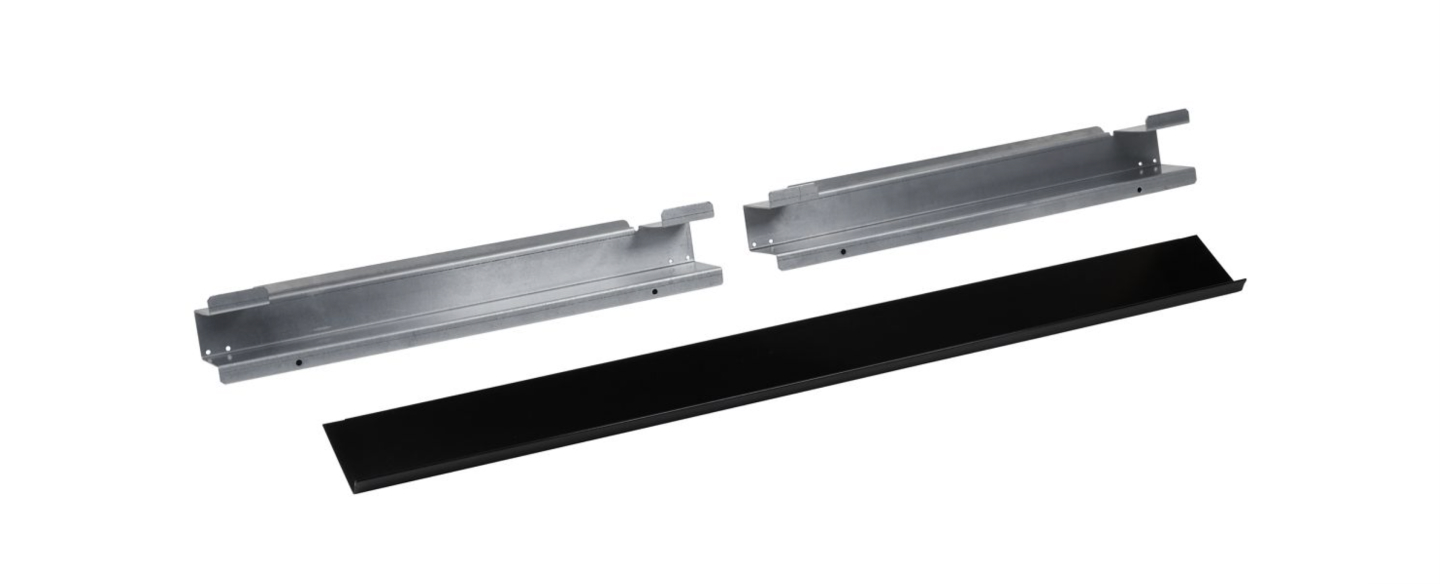
First, assemble and install the provided spacer kit, if applicable. With the flange facing outward, align a spacer bar on the bottom trim and secure it with two 3/8 inch washer screws from the provided microwave filler kit. Do the same to align and secure the opposite spacer bar. Now center the spacer assembly against the lower front edge of the cabinet opening. Using a 1/8 inch diameter drill bit, drill through the mounting holes in the spacer bars to create pilot holes. Use a Phillips head screwdriver to thread and tighten the 4 ¾ inch flathead screws from your microwave installation kit to secure the spacer assembly. Avoid overtightening the screws.

Step 4: Unpacking and moving your built-in microwave oven
WARNING: Excessive Weight Hazard. Use two or more people to move and install the microwave oven. Failure to do so can result in back or other injury.
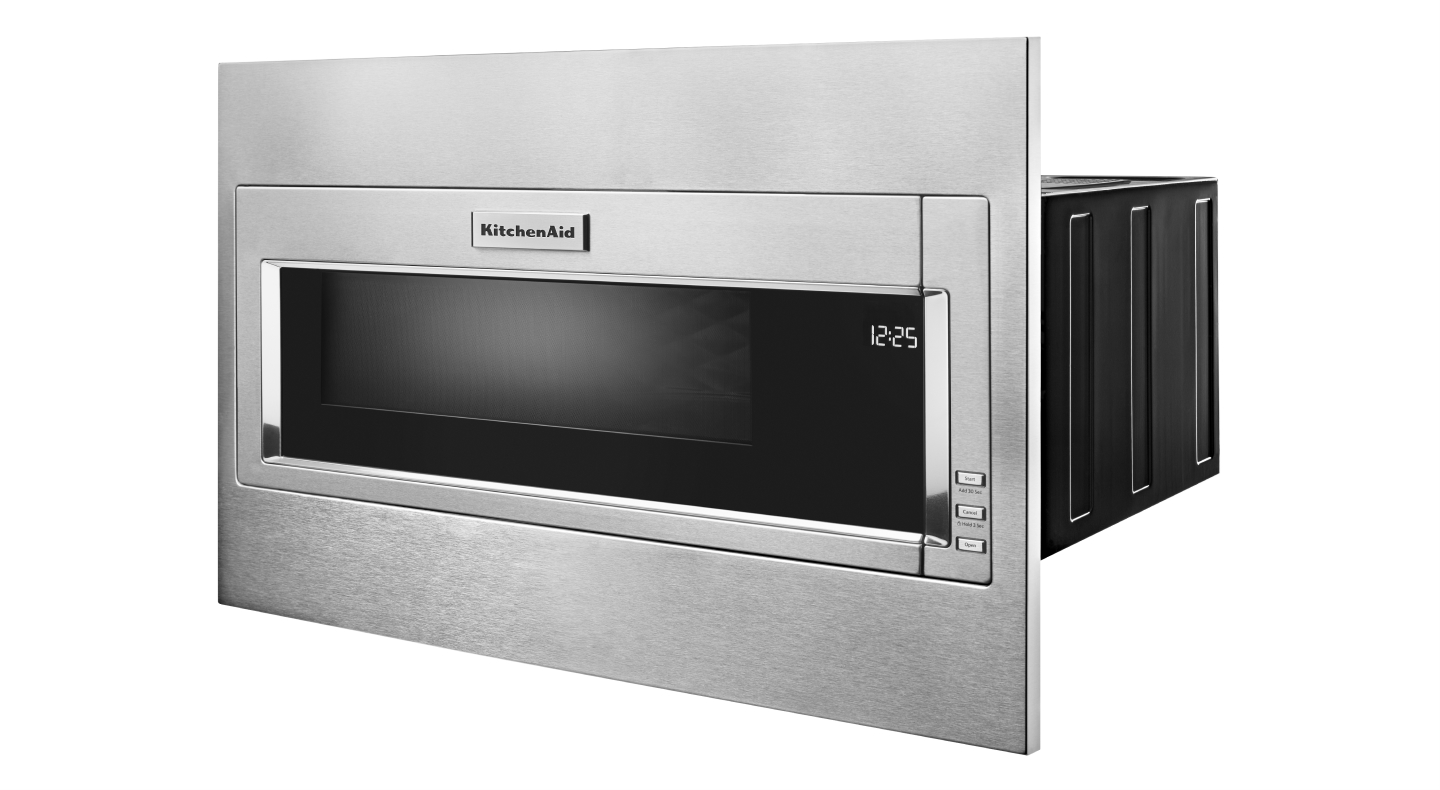
Remove any packaging materials from the microwave oven, as well as the glass tray, support and any other accessories, if applicable. Resting the appliance on a piece of cardboard, have an assistant help you to set the microwave on a cart or countertop adjacent to the cabinet opening.
Step 5: Connecting the microwave wiring
WARNING: Electrical shock hazard. Disconnect power before servicing. Replace all parts and panels before operating. Failure to do so can result in death or electrical shock.
Before making any electrical connections, make sure the power supply to the junction box is turned off. If necessary, remove the junction box cover. Use a UL listed or CSA approved half inch diameter conduit connector to connect the flexible cable conduit from the microwave oven to the junction box. Tighten the screw or screws to secure the conduit.
Now join the black wires together and secure them using an approved, UL listed wire nut. Do the same to secure the two red wires together, and the two white wires. Finally, join the green or bare grounding wire or wires to the bare grounding wire from the microwave oven and secure them with a wire nut. With all of the wires positioned inside the junction box, replace and secure the cover.
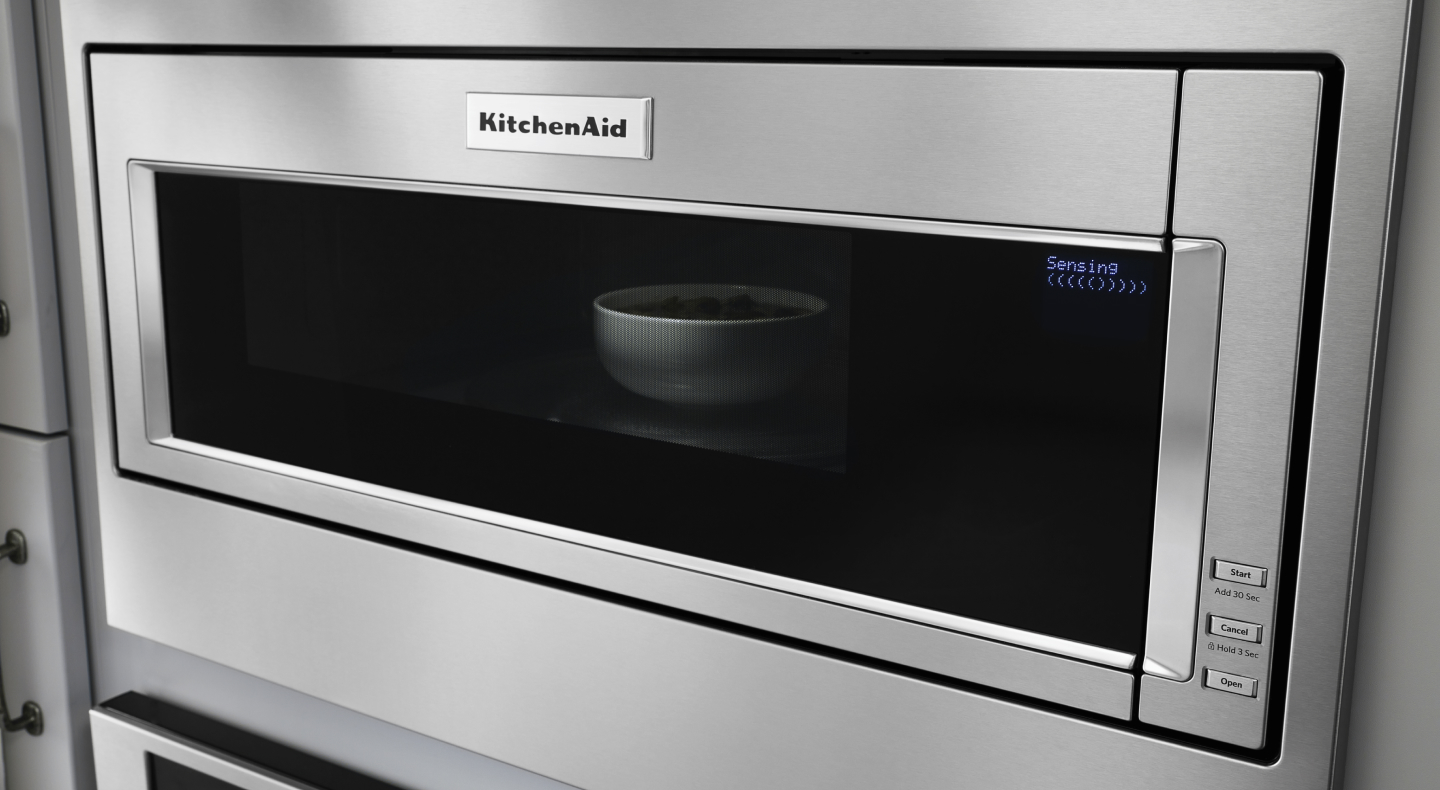

Step 6: Installing your built-in microwave
Using two or more people, align the microwave oven on the spacer bars, if applicable. Open the microwave oven door and push against the front frame of the oven to fully insert the appliance into the cabinet. Confirm the appliance is centered, then use a 1/8 inch diameter drill bit to drill pilot holes, using the holes in the side mounting brackets as templates. Align the plastic washers with the holes in the mounting brackets, then thread and tighten the two 3/4 inch flathead screws to secure the appliance to the cabinet. Avoid overtightening.
Replace the glass tray support and the tray as well. Turn the power supply back on, and the microwave oven should be ready for use.
Shop the latest deals on select KitchenAid major appliances Shop Now

Shop KitchenAid® built-in microwaves
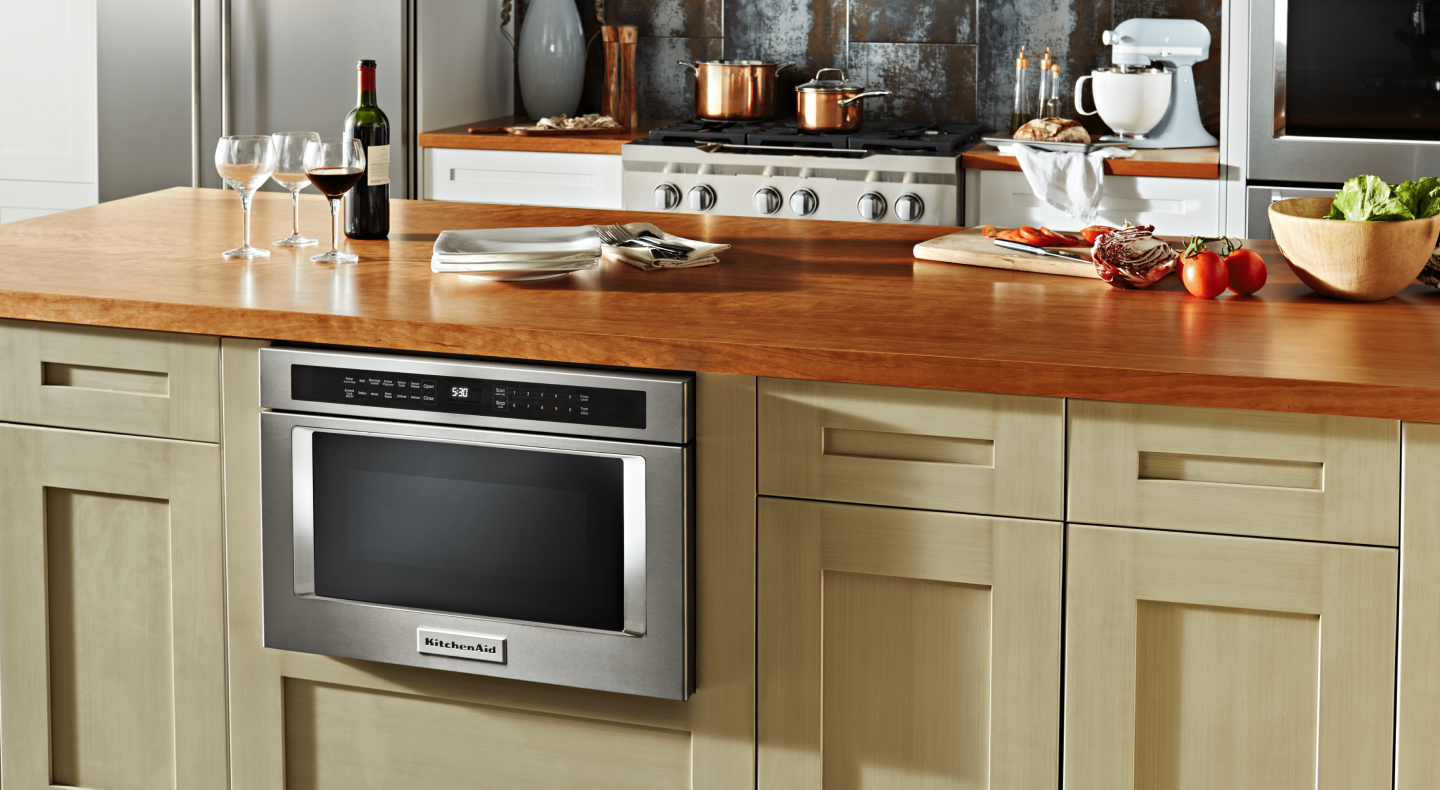

Built-in microwave installation tips
Consider sizing and measurements: Before committing to any drill holes in your kitchen walls, be sure to find the exact measurements of the appliance to ensure a correct fit for your microwave oven installation. Also, note the distance of your intended electrical outlet and your microwave power cord length.
Keep replacement microwave hardware: If you are replacing your current appliance, keep the cabinet screws and mounting brackets after you remove the built-in microwave. The old parts may be used for future repairs for your new unit.
- Consider professional help from a technician: An expert will be able to ensure your microwave oven installation is smooth and painless. However, if you are set on installing your appliance yourself, keep in mind that the job will take two to three people.
Built-in microwave installation FAQs
If you’re looking to create a more cohesive and integrated look to your kitchen, a built-in model, such as a microwave drawer is perfect for your next microwave oven installation. Here are a few things to consider as you learn about how to install a built-in microwave properly.
Where should I install a built-in microwave?
A built-in microwave oven model is designed to fit comfortably into kitchen cabinets or fixed walls to free up counter space, so you should take advantage of these areas when considering the location for your microwave oven installation.
Do I need a trim kit for a built-in microwave?
You do not need to use a trim kit when installing a built-in microwave. However, for countertop models, a trim kit will help you achieve the same seamless and integrated look as a built-in model.
Can I install a built-in microwave by myself?
While you may be able to complete most of the installation on your own, professional service will ensure your built-in microwave is installed properly. With professional service, you can get creative with the placement of your built-in microwave to complement your unique kitchen layout without worrying about appliance malfunctions due to improper installation.
If you’re planning on installing your microwave by yourself, be sure to consult your installation instructions first. In addition, ensure that you have all the necessary components available before attempting installation.
Do I need an electrician to help install a built-in microwave?
If you’re looking to achieve a seamless microwave oven installation for your built-in model, a licensed electrician will provide the level of professional care you need for your next kitchen project.
If you’ve selected a professional service as part of your built-in microwave order, prepare for your installation appointment by ensuring your new home appliance will fit between all entryways, cabinetry and wall spaces. On the day of your appointment, the delivery team will set up your appliance and make sure all components are running properly.
Shop the latest deals on select KitchenAid major appliances Shop Now

Shop KitchenAid® microwaves
KitchenAid® microwave ovens offer major possibilities. Whether you choose a KitchenAid® hood-combination microwave, built-in microwave or countertop microwave, you'll be choosing a high-end appliance made to keep up with your kitchen. Learn more about the different types of microwaves to discover the one that’s right for your home.