How to clean a self-cleaning oven in 4 steps
Keeping your oven and oven door glass clean is an important part of kitchen maintenance. In addition to looking great, a clean oven also helps prevent smoke and unpleasant scents from entering your home—or your food. If you don’t have time to manually clean your oven, its self-cleaning function can help. Find out how a self-cleaning oven works and follow the tips below on cleaning a self-cleaning oven.
Don’t forget to review the self-clean oven instructions for your model in your Use and Care guide, as well. If you're looking for a self-cleaning oven, KitchenAid brand offers ovens with self-cleaning capabilities that can make baking and cleaning a simple task.
How does a self-cleaning oven work?
Self-cleaning ovens use high temperatures to help remove food spillage and grime that accumulates over time. The very high temperatures burn cooked-on food to a powdery ash that can more easily be wiped away. Self-cleaning cycles vary in length depending on the level of soil and are meant to provide a deep clean from time to time.
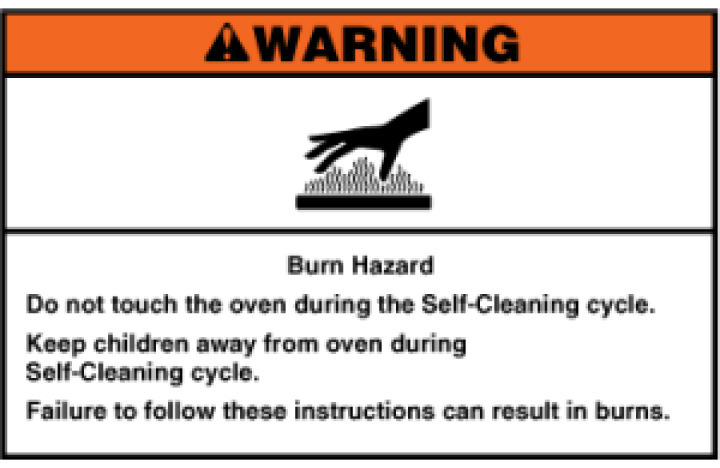
Some ovens also feature a steam-clean cycle that uses moisture to soften cooked-on splatters and spills. Steam cleaning helps maintain your oven in between the deep cleaning provided by a heat based self-cleaning cycle. Compare self-cleaning vs. steam-cleaning ovens.
IMPORTANT: Additionally, if you have pets, you’ll want to make sure that the kitchen is well ventilated and keep them in a separate room while the oven is self-cleaning, as their senses of smell are more sensitive than ours.
What to expect during a self-cleaning cycle
While self-cleaning cycles vary by oven model, here are some things you can expect when using a KitchenAid® oven with this cycle. If you do not have a KitchenAid brand self-cleaning oven or range, your cycle may run a little differently and you should consult your owner's manual for specifics.
The oven door will lock approximately 6 seconds after the cycle has been started.
“Heat,” “On,” “Locked,” and “Clean” will appear on the display.
The door will not unlock until the oven cools. The cycle time includes a 30-minute cool-down time.
When the cycle is complete and the oven cools, “End” will appear on the display and “Locked” will disappear.
The heating and cooling of porcelain on steel in the oven may result in discoloring, loss of gloss, hairline cracks and popping sounds. This is normal and will not affect the performance of the appliance.

How to clean a self-cleaning oven instructions
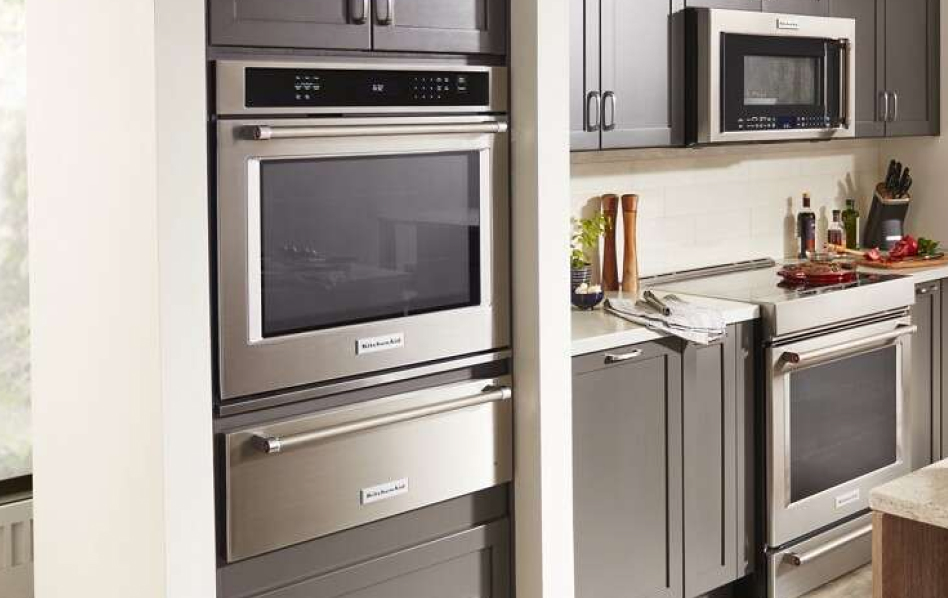
Before starting the self-cleaning cycle, you’ll need to take a few minutes to prepare your oven, cooktop and storage drawer. Follow the step-by-step instructions below.
Supplies:
2 clean cloths (if hand-cleaning your oven)
Baking soda
Water
Spray bottle with vinegar or lemon juice
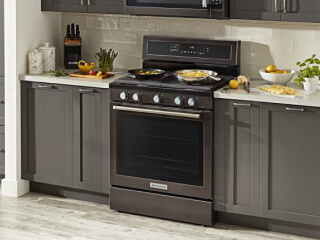
Find the right oven for your kitchen
Step 1: Remove cookware and wipe the inside of the oven
First, remove the oven racks, broiler pan, grid, cookware and bakeware, as well as any foil or oven liners from the oven. Using a damp cloth, hand-clean inside the door edge and the 1½ in. (3.8 cm) area around the inside oven cavity frame, being careful not to move or bend the gasket as this area does not get hot enough during self-cleaning to help remove soil.
Do not let water, cleaner or any other liquid enter slots on the door frame as you wipe out any loose soil to help reduce smoke and avoid damage.
Step 2: Clean the oven window
Cleaning the window glass prior to self-cleaning the oven will help reduce unsightly burned-on residue. Soil left on glass prior to self-cleaning may leave dark streaks or stains. Most of these stains can be removed by using a glass cleaner and scrubbing with a very fine (000) steel wool pad.
Step 3: Prepare the cooktop and storage drawer
Remove any plastic items from the cooktop to prevent melting as well as any items from the storage drawer. Before starting the self-cleaning cycle, make sure the door is closed completely or it will not lock and the cycle will not begin.
Step 4: Start the self-cleaning cycle
To start the cycle, press the Clean button and select the desired clean setting or cycle time before pressing the Start button. When the cycle ends, let the range cool and wipe out excess ashes from the clean cycle. Note that this step is specific to select KitchenAid® models and this step may vary depending on what kind of oven you have.
KitchenAid® wall ovens
Oven designs that inspire
Shop single and double built-in wall ovens to find the option that inspires your creativity and matches the way you make
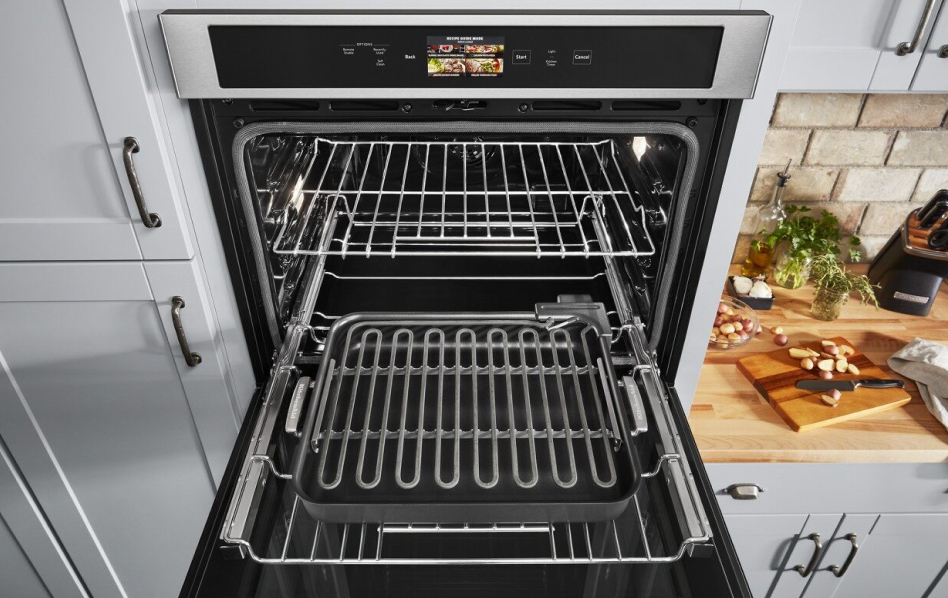

How to use a self-cleaning oven tips
The self-cleaning cycle on your oven is automatic, but that doesn’t mean you should “set it and forget it.” The tips below will help you achieve the best results.
Clean your oven regularly. If you prefer the self-cleaning cycle to manually scrubbing, try to self-clean the oven before it becomes heavily soiled. Heavy soil results in longer cleaning and more smoke.
Keep the kitchen well-ventilated by using the range hood like these available from KitchenAid brand during the Self-Cleaning cycle to help get rid of heat, odors and smoke.
Do not block the oven vent(s) during the self-cleaning cycle. Air must be able to move freely.
Do not clean, rub, damage or move the oven door gasket. The door gasket is essential for a good seal.
Please see the oven cleaning section in your Use and Care Guide for specific instructions on how to clean your oven or use our guide to cleaning oven door glass for a finishing touch. Plus, learn how often to clean your oven to ensure it stays well maintained.
Self-cleaning oven FAQs
Can you clean a self-cleaning oven manually?
Absolutely. Even self-cleaning ovens require manual cleaning every so often. While self-cleaning cycles are meant to help make cleaning easier, using this function is not absolutely essential.
To manually clean your oven, create a thin paste using 3 tablespoons of water and ½ cup of baking soda to spread throughout the (cool and empty) oven cavity. Let sit anywhere from 20 minutes to overnight, depending on the level of soil. To remove the paste, spray white vinegar or lemon juice and wipe with a damp cloth and a plastic scraper for stubborn spots.
Manual cleaning is also a good option if you want to avoid using high temperatures. Another way to keep your oven clean without high-heat cycles is the Aqualift® feature available on select KitchenAid® ovens and ranges. This unique cycle cleans your oven in less than an hour without odors and at a temperature below 200°F. This innovative system combines low heat with water to release baked-on spills.
If your oven or range is stainless steel, use our guide to cleaning stainless appliances for even more shine.
Can you use oven cleaner on a self-cleaning oven?
You should not use any commercial oven cleaner, since they may damage the interior of the oven, and may reduce the effectiveness of the self-cleaning cycle over time.
Can you run a self-cleaning oven while home?
You should only use the self-cleaning function when you're home. These cycles can reach extremely high temperatures which may cause smoke or fumes, so it's important to remain attentive and stay close by, just like anytime you’re using your oven. If you have any pets in your home, it's best to keep them out of the kitchen and in a well-ventilated area, as their senses of smell are more sensitive than ours.
Please see the oven cleaning section in your Use and Care Guide for specific instructions on how to clean your oven or use our guide to cleaning oven door glass for a finishing touch. To download or view product literature for your KitchenAid® appliance, please visit our Manuals and Literature page.

KitchenAid® Hardware Accessory Kits
Curate the colors and textures that move you
From bold Black Ore to the inviting warmth of Bronze, mix and match handles and knobs to refresh your appliances and bring new energy to your kitchen
