
How to clean a microwave
You can clean your microwave by microwaving a cup of water for 2 to 5 minutes to steam the interior and release stuck-on food. Add vinegar, lemon or baking soda to the water if you want extra deodorizing action. Then, just wipe it down.
A clean, fresh kitchen sets the stage for the day’s creations. Read on to learn more about how to clean the inside of a microwave, as well as the exterior and the turntable.
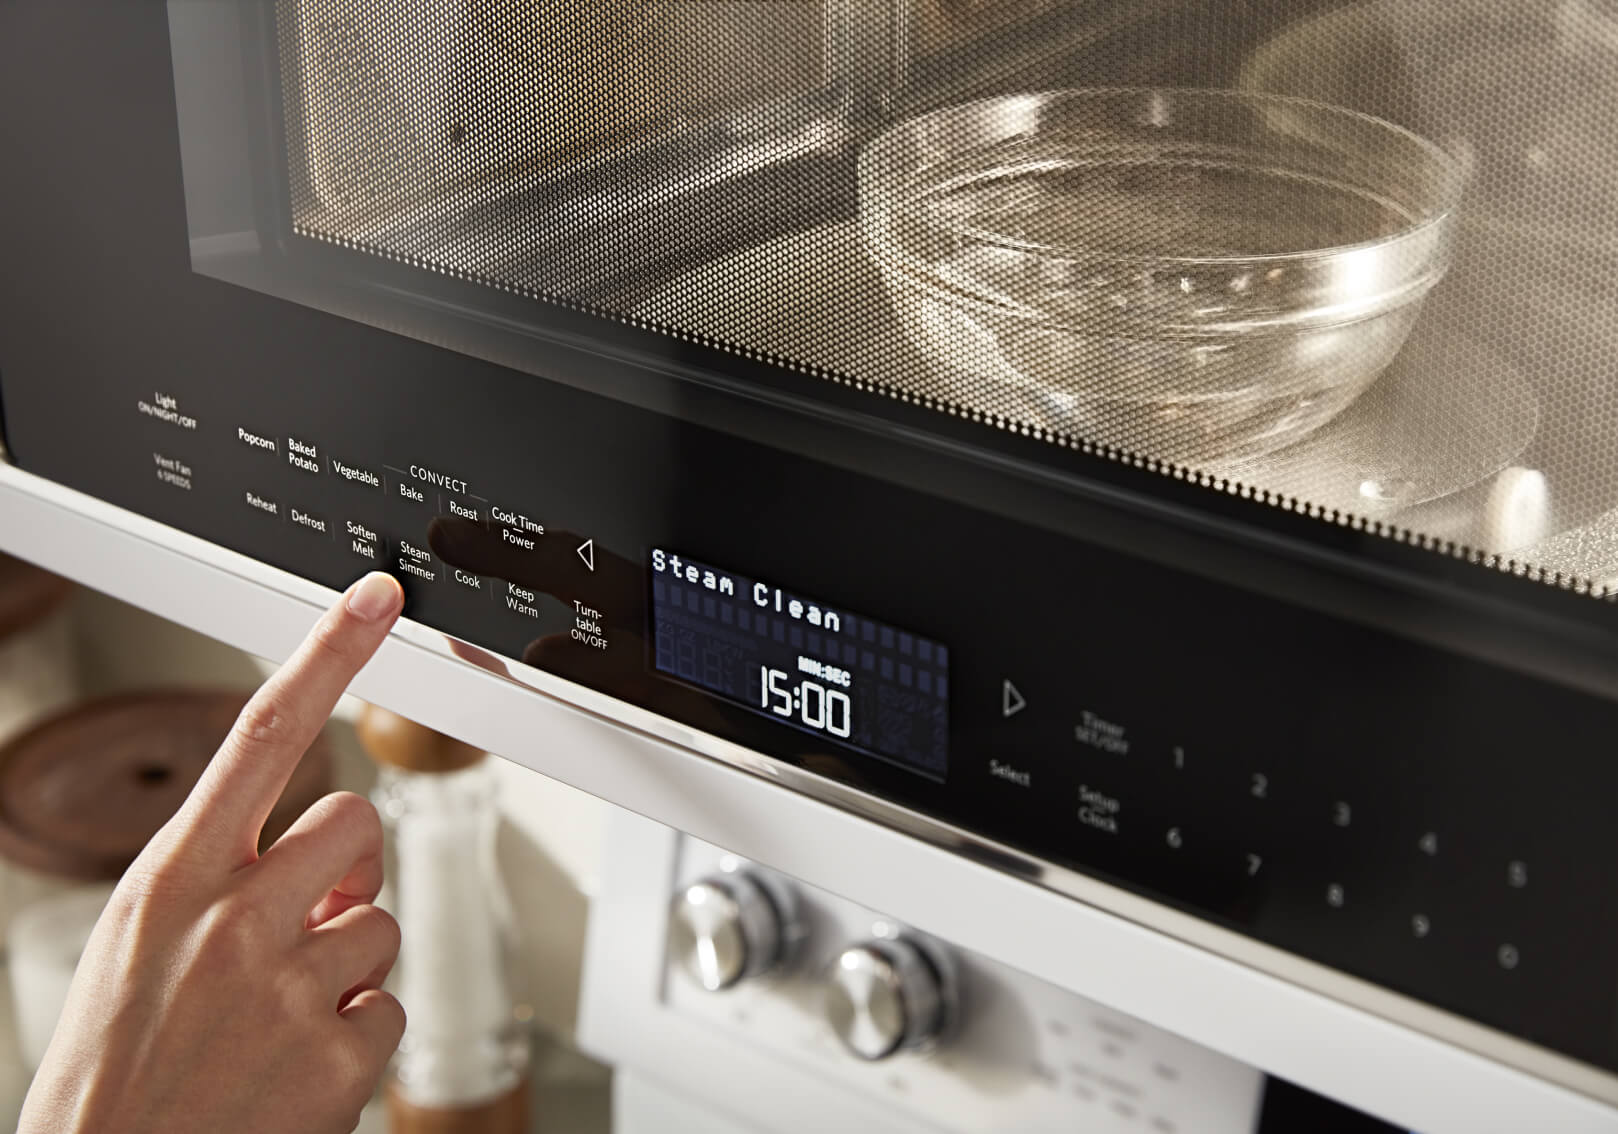

How to clean the inside of a microwave
Messiness is a part of making. When it’s time to thoroughly clean your microwave, you only need to follow a few simple steps to refresh your kitchen and get back to creating. Keep reading to discover how you can clean your microwave with a quick steam and a good wipe down.
Supplies
Liquid dish soap
Soft cloth
- Water
- Microwave safe container
Step 1: Microwave a cup of water
Fill a microwave-safe container with a cup of water. Put it in the microwave and heat it for 3 to 5 minutes, until it comes to a boil. This will create steam that should loosen any dried food stuck to the interior walls of the microwave.
Step 2: Wipe down the interior
Mix a teaspoon of liquid dish soap or other mild cleaner in a cup or two of water. Dip a soft cloth into it and wipe down the entire microwave interior.
Step 3: Rinse with clean water and dry
Using a different cloth soaked with clean water, wipe down the interior again until all soil and spills are removed. Wipe again with a soft, lint-free cloth to dry.
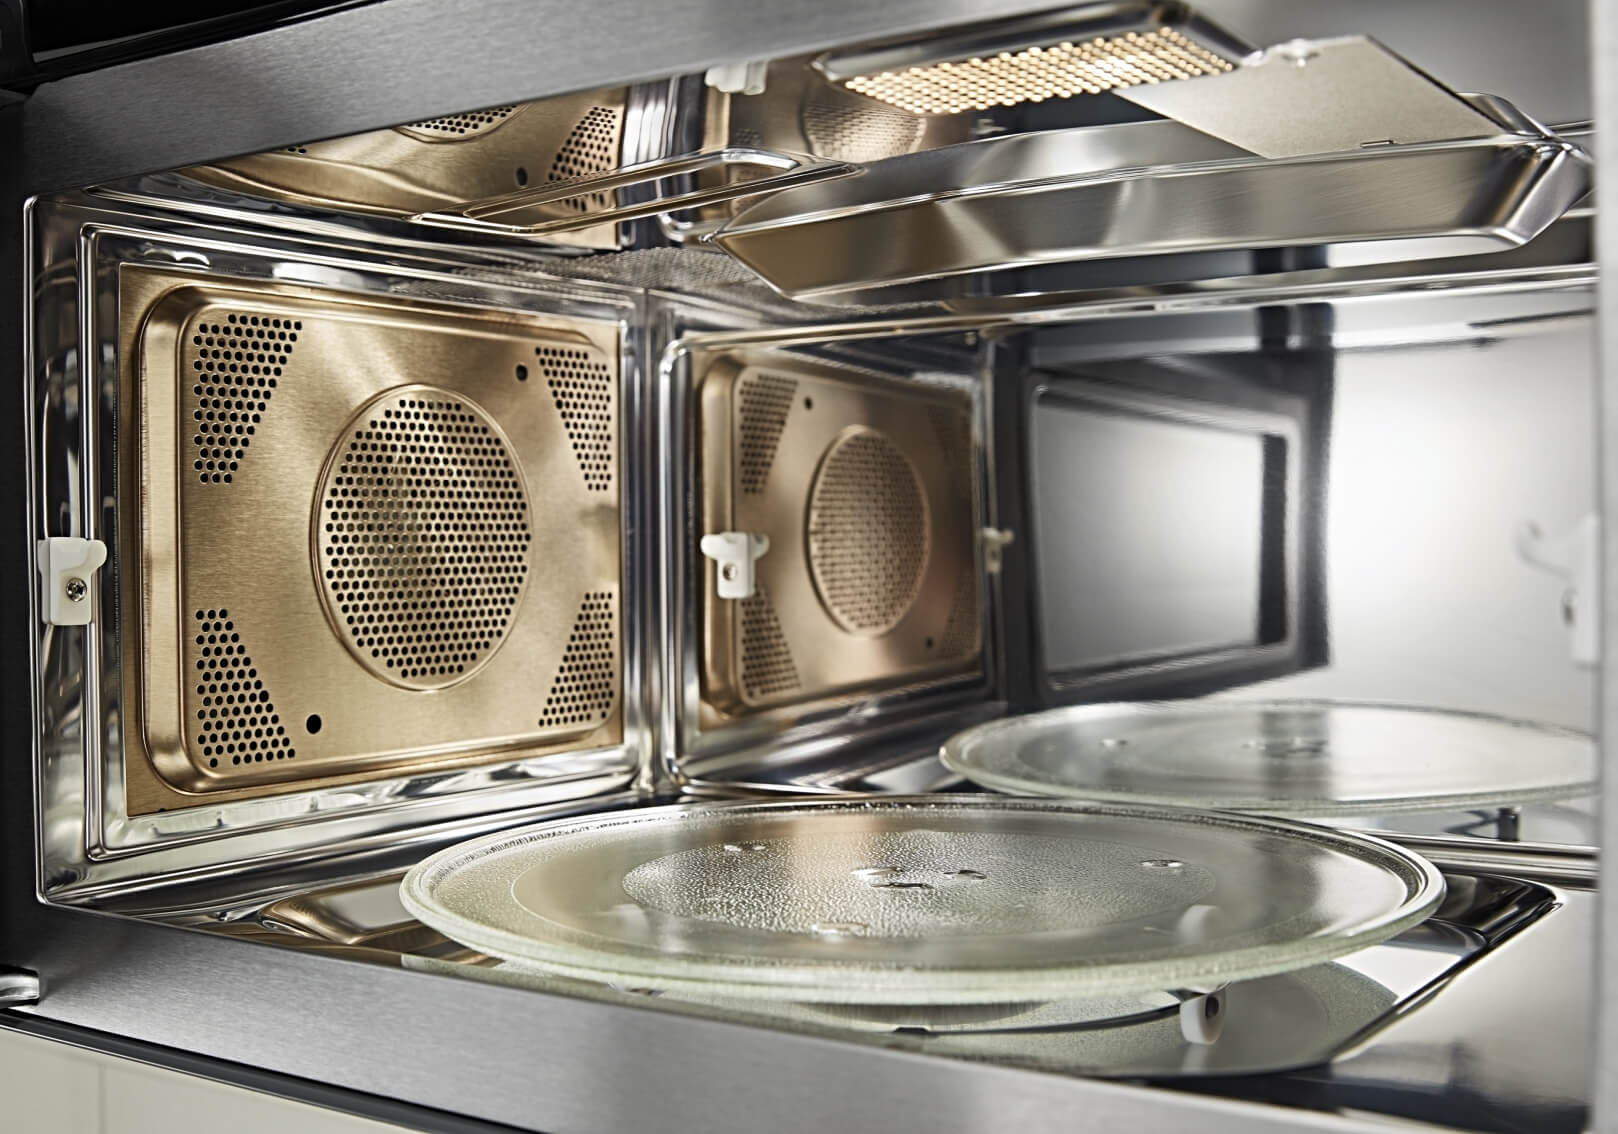

How to clean a microwave turntable
Your microwave’s turntable is just as essential to clean as the rest of your appliance. For optimal cleaning results, clean your turntable separately from the rest of your microwave oven. Read your microwave’s manual to find the recommended cleaning method for your turntable.
Supplies
Liquid dish soap
Soft cloth
Tools
- Sponge
Step 1: Check if the microwave turntable is hot
Wait for the turntable to completely cool before washing it. The glass could shatter if exposed to water while it’s still hot.
Step 2: Wash in the dishwasher or by hand
Many turntables are dishwasher-safe. Check for a dishwasher-safe symbol engraved somewhere on the turntable or reference your microwave’s owner’s manual. If not, hand wash it with a soft sponge and liquid dish soap.
Step 3: Rinse with clean water and dry
Run the turntable under warm running water to rinse it clean. Dry it with a soft drying towel and replace before using the microwave again.
How to replace a KitchenAid® microwave filter
Many over-the-range microwaves have grease filters that prevent oil and debris from entering your microwave vent, as well as charcoal filters that help reduce odors. Regularly cleaning your filter helps ensure your microwave works properly and is ready to use when creating delicious recipes.
How to clean the outside of a microwave
Supplies
Liquid dish soap
Soft cloth
Glass cleaner
Paper towels
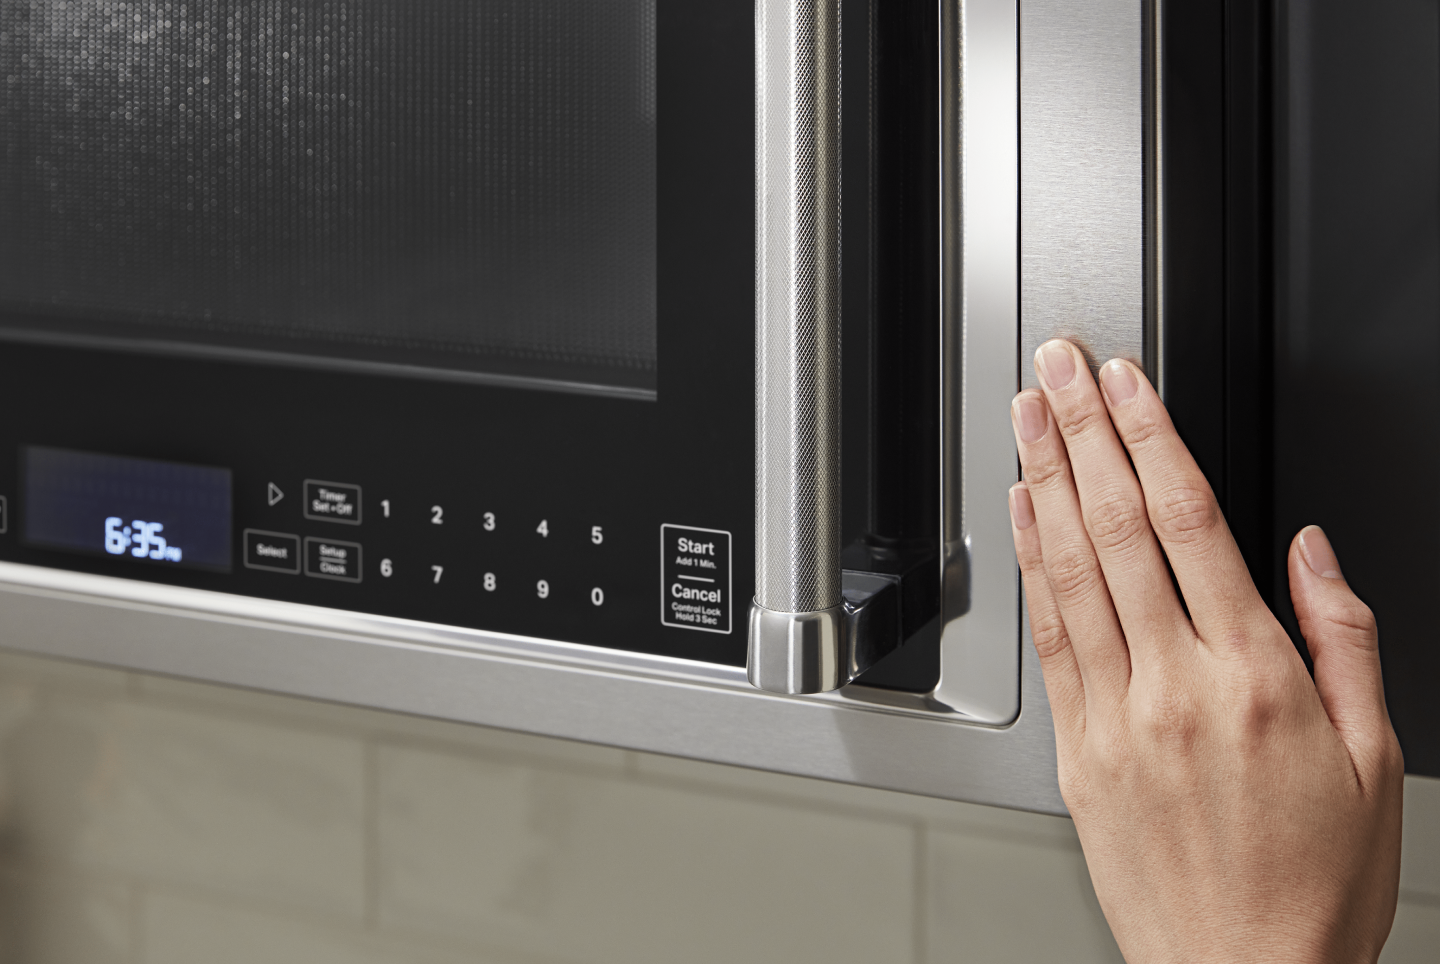
Step 1: Turn on the Control Lock option
Look for a button labeled “Control Lock” or something similar. This will disable the touchpad so you can clean it without accidentally selecting microwave options.
Step 2: Wipe down the exterior
Mix a teaspoon of liquid dish soap or other mild cleaner in a cup or two of water. Dip a soft cloth into it and wipe down the entire microwave exterior. On KitchenAid® stainless steel or black stainless steel models, make sure to rub in the direction of the metal’s grain or use a specialized cleaner like affresh® stainless steel cleaning spray.1
1 affresh® brand products and the recommending brands’ products are all owned and distributed by Whirlpool Corporation.
Step 3: Dry and clean any glass
Use a new cloth soaked with clean water to rinse the exterior. Then dry with a soft, lint-free cloth. If you’d like to finish with glass cleaner on the window or glass controls, spray it directly onto a paper towel before wiping the glass.
Step 4: Clean the grease filter
If your microwave has venting capabilities, you’ll want to clean the grease filter monthly or as prompted by the filter status indicator. Simply slide it out and wash it with soap and water. Many can also be placed in the dishwasher. Learn more about cleaning microwave filters.
Shop KitchenAid® self-cleaning microwave ovens
Some microwaves have an option like the Steam Cleaning function by KitchenAid brand that uses the power of steam and added water to release spills and stains so they are more easily wiped away.
How to clean a microwave with vinegar or lemon juice
Cleaning your microwave with distilled white vinegar or lemon juice is a natural option that can help you keep the inside of your microwave fresh. Both of these cleaning options are acidic and help to break down hardened substances on your microwave’s interior.
Supplies
Water
Lemon juice
Distilled white vinegar
Tools
Measuring cup
Measuring spoon
Microwave-safe cup
Soft cloth
Step 1: Mix ingredients
Mix a tablespoon of white vinegar or lemon juice with a cup of water. Keep in mind that using lemon juice instead of white vinegar may produce a more pleasing scent.
Step 2: Steam microwave
Once your mixture is ready, place it in a microwave-safe container before heating it in the microwave for 2 to 5 minutes to create steam.
Step 3: Wipe down interior
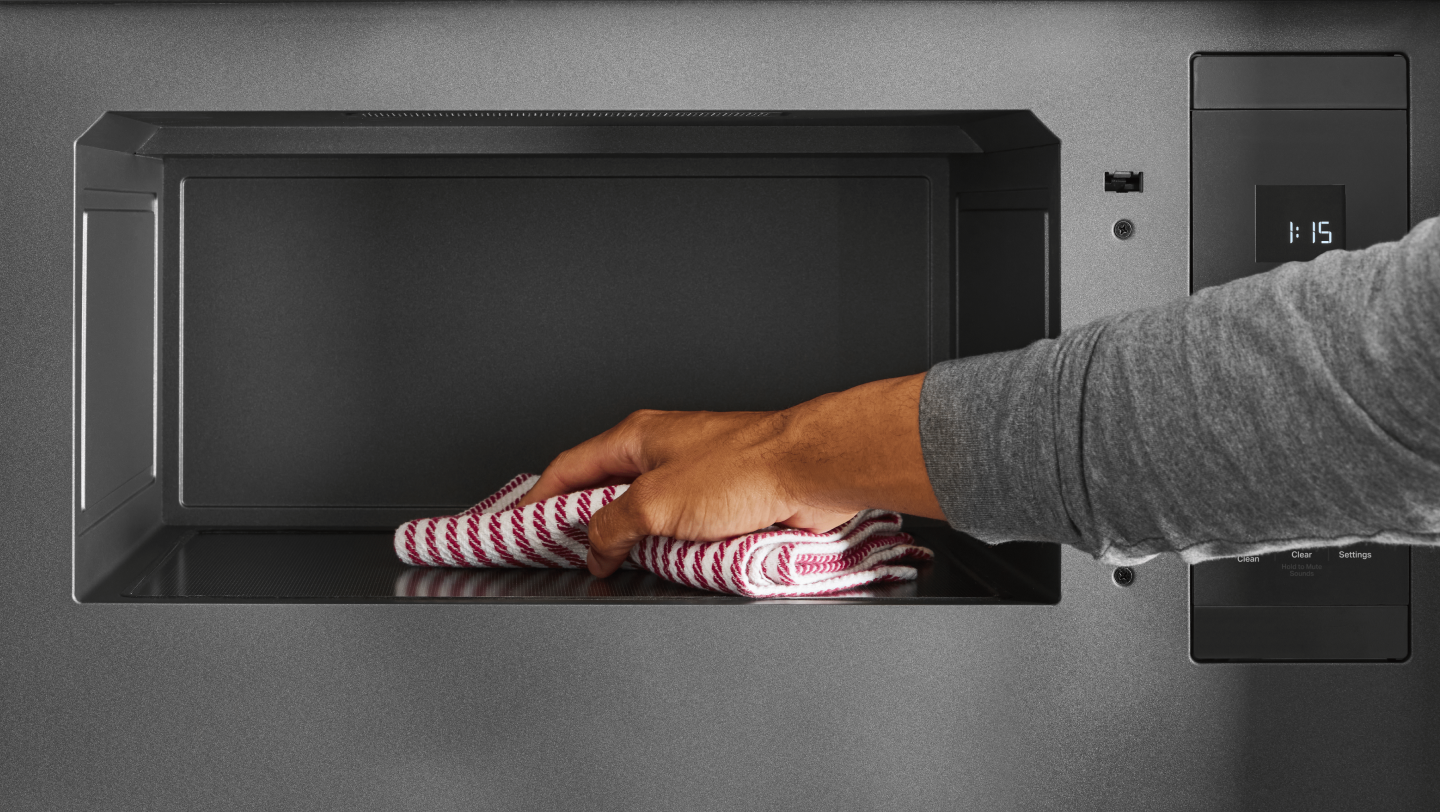
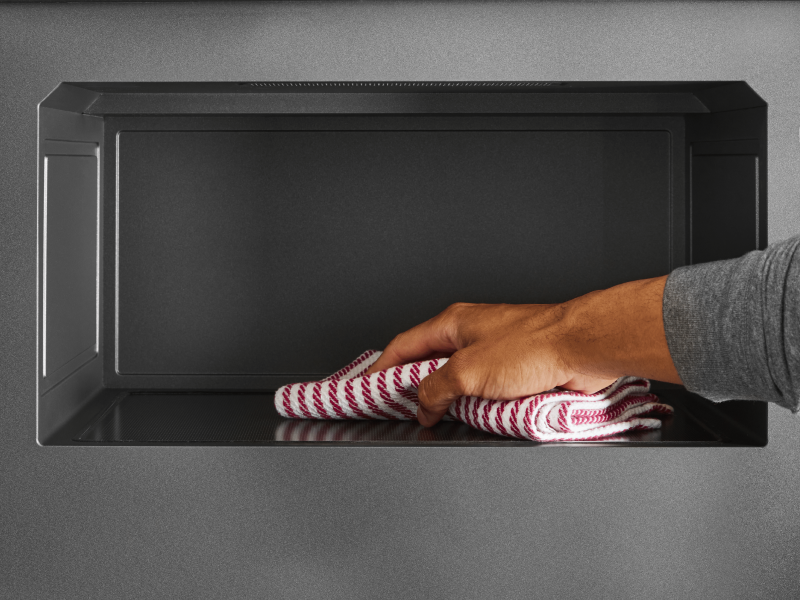
Once your mixture has finished creating steam, use a soft cloth to wipe down the entire interior tub of the microwave. For any leftover mess, use more of the mixture to spot clean soiled areas with a soft cloth.
How to clean a microwave with baking soda
Baking soda is a great deodorizer if you’ve burnt something in the microwave and can’t get rid of the smell. Keep reading to learn how to use baking soda to clean your microwave in a few simple steps.
Supplies
Water
Baking soda
Tools
Measuring cup
Measuring spoon
Microwave-safe cup
Soft cloth
Step 1: Mix ingredients
Begin by mixing two tablespoons of baking soda in a cup of water. Make sure there are no clumps of baking soda left in your mixture and that everything has been thoroughly combined.
Step 2: Steam microwave
Then, pour your entire mixture into a microwave safe container, such as a cup that is marked as safe to use in the microwave. Heat the mixture for 2 to 3 minutes until it starts to steam the interior of your microwave or begins to boil.
Step 3: Wipe down interior
With a soft cloth, wipe down the interior of your microwave. Be gentle when wiping down your microwave, as you don’t want to accidentally scratch or damage the surface.
Step 4: Deodorize microwave overnight
If you notice that a smell is still lingering in your microwave, you can take a box of baking soda and leave it in your microwave overnight to absorb the odor. Be careful not to operate the microwave with the box of baking soda inside.
How often should i clean my microwave?
You should clean your microwave about once a week. It can be more efficient to clean your microwave of any wet splatters or spills the moment they happen. This prevents any messes from hardening and becoming difficult to clean.
If you have a microwave hood combination, it’s recommended that you clean your grease filter monthly.
Shop KitchenAid® microwaves
KitchenAid® microwaves offer versatility with a wide selection of styles, finishes, sizes and colors. Select models feature PrintShield™ Finish that resists smudges and fingerprints. The specialized finish is easy to clean with just water and a soft cloth, so you can spend more time cooking and less time cleaning up the kitchen. Explore KitchenAid® countertop microwaves for simple installation and a traditional feel, or free up counter space with built-in or over-the-range models to open up more space in your kitchen for creating.